Image Map
Showing posts with label design. Show all posts

Boy's Bedroom : The Plan

So......remember a couple weeks ago when I talked about switching up the kid's rooms in attempt to get everyone sleeping in a real bed?

Well, two things have happened since that blog post:

1. We found out what our newest baby will be....


2. Our youngest decided that he will no longer sleep in his crib and also will not stay asleep unless someone is sitting in the room with him. (the shot below, was the last time I tried to get him to sleep in his crib...clearly he was not having it...)


So basically, all of this helped me nail down exactly what needed to happen in the bedrooms.  Yay!

To start the shuffling process, we sold our daughters twin bed and she has now been upgraded to a full size bed (more on all that later this week). We will also be moving the blue crib into her room for when little baby sister is ready to join big sis in a shared space.

The boys will be moving into together (we did a trial run last night and it went AWESOME...aka, I actually got to sleep in my bed ALL night) and I will use the vintage cowboy beds in their room. I put together a design board so you can see where the room is headed. I started this when I thought the oldest two (boy & girl) would be sharing a room, but the design still works perfect for a shared boy's room.


As you can see, it will be a mix of rustic and colorful. The walls will be a light neutral color and all the other accents in the room will be pulled from colors in the rug. I plan on keeping most wall decor and accessories to a minimum. I have been drawn to clean minimal room designs lately and want to try my hand at it in this space.

This is a list of what I have planned to complete the room switch:


  • Paint the Room (we didn't paint it when we did the cowboy room a couple years ago)
  • Paint the vintage western beds - (I already bought the color which will not be as vibrant green as in the plan above.)
  • Clean up vintage western dressers (they are a very orangey color, but I don't know if I'm ready to tackle refinishing, so they will stay their current color)
  • Art/Wall Decor
  • Make/Source Kilim Style pillows
  • Make/Source Coordinating Bedding

This is a pretty simple plan and I have high hopes I can finish it by the end of next weekend. You will be able to follow real time progress on my instagram ( @averielaneblog ) or on my Facebook page ( Averie Lane )!


Averie Lane Boutique - Fall Decor in the Shop

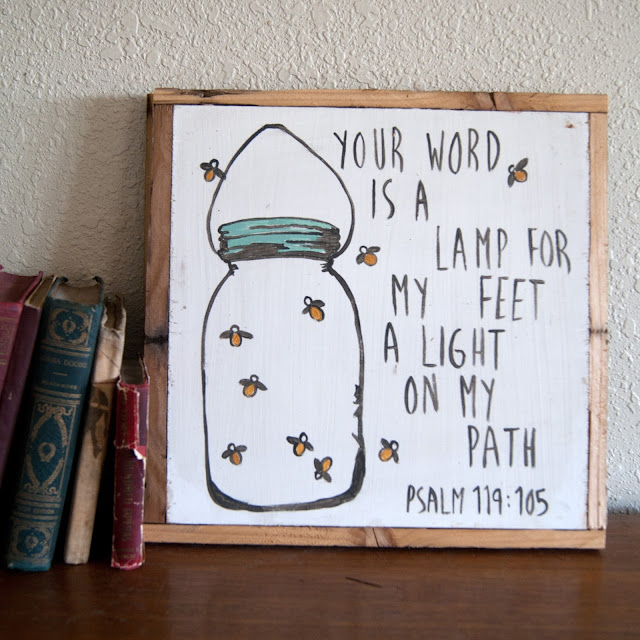
I had so much fun working on my new fall sign collection!

It truly has been a labor of love and I have worked really hard to create NEW and ORIGINAL art pieces. (which can be very hard to do when you're a maker and there is soooooo much great stuff out there!) Each sign is hand drawn, hand painted and built by me. I don't use stencils or vinyl - its just me and my paint brush!

Many of these signs were inspired by my favorite songs, quotes and bible verses. Each means something to me and I hope they will mean something to you!

Each of the new signs is available with black or white background and comes in two sizes 13x13 inches or 25x25 inches.

Here are a few of my favorites....

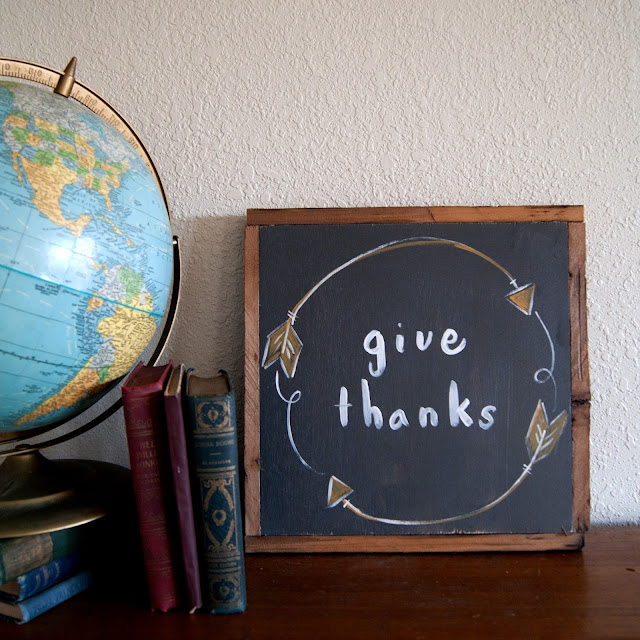
Averie Lane Boutique - Give Thanks with Arrows - reclaimed wood, vintage books, mason jar

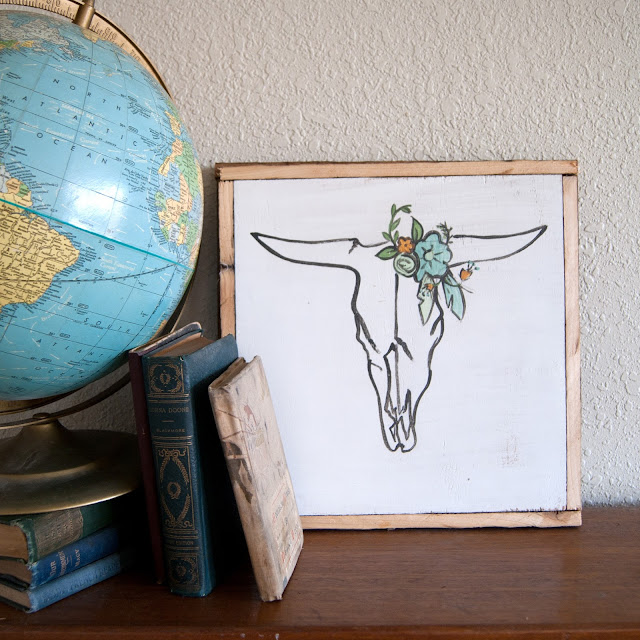
Averie Lane Boutique - Cow head with Flowers - reclaimed wood, vintage books, mason jar

Averie Lane Boutique - Arrow Wreath - Give Thanks  - reclaimed wood, vintage books, mason jar

Averie Lane Boutique - In Everything Give Thanks  - reclaimed wood, vintage books, mason jar

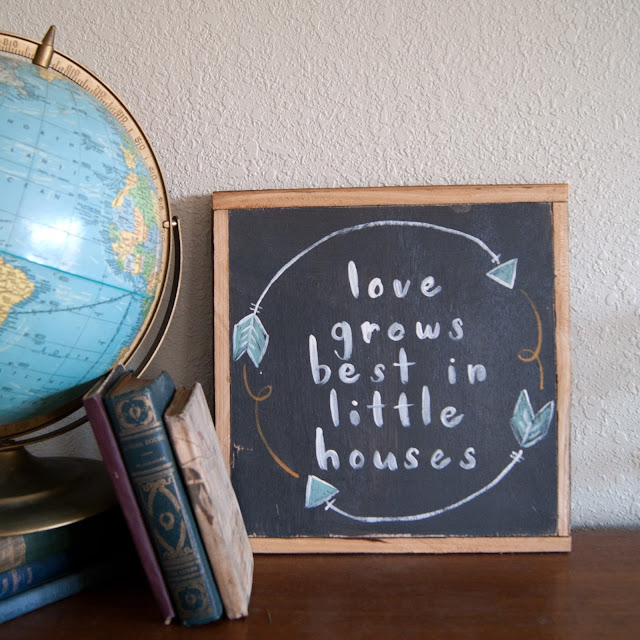
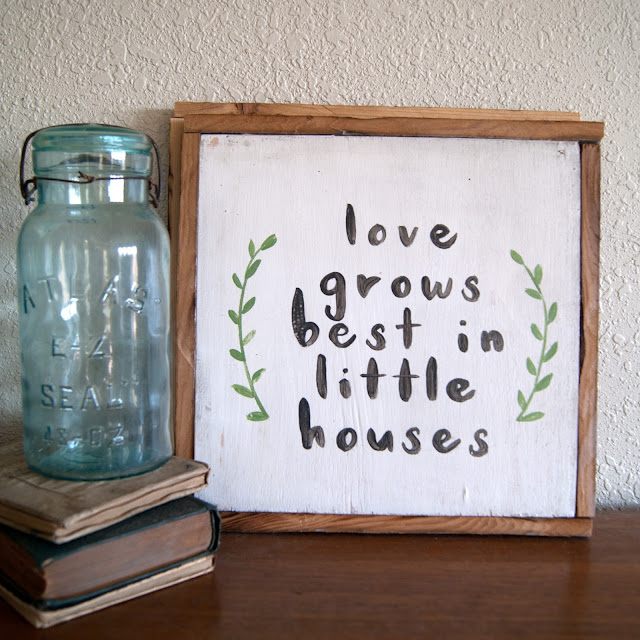
Averie Lane Boutique - love grows best in little houses - reclaimed wood, vintage books, mason jar

Averie Lane Boutique - love grows best in little houses - reclaimed wood, vintage books, mason jar

Averie Lane Boutique - psalm 119 - mason jsr and fireflies - reclaimed wood, vintage books

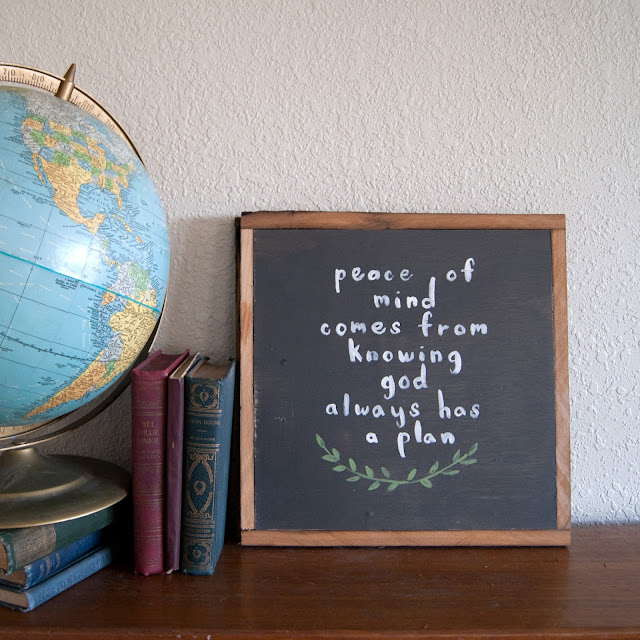
My absolute FAVORITE new sign is the "Peace of Mind" sign! It was inspired by a little post-it note that my mom always had hanging on the refrigerator. Every few years she would have to take it down and replace it with a new one, but it was ALWAYS there. The saying has helped me through many tough times and I thought it finally deserved to be on more than a sticky note. 

Averie Lane Boutique - Peace of Mind Sign - reclaimed wood, globe, vintage books


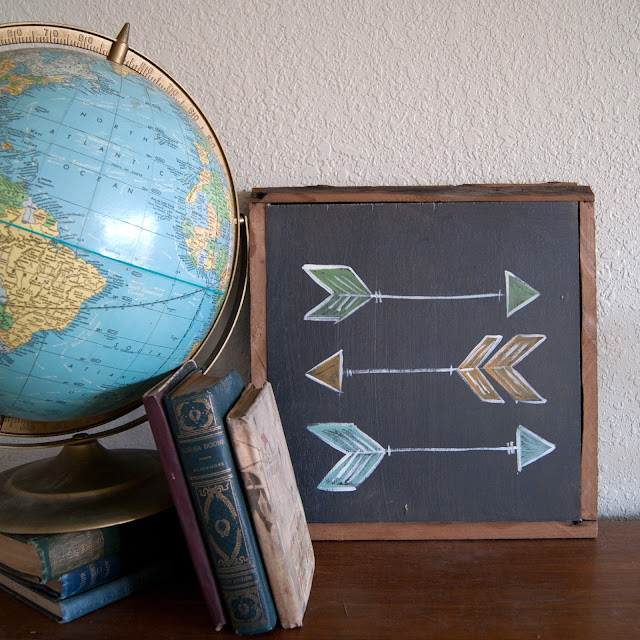
 And of course, I had to come up with some new ways to use my hand drawn arrows!

Averie Lane Boutique - Arrow Sign - Black with Colored arrows - reclaimed wood, globe, vintage books

I invite you to check out the entire collection in my shop 

Don't forget, many of my signs can be customized in colors of your choice! Feel free to message me if you have any questions. I'm also able to work with you on creating an original art piece for your home!

Master Bedroom Makeover After - the tour - One Room Challenge Spring 2015

Its here!

Today is the day, exactly 1 year, 3 months and 29 days since I hit publish on my first master bedroom post..., the master bedroom is FINALLY done (well, done if you ignore the missing baseboards....)!

This would not have happened without the motivation and encouragement from Linda at Calling It Home, the other linking participants and my fabulous readers! It was a real doozy of a challenge, but walking into a freshly done room makes it all worth it!

If you missed any of the makeover series you can catch up HERE:


So, enough chit chat, you all want to see the pictures don't you....?

Here's a reminder of what we started with (THE bed!)....

Master Bedroom Makeover - DIY Headboard & Bed, vintage Decor, yard sale finds, salvaged wall sconces, hand sewn pillows

 and here's my design mood board...

and the After!

Averie Lane Boutique at Vintage to the Core + New Products in the Shop

Wow!

I just want to thank everyone who came out and saw me at the Vintage to the Core Show over the weekend! It went better than I ever could have imagined and I think I'm officially hooked!

Before I go further, I need to thank my husband, Justin, for being so awesome...he built my backdrop, constructed my art canvases, and worked the crowd like a boss!!  I just had the best time ever working with him and I love him sooooooo much!! I also need to thank my family for helping with the kiddos so Justin and I could focus solely on the show! Definitely couldn't have done it without them!

Here are a few pics from the show!

Me in front of my first real booth...


and the booth full to the brim and plus some!

Fabric Design - One Room Challenge Spring 2015

How are you hanging in there?

Halfway through the ORC and I'm feeling the pressure! I knew I would be since we had some prior commitments that took us away from the house over the weekend (aka, I got diddly squat done on the actual room) but I still have something SUPER exciting to share with you today!

Back at the new year I made a promise to myself - not necessarily a resolution, but more of a goal list of sorts - to do the things that I have been talking about for soooooooooooooooo long, but never following through on.

We all do that right?

Welp, I decided that 2015 was the year to start doing.

One of the things on my list was to design a fabric line based on my blog and Etsy shop.

Say, what!?

Yup!

I took some drawings and designs that I have been working on - you will notice that they have been or are being used as part of my blog header as well -  and turned them into fabric designs!

Get where I'm going with this?

I will be sewing up my own accent pillow for the bedroom!

Pretty cool, right!??? I can't even explain how excited I am!

Let's look at my design board from week one of the ORC again... if you remember I said I was planning on incorporating my own art in a unique way. Well, do you see that cow sketch below? Its the one I picked to be used on my pillow!


New Blog Header?


In a fit of inspiration yesterday I gave my blog header a makeover.
Actually, I wasn't working on it at all. 
I didn't even plan this.
It just sorta all clicked.
We all have those moments, right?
The old one was cool, but maybe a bit freaky serious? 
I for one LOVED it, but it HAS been around since the big blog change of 2013, so maybe it was starting to feel a bit stale? Like your favorite bread that sat on the counter too long?
Here's the old one in case you already forgot what it looked like...
but last night, I was doing some other sketching and WAM BAM! 

Ice Skating Birthday - Designing an Invitation

Design work is one of my favorite things to do, especially when my client is a 3 year old who's about to celebrate a birthday.

We already established we are doing a Ice Skating Party (...not too long after putting decorations away from her Ballerina Sparkle Party...I might add.) Lucky for us we have an indoor ice rink here in Boise so that part was a done deal.

So if you are going to have a party, you have to have invitations, right!?

I sat down with Ellery and asked her some questions about what she wanted on her invitations. 
She got really into the whole idea of me drawing something for her and was even willing to do a little posing for me!


She was also pretty specific about her wants...right down to what color things should be.
I sketched out her ideas and then scanned the image into the computer- similar to how I created my Gift Drive Logo.

PICU Gift Drive Logo - from sketch to final design!


I've been talking non stop about our gift drive going on a month now... (we still need donations!!)

Even though its a little fundraiser in the grand scheme of things, I still want to give it a professional look. I have tried several styles as the years have progressed (HERE, HERE), but this year, an idea came to me that I just NEEDED to follow through on.

So, today I wanted to take you through my process on making a logo.

First, I sketched out these little guys. I wanted a slouchy little teddy bear to lean against the word PICU and it took a few tries to get it right. Elle, really liked the bottom right one, so I decided to go with it.


I then scanned this image into the computer and opened it up in PSE. 

I created a new layer over my image and used my Bamboo tablet/pen to trace over my sketch with the different paint pen options.

Here was my first try...
To say the least, it didn't quite live up to the vision in my head. My bear was OK, but not as clean as I wanted it. It felt rushed and choppy. So I gave it another go.

My second attempt (plus some patience...) yielded this... 


It so much better don't you think!

Here's what he looks likes placed in the final logo - with the addition of a Santa hat!
Do you think he is as cute as I think he is? 


I'm still on a learning curve using my tablet, but this little project has lit the fire under me and I'm starting to think it might be time I move forward on some dreams that have been brewing for YEARS! 


Image Map

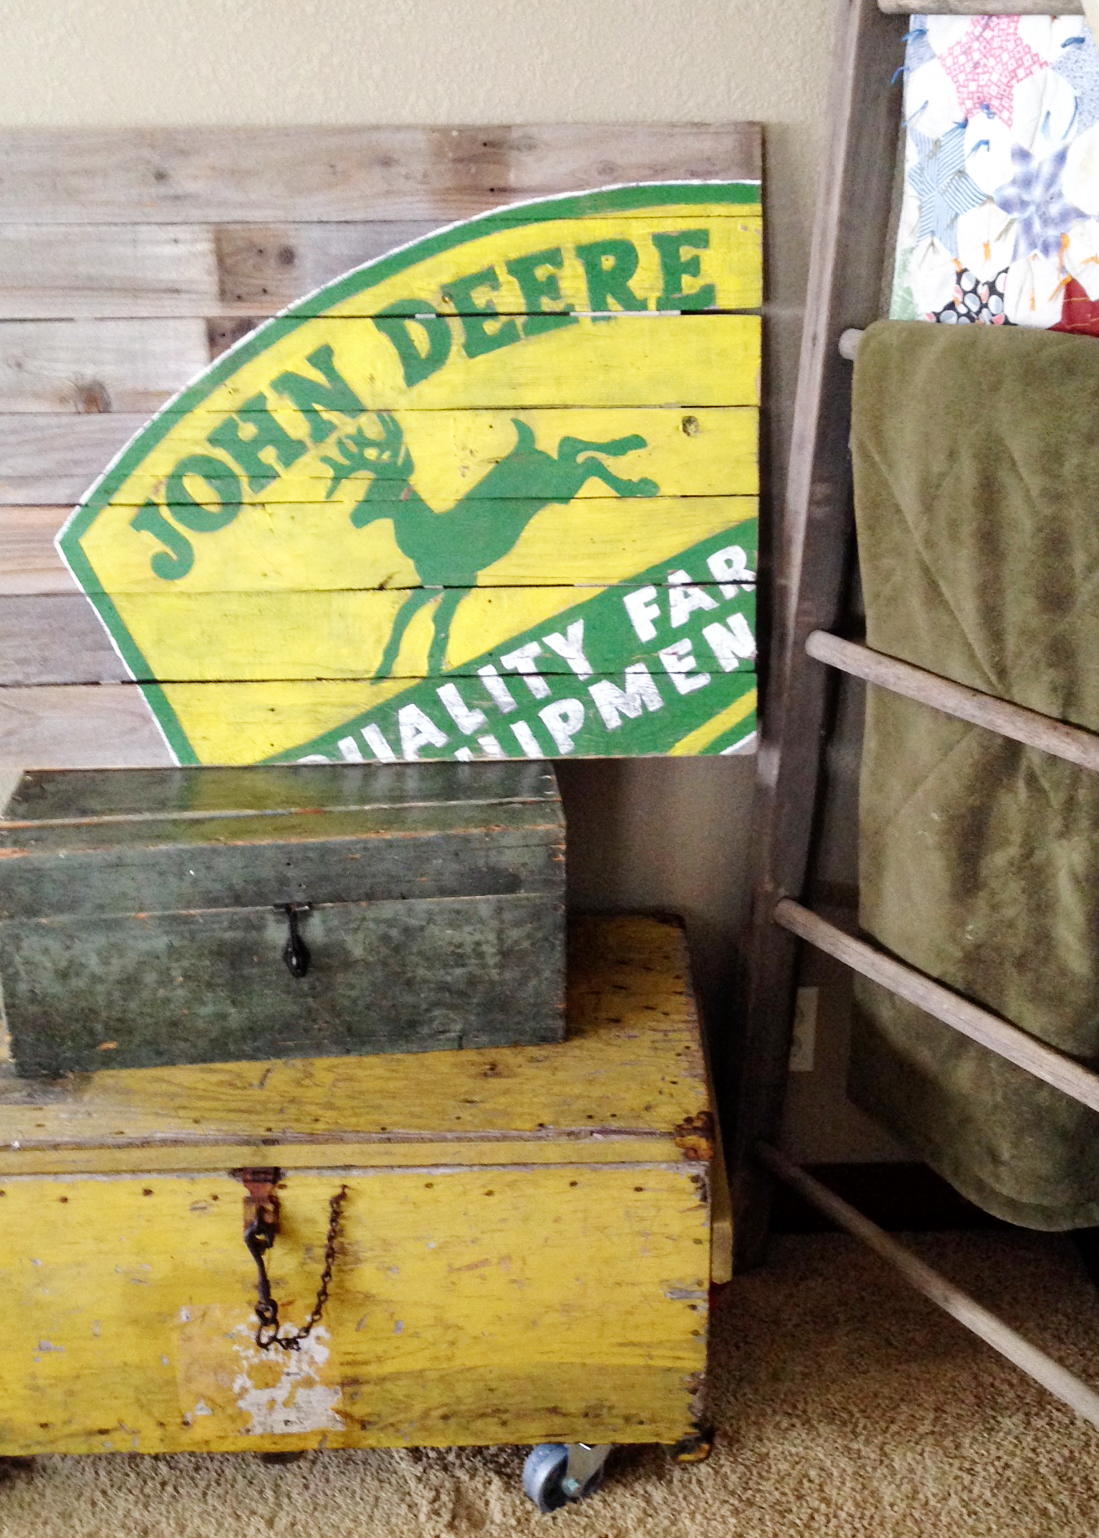
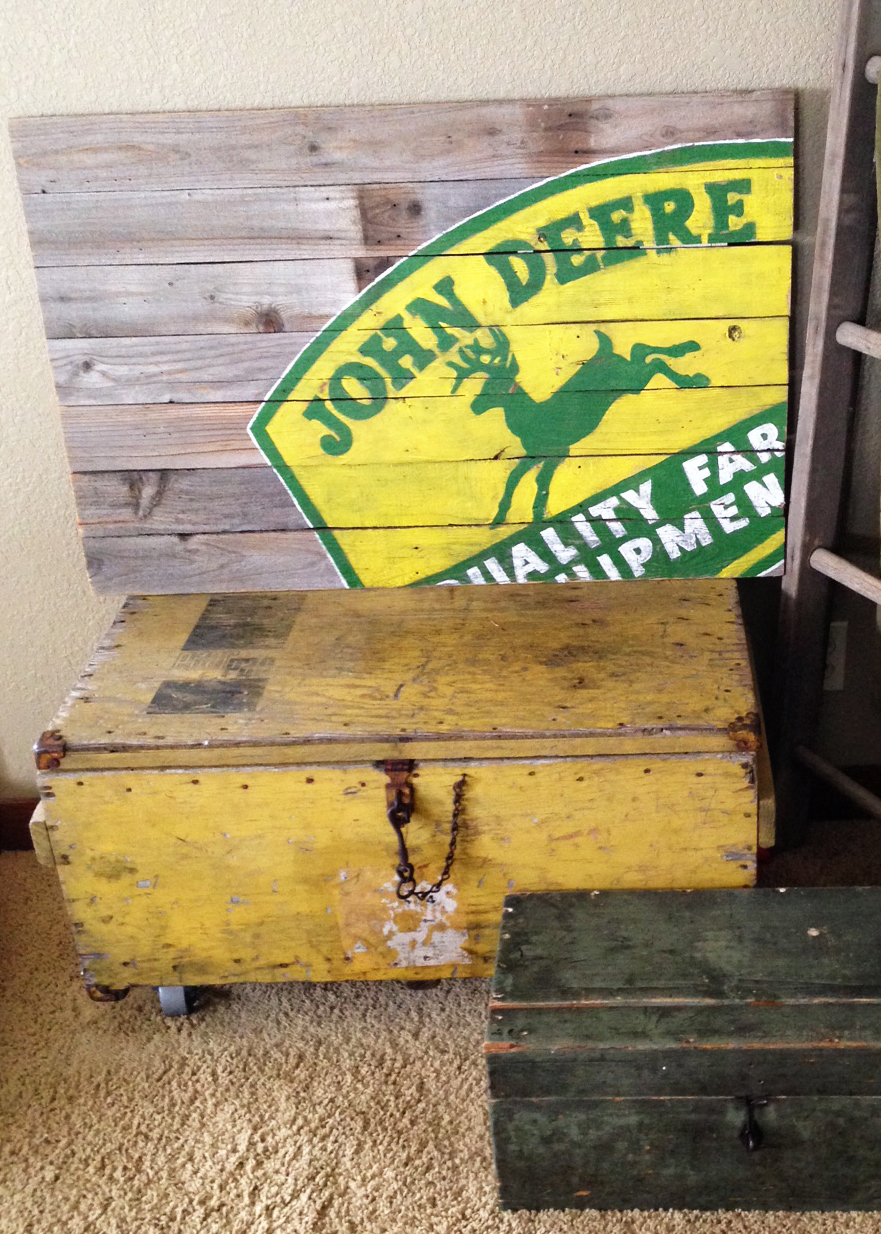
John Deere Sign on Reclaimed Wood

Hiya!

Please see yesterday's post if you haven't already!

Moving on to today...or as many people in the social media world refer to it - #tbt
I'm throwing it back to last month when I painted this AWESOME sign for my favorite youngest cousin (love you Greg!)...


John Deere Sign on Reclaimed Wood

He's been a John Deere fanatic since he was just a little thing. He could rattle off the names of about any tractor you showed him! It was hilarious! So, I was super excited when my aunt commissioned a sign for his birthday!

To make it, my husband built the pallet out of reclaimed cedar fencing and I printed off a large engineer print at Staples for a template.

Did you know you can get color ones now!? They are a bit more money, but the potential is endless! 

Here's a link... Staples Color Engineer prints! (this is not sponsored or an affiliate link, just spreading the news!)

LIFE. CHANGING!


My original design, included the extra wording, but it became pretty clear very quickly that I liked the sign best with just the vintage John Deere logo! 

My own little deer lover loved it too...


"DEER! DEER! DEER!" he says!

I lightly sanded and spray sealed the final sign. I love it so much!

John Deere Sign on Reclaimed Wood

So did the birthday boy! Yay!!!


If you are interested in a custom logo sign
 (or any sign for that matter!) 
please email me!
 
I'd love to work with you!
Image Map

Farm Girl's Vintage First Birthday - Sunflowers, Mason Jars & a Farm Cake

Last week we celebrated my cousin's daughter's 1st Birthday! 

Matea is the cutest thing ever! I was super excited to sneak over while my cousin was at work for a little photo shoot with the birthday girl!


My Aunt Carmen found the vintage chalkboard at a yard sale and I drew the design on freehand (eek!) We also used my cousins old baby quilt and a vintage chair to complete the styling.

Don't you think its soooooo cute!!??


Little Matea was the perfect model!


Later that weekend was her party and my Aunt and I were able to surprise my cousin and her husband with the photos! 

I love how my cousin pulled vintage items from around the house and snipped some sunflowers from the fields to style the party.


My favorite part of the party decor was the cake (isn't it always!?) made by my cousin Michelle!
She is brilliant and so talented!! She also made a cowboy cake for my son and a ballerina cake for my daughter. We all keep trying to convince her to open up shop!


My husband and I made the large M from reclaimed wood as part of Matea's birthday gift! It made a great backdrop for the cake!


 I mean seriously, this cake!! I can't decide which animal I liked the best!


The birthday loved her presents...


and she really loved her cake!


Matea decided the chicken was her favorite!
yummy!


Happy First Birthday Sweet Matea!!
Image Map
Related Posts Plugin for WordPress, Blogger...