Image Map
Showing posts with label house tour. Show all posts

Upstairs Office/ Bonus Room Updates

Its been awhile since I have updated on the progress of our upstairs bonus room / office.

When I last left off it looked like this...

Mid century credenza and Martha Stewart Sandpiper on the walls and ceiling

We had just painted the whole upstairs in Martha Stewart Sandpiper and I had grand plans of bringing in a seating area and small TV for the kids to use. I really didn't expect to use the space unless I was working in the office.

Then something happened. We decided to give the TV downstairs the boot! That's right, we decided to try living without a TV in the main living space. Our goal was to create a TV free zone so we could actually have conversations now and then! ha! (btw, I am super struggling with the layout of the living room..)

Living room without TV
(old before, but you get the idea!)

Our big sectional needed a new home and obviously the TV did too. So it all got moved upstairs. The easiest thing to do with the TV was plop it on the little mid century credenza that I made over  (top picture), but it wasn't exactly the safest thing in the world...


Any guess why I didn't blog about that hot mess!? #fail

We had a very clear problem and I was trying to come up with all sorts of ideas to make sense of it all - think built ins or a giant floating shelf - but we had much bigger projects we need to tackle, so it kept getting the shaft. Until we ran across this baby at an estate sale in Boise...

Vintage pecan mid century dresser

Its a gorgeous pecan mid century dresser (with a mirror, too!) that we snagged with a few other things for just over $100! Score!!. We both agreed it would be perfect for our huge TV and could also provide awesome storage for movies and art supplies!

And it does!!

Mid Century dresser used as a TV stand

Mid Century Dresser used as a TV stand

The scale of the dresser is much better suited to the TV and I love how it fills the wall space between the hallway and the weird little wall shelf. Much better!


The sectional fit perfect too!

Large sectional in bonus room

I still have a long ways to go in here. I want to bring in a few other colors (coral!) so that it has some of the same vibe as the kid's bathroom. I want it to be happy, bright and fun up here since its our family zone. Nothing too serious.

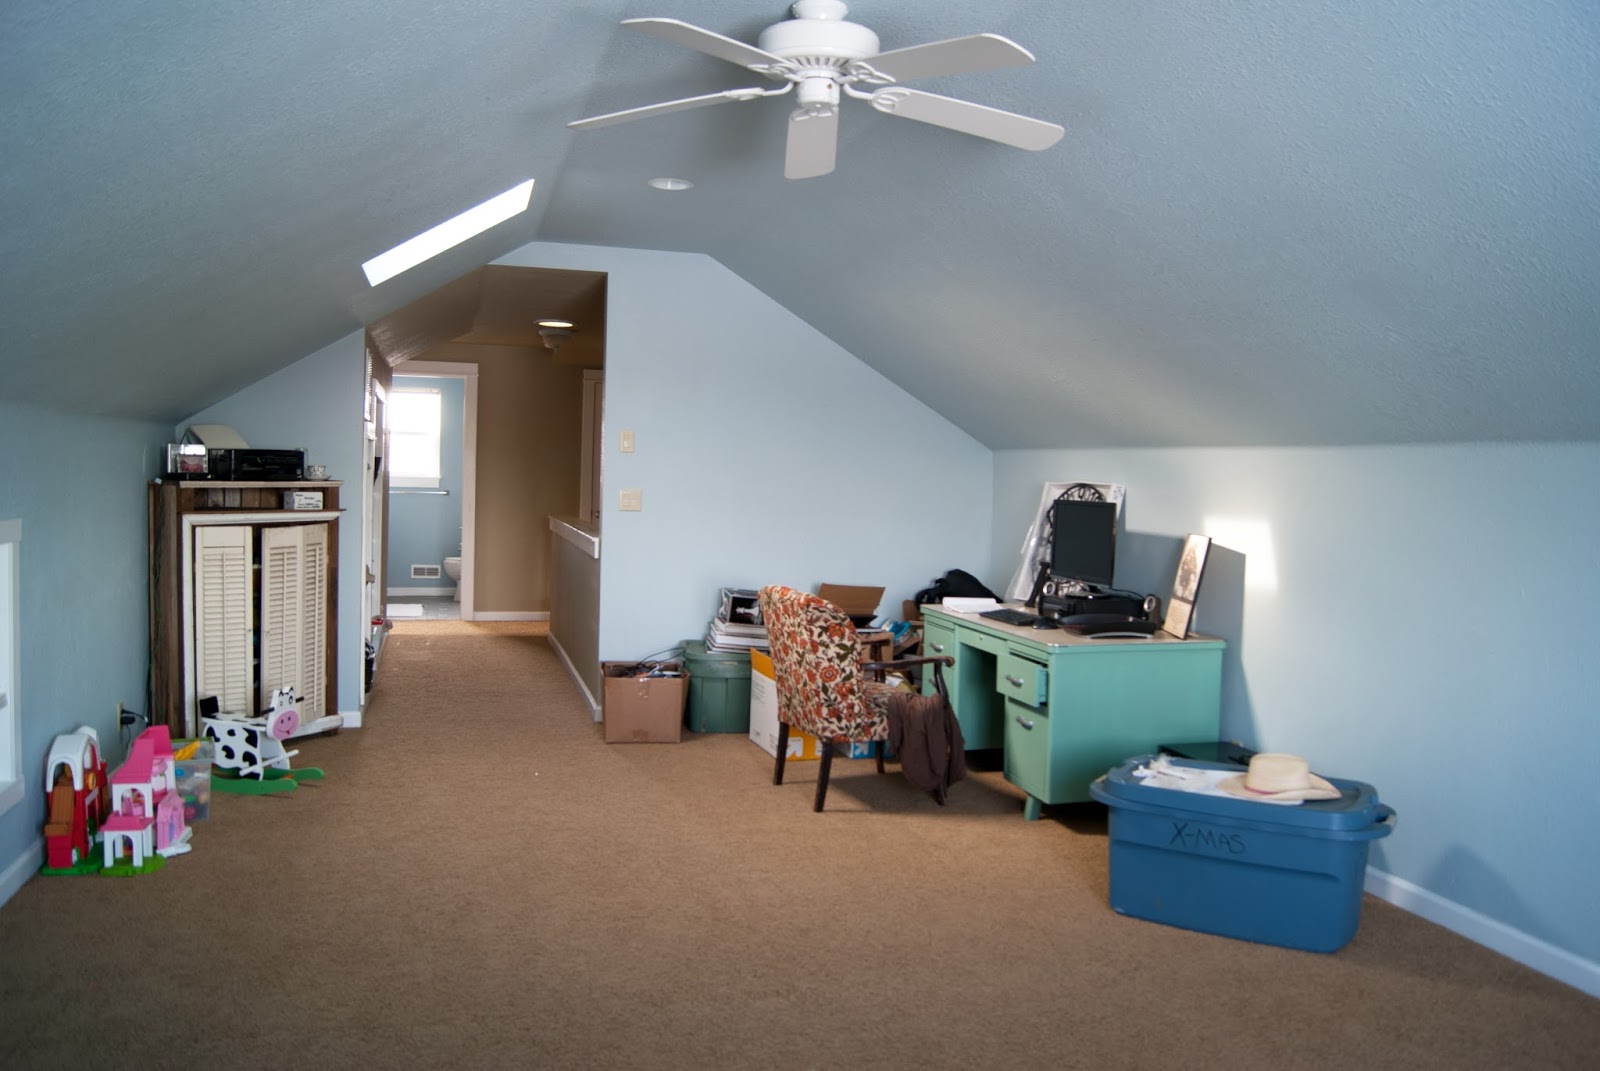
The other side of the office pretty much looks the same, other than I added shelves to the opposite wall, but its kind of a hot mess so we will ignore it for now. Hopefully soon I can do a whole office / bonus room reveal!

vintage steel desk - paint color Martha Stewart Sandpiper

Gotta just keep chugging along!

Upstairs Paint Before & After

We spent Labor Day weekend painting and painting and painting...no vacations or camping for this family. 

Since then I have been organizing and re-assembling my office.

Lets refresh on what the space looked like before...


 ...and here it is now....chair is just temporary (in case you were thinking I thought it looked good that way).


Here's a before shot of the other end of the room...


and here's part of the after (the other wall is holding a pile of yard sale stuff that isn't staying..) and you can see the newly painted credenza has found its home!


The consistent wall color is one huge improvement to the whole upstairs. Before there was an awkward line on the ceiling where the paint transitioned from the brown in the hallway to the blue in the office.

It was weird!

Here's a before of the hallway with it's much darker paint...


Here is the after. You can see the difference in paint if you look up by the light fixture. We found this light AFTER we painted, so I have some touch-ups to do.

#keepingitreal


More about the lighting upgrades to come.

I love this shot looking towards the bathroom. It is so light and bright now!


The color we used is called Sandpiper by Martha Stewart mixed in Glidden Duo Eggshell from Home Depot. We used the same color in Ellery's Room, the Kid's Bathroom and the Laundry room.

The upstairs is getting close to done. Just a few more things to do in the bathroom, a little decorating to do in the office and then we can move the DIY party downstairs (or maybe to the stairs...hmmmm)!!
Image Map

Project: Curb Appeal {part 1}

I realized I haven't ever shared what the outside of our house looks like... 

It became most apparent when I needed some before pictures of our house and realized I don't have any - other than Instagram shots in the snow... 

#bloggerfail
Here's a before...
Before pictures of house

Do you see that tall bush to the right of the front door?

No?

See that thing creeping in and choking the life out of our porch now?

removing an intrusive bush


Yeah, I mentioned to my husband that we should probably trim it back a tad.

I left for the post office and came back to this...

Removing an intrusive bush.

Wahahaha!!!! 

Bye bye bush, nice knowing ya!

Apparently if you move a man from North Idaho, to the desert in Southern Idaho he will find any excuse to pull out a really big chain saw.

Stay tuned!

MUCH more to come on #projectcurbappeal


The $5 yard sale find that prompted a laundry room makeover... {before & after}

This post was originally publish on 5/28/2014, but has since been edited to include an update about the color used on the cabinets.

How's that for a blog post title?

This makeover was no where near the top of my to do list.
It probably should have been given its condition...

Laundry Room before
Actually the above picture isn't half bad...but, if you  follow me on Instagram (@averielaneblog) you might remember this picture the day I started my little project...

Laundry room before

embarrassing much?
So how come it got bumped to the top of the list?

Well, my husband dropped me off at an OB appointment so he could hit a few yard sales near the hospital. I ended up waiting forever and he was done before I even made it into my appointment. He met up with me and was all giddy about a yard sale find.

Him: "I got you something you've been wanting FOREVER"

Me: "Really? What's that?"

Him: "a pair of things you have wanted and never had and it will help your back not hurt"

Me: "what on earth!? How much did you spend?"

Him: "$5"

Me:  "I have no clue what it could be..."

Him: "we need to go get the truck to pick them up"

Me: "just tell me already!"

He's a turd.

It ended up he found a pair of washer/ dryer pedestals!

Um, hello!!

As great of a find as they were (and we prayed they actually fit our machines) it also meant there was some work that needed to be done to install them. Most important was pulling the machines out so we could reroute the dryer vent.

Since the machines were being pulled out and I knew we wouldn't be wanting to do it again anytime soon, I decided it was as good a time as any to paint the laundry room...
which meant I needed to also paint the horrible yellowish white cabinets...
Since I wasn't planning this makeover, I really didn't want to spend any "extra" money on it.
I dug through my "oops" paint stash to see what color options I had for the cabinets that would also work with the new wall color (Martha Stewart Sandpiper)

I initially really wanted gray cabinets, but my only gray looked TERRIBLE with the walls - its the middle colored door below.. (bottom door color is original cabinet color ).

Laundry Room Makeover - picking the cabinet color
 Then I saw this greenish-blue color that I had grabbed at some point (a $2 quart from Home Depot). I painted a test door and fell in love! I need to get to Home Depot to see if they can tell me what color it is!

Laundry Room Makeover - painting the cabinets

Winner winner! 
Now the big reveal...

Laundry Room After!!! 

Laundry Room Makeover - After

Here are the original goals for the laundry from our House Goals 2014 list...
- Paint Walls 
- Paint Trim
- Paint Doors
- Replace Floors
- add trim to upper cabinets
- add counter top over washer/dryer  (nixed that since we added pedestals)
- put washer face plate back on washer

Laundry Room Makeover - After

Obviously this is just phase one of the makeover.

I ended up taking down the medicine cabinet and a drying rod from over the sink and I decided the trim and doors can wait until I do the hallway trim.

We still need to address the floors, but I think they look a million times better with just a change of paint colors.

Am I crazy?

Laundry Room Makeover - After

We are also contemplating changing the counter or adding a back splash to sink area. Plus, I have plans to turn the fence into an art piece OR get a drying rack.
I think a rug and new light are on the list too, but other than that,  I love it!

Laundry Room Makeover - After - Green blue cabinets and old fence decor

I have spent a few hours sitting at our kitchen island watching the laundry. 
Its weird, but sooooooooooooooooooooooooo satisfying. 
One more look at the before...

Before

and the After!

after

Did I mention this makeover cost me $25.00!!!

$5.00 for the pedestals

$20.00 for the new dryer vent & supplies

Everything else we already had! 

Now you know why I like to stare at this room... 

I have had several requests for the color used on the laundry room cabinets. Because it was an "oops" paint I had to have it color matched.

You can take the code in the bottom right corner of the image below to your local Home Depot to have a color sample made.


Image Map
Sharing with:
Thursday S.T.Y.L.E - Life in Velvet

Ellery's Granny Chic Bedroom - Source List

Thank you all for all the amazing feedback on the reveal of Elle's room!!

Today I am going to be breaking down the sources and price list for the room! 

Room Color: Walls/Ceiling : Martha Stewart Sandpiper (Glidden Duo Eggshell) 
The swatch leans to the Beige side, but it is actually a really light warm gray! It works really well with the brown tones in our carpet and is seriously my most favorite color to use!


Bed Corner:
Bed corner - source list and cost

Bed: DIY (tutorial coming soon) - materials $75 + new mattress $100

Headboard: Vintage - already had

Headboard Fabric: Home Fabrics - "Windsor" by Covington Fabric - $14

Embroidered Pillow: Vintage Fabric - made by me - $1

Duvet:  Gift -Made by my sister from vintage sheets

Pillowcase: Vintage


Pink Crochet Blanket: Gift - made by my sister-in-law

Hot Pink Blanket: already had

Toolbox: Vintage - already had

Curtains:- Ikea - $8 for pair (I can't find them online, I think they may be discontinued)

Curtain Rod: DIY $5 (tutorial to come!)

Stuffed Aromatherapy Pig: - Gift 

Rug: Ikea- already had


Chair Corner:
Chair corner - Source List and Cost

Chair: - Vintage $30

Nightstand: - Vintage- already had - Painted in Behr Swiss Coffee

Wallpaper on Nightstand - Vintage

Small Pillow: Made by me - Fabric "Chesney" from Home Fabrics $7

Lamp: Vintage -already had

Shade: $1 - Covered in "Chesney" using leftover fabric

Pink & Glass Shelf : Vintage

One Sign & E: made by me


Silver Mirror: Vintage  

Quilt: Vintage - already had

Small Vase:  Ikea

Pig Pillow: Elle's first stuffy from the hospital where she was born.


Dressing Corner:
Dressing Corner - Source List and Cost

Shelf: already had

Piggy Banks : Gifts

Large Mirror: Vintage - Painted in Sandpiper at 25%

Pink Frames: Vintage

Ellery Art: Ikea Frame - Art made by me

Canvas: From House of 3 on Etsy - already had


Dollhouse Corner:
Dollhouse Corner - Source List and Cost

Dollhouse:  Gift - originally from Target 
(painted white and I used vintage wallpapers and misc scrapbook paper) - $2

Wall Quote: Made by me (you can get the printable version HERE)

Bunting: made by me for Elle's 1st Birthday

Poodles: Vintage (from my Great- Grandmother)


Total Room Cost
(minus paint - we bought 5 gallons to do most of our house so I won't count that)
Also I won't be counting the cost of things that we already had or weren't specifically bought for this room. Much of the decor was used in her last bedroom.

TOTAL: 
$271 !!

Hot dang!

Proof of what you can do with a teeny tiny baby budget, lots of yard sale-ing, Craigslisting and DIY!!

If you have any questions about specific items feel free to ask!


Image Map

Vintage Inspired Western Bedroom - The Reveal

Ya'll...

It's time.

The long awaited western room reveal is here!!

Before I share, can I just say this...

The room isn't some ground breaking design that is going to win awards for my awesomeness, but it is one thing...

Its us. 

This room reflects how we live and what we love. 
Its cozy and only half serious and it didn't cost a lot , which is essential for a one income family!
Now on to the reveal! (I hope you enjoy it!!)
A room reveal wouldn't be much without a before picture...

Western Bedroom before

House Goals 2014

(I'm having some technical difficulties with Part Three of the DIY Bed post- so I am skipping ahead to this post! Thanks for your patience!)

House Goals 2014

We have been in our house since September, without any major changes to the house... 
like, literally.
We did install a pull-out garbage can in the kitchen. 
And I did paint our french doors...
But that is it. 
So today I'm putting together my list of goals for the rest of the year (ideally before baby comes in June!) And even tho I really don't want to, I'm including pictures of what my house looks like right now, in its very raw, post Christmas, state.
No judging.
Lets get started, shall we!?

House Tour

So we have been in our house a little over a year! Woo hoo!

Since I am feeling nostalgic I thought I would take you on the BEFORE tour of our house. I took pictures of my own, but they seem to be missing- they are probably on my laptop-which lately has been talking to me and playing strange music..scary! Yea, so, these old real estate pics and some cell phone ones will have to suffice.

Don't judge.
HOUSE
- Facing the Bay- we are not ON the lake, but close on just over an acre.
Related Posts Plugin for WordPress, Blogger...