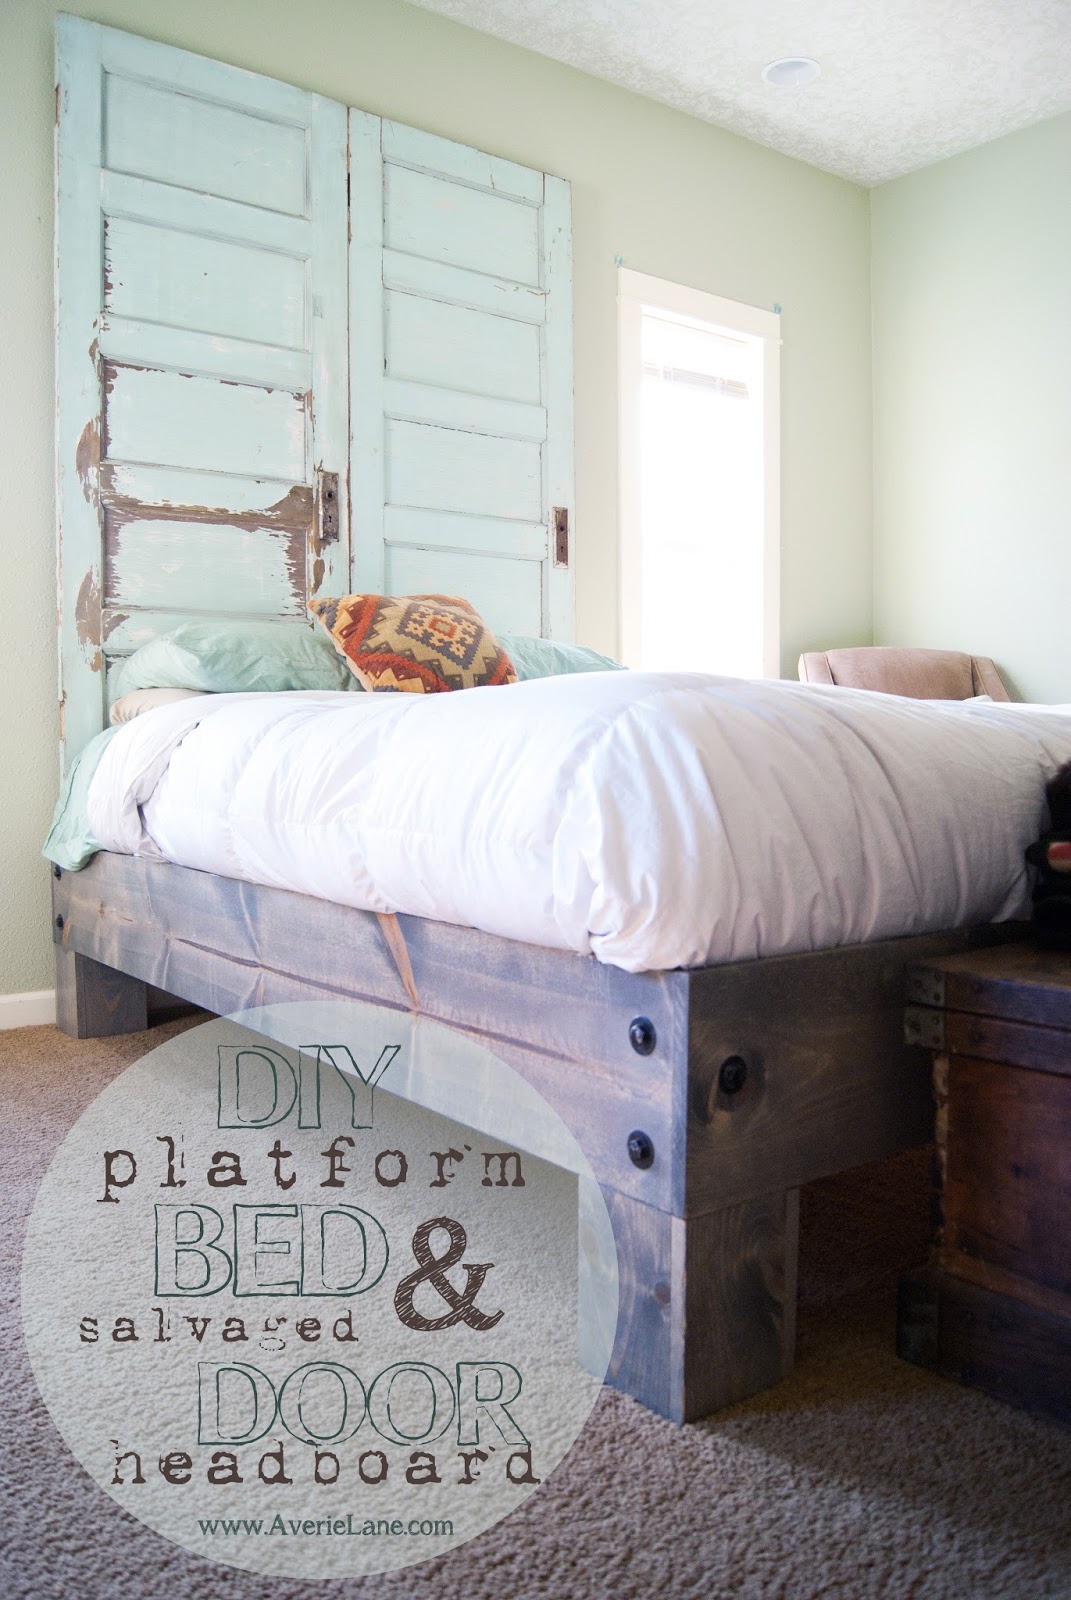
{part one} - before & After
{part two} - how to hang doors
{part three}- how to build a platform bed
Remember last week I said I had a surprise for you....
well, here it is...
My husband Justin is here to share how he built our platform bed!
(I think you are gonna love him and his humor!)
I’m high jacking my wife’s blog! Amber keeps telling me how fun this blog stuff is, we will see… A little background on myself, obviously I am married to Amber and the father of our two crumb snatchers Ellery and Everett. I’m the husband you hear about from time to time that helps put stuff together. I am NOT a wood worker in any sense of the word, when I do a project I do them on the fly, and just when I think I have it all figured out Amber comes up with a “better” idea, in her defense the ideas are almost always an improvement. Usually I don’t plan out my projects, I will have a scrap piece of paper with an idea and then it’s to the garage to make it happen (this project the scrap paper was upgraded to GRAPH paper! (I got a little fancy on this one). Occasionally I have a little stroke of luck and make something pretty cool. This is my third “big” project I have done. The other two were the corner TV cabinet made out of reclaimed wood, and our (I say our, but it was actually pretty much for Amber) large reclaimed wood desk for our house in north Idaho. Basically what I’m saying is ANYONE that has a few tools and can read a tape measurer can build this bed. Amber and I have a running joke that I judge her “honey-dos” on how many cigars I’m going to have to smoke to get it done. This one is a four cigar project, I probably could have smoked many more, but being able to breath the day after a project is always a plus. It took me about 10 hours from the fist cut to moving it into the house. So much for having a weekend!!! Here is how it all went down…
Tools
Circular saw
Drill (I used a standard 18v cordless for drilling and an 18v compact to drive in the lag bolts and screws)
Chalk line or straight edge
Tape measurer (duh)
3/16” drill bit to make a pilot hole
1/2” hole saw or blade drill bit
3/8” drill bit
A couple good cigars
Wrench or socket for lag bolts (if you are not using a power tool)
Optional tools to make life just a bit easier
Miter saw (not required, but easier to make a clean accurate cut)
Kreg jig (this is also not required, but makes life a lot easier attaching the platform supports)
-If you don't own a Kreg jig and enjoy doing DIY projects with wood I HIGHLY recommend getting one. This tool makes life SO much easier on any wood working project.
*I am NOT paid by Kreg to promote this, but it is a great tool for novice to expert wood workers.
-If you don't own a Kreg jig and enjoy doing DIY projects with wood I HIGHLY recommend getting one. This tool makes life SO much easier on any wood working project.
*I am NOT paid by Kreg to promote this, but it is a great tool for novice to expert wood workers.
Air compressor
Pneumatic nail gun
Supplies
A couple good cigars (just in case you missed it earlier)
2” Screws (I bought a 1lbs box and still have plenty left and extra screws are never a bad thing to have around when “honey-dos” come up)
12 – ½” x 3” lag bolts
12 – ½” washer (choose the size you would like)
1 ¼ screws for the Kreg jig (if you are using a Kreg jig)
Stain of choice if you are staining the wood
Finishing wax or some other form of clear coat to hold the stain and get the wood grain to pop
Rag or paint brush to apply stain and wax if you are using these. If you’re hard core a bare hand would probably work, but NOT recommended, the stain on your hand will make your cigar taste nasty.
Spray paint if you are changing the color of your bolts and washers.
Spray paint if you are changing the color of your bolts and washers.
Cut list for a queen size bed
I WOULD NOT CUT ALL THESE BEFORE STARTING THE PROJECT. If you are like me and want to use the least expensive materials possible that usually means you will be working with wood that is not always the straightest or planed just perfectly. I had to adjust many of my cut lengths, because of not using a high quality “choice” wood. Now that my little disclaimer is out of the way on to the cut list...
2 – 1x10s at 80 ½” (Side bedrail face)
2 – 1x10s at 62” (Foot and “headboard” face)
4 – 4x4s at 16” (Leg supports)
*these can be made longer or shorter depending on how high you want your mattress to sit. At this cut length with no box spring and a mattress 8” thick the top of the mattress will be about 24” tall.
*these can be made longer or shorter depending on how high you want your mattress to sit. At this cut length with no box spring and a mattress 8” thick the top of the mattress will be about 24” tall.
2 – 2x4s at 50” (Foot and “headboard” supports)
2 – 2x4s at 70” (Side bedrail support)
7 – 2x4s at 57 ½” (Platform or box spring support)
16 – 1x6s at 8” (Leg wrap) I would wait until the bed platform is assembled before cutting these. I used the cheapest Pine 1x10 material I could find and some of my cuts on the leg wrap varied by as much as 1/2” *see note on 4x4s to determine how long these need to be cut (longer or shorter leg supports = longer or shorter leg wraps).
Plywood to cover an area of 80 ½ x 60 ½ inches (if using a box spring no plywood is needed)
How to put it all together
Step 1.
Make a paint station (I used an old card board box and pushed the bolts through, the washers I layed on a lid flap I ripped off the box) and paint your bolts if you are doing this. I painted these bolts black and then lightly fogged them with a metalic spray paint to make them look just a little different.
Step 2.
Snap a chalk line on the 4 pieces of 1x10, 1 ½ inches from the top of the 1x10 on the inside of the board (bed side of the board)
Step 3.
Attach 70” 2x4s at the chalk line on the 80 ½” 1x10s using screws (these should be roughly centered on the 1x10s). I used 2” bulk screws and put a screw about every 12 inches.
Step 5.
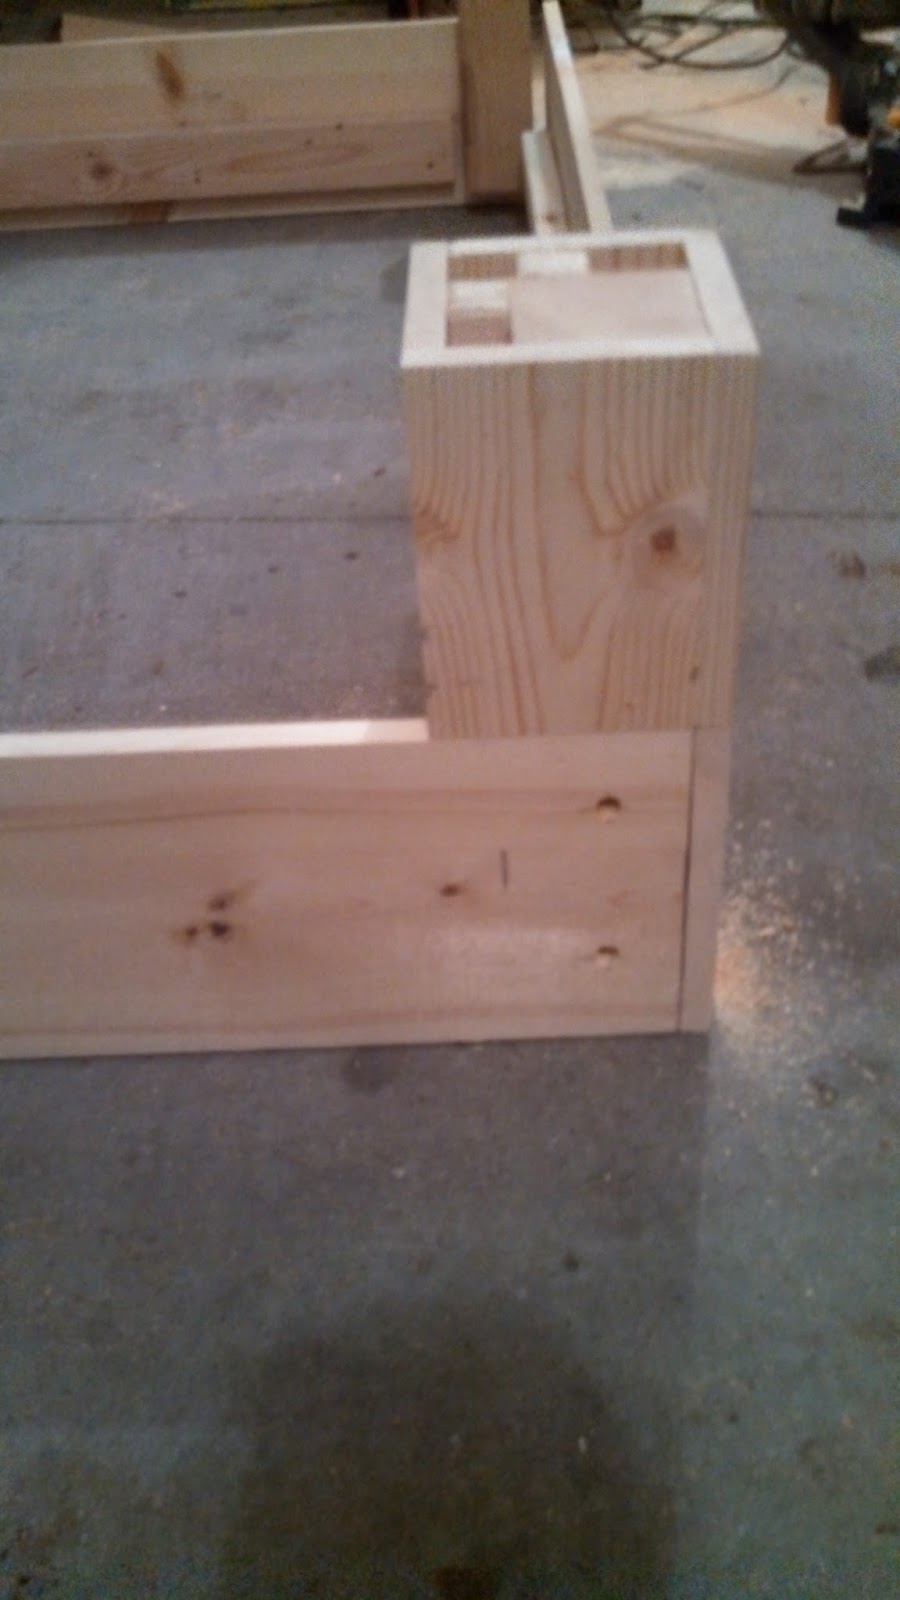
Cut 4x4 leg supports (see note of cut list, you want this bed to be the right height for YOUR comfort)
Cut 4x4 leg supports (see note of cut list, you want this bed to be the right height for YOUR comfort)
Steps 6-11 I did these steps with the bed upside down. By building it upside down on a flat surface it is easier to make sure the tops of your sideboards and head and foot boards are all lined up nicely.
Step 6.
Attach one 4x4 leg support to the inside edge of one of the side rails at the VERY end of the board by lining them up then drilling 2 pilot holes with the small drill bit through the 1x10 and into the 4x4. Once you have the pilot holes drilled, use the 1/2” bit to drill through the 1x10, use the 3/8” drill bit to drill into the 4x4. Once you holes are drilled put in the lag bolt and tighten all the way, DON’T forget to add your washer!!!
* As you can see I did not do all these steps in the order I am telling you to do them. Let's just say you get to benefit from my mistakes :)
Step 7.
Repeat step 5 for the other end of the side rail and for both leg supports on the other side rail.
Step 8.
Attach foot and head boards to side rails using the same process in step 5, but the head and foot boards will only require one pilot hole on each end.
Attach foot and head boards to side rails using the same process in step 5, but the head and foot boards will only require one pilot hole on each end.
Step 9.
Attach the 7 2x4s to the inside of the bed rail 2x4s about every 10 inches. With the bed upside down during this process I was able to lay a scrap piece of 2x4 under the platform supports to make sure the tops of them were aligned properly with the tops of the 2x4s on the side boards.
Attach the 7 2x4s to the inside of the bed rail 2x4s about every 10 inches. With the bed upside down during this process I was able to lay a scrap piece of 2x4 under the platform supports to make sure the tops of them were aligned properly with the tops of the 2x4s on the side boards.
Step 10.
Measure each leg support and add 1x6 wrap to the outside of the support. I used a pneumatic nail gun to do this. Screws will work and could add a more rustic look to it, your choice.
Step 11.
Add leg wrap supports. These I cut out of scrap wood I had from previous cuts I made to make the other pieces of the bed. Cut them to fit tight and nail or screw them to the leg support and wrap. These will prevent your leg wraps from collapsing if you shift the bed around once it is in your house.
Step 12.
Flip the bed right side up. If you have built the bed the same way I have listed above it is going to be heavy. Maybe a little over built, but I don’t want to wake up from a falling dream and realize it is not a dream… Just saying.
Step 13.
Make sure the bed is square. You don’t have a square to do this? No worries, use the 3-4-5 triangle to make sure it is square. Pick any corner and measure down one side of the bed 3’, from that same corner measure down the other side of the bed 4’, then measure between your 3’ mark and your 4’ mark and your tape measurer should show you a 5’ measurement. Your high school math teacher is going to be so proud of you for using the Pythagorean theorem. If the measurement between your two marks does not equal 5’ shift the bed until it does. (You may not want any children around for this process, it can get frustrating and sometimes “parent words” may slip out).
Step 14.
Attach plywood to the platform on top of the platform supports
Step 15.
Sand any marks, blemishes, etc. you don’t want to stain and clear coat over.
Attach plywood to the platform on top of the platform supports
Step 15.
Sand any marks, blemishes, etc. you don’t want to stain and clear coat over.
Step 16.
Stain, seal and… (As you can see in the last two pictures I stained our bed prior to this step, but like I said before you are all benefitting from some of the things I SHOULD have done in a different order)
Stain, seal and… (As you can see in the last two pictures I stained our bed prior to this step, but like I said before you are all benefitting from some of the things I SHOULD have done in a different order)
Step 17.
Break your back carrying it into the house. It’s really not THAT heavy, but I don’t recommend recruiting a pregnant woman that is 5 months along to help you move it. Sorry babe! You are a trooper and thanks for the help!
Step 18.
Go out and enjoy a good cigar (if you have any left) and clean up the mess you have created. The next honey-do is just around the corner...
Wasn't Justin GREAT!! Can you tell why I love this guy so much!?
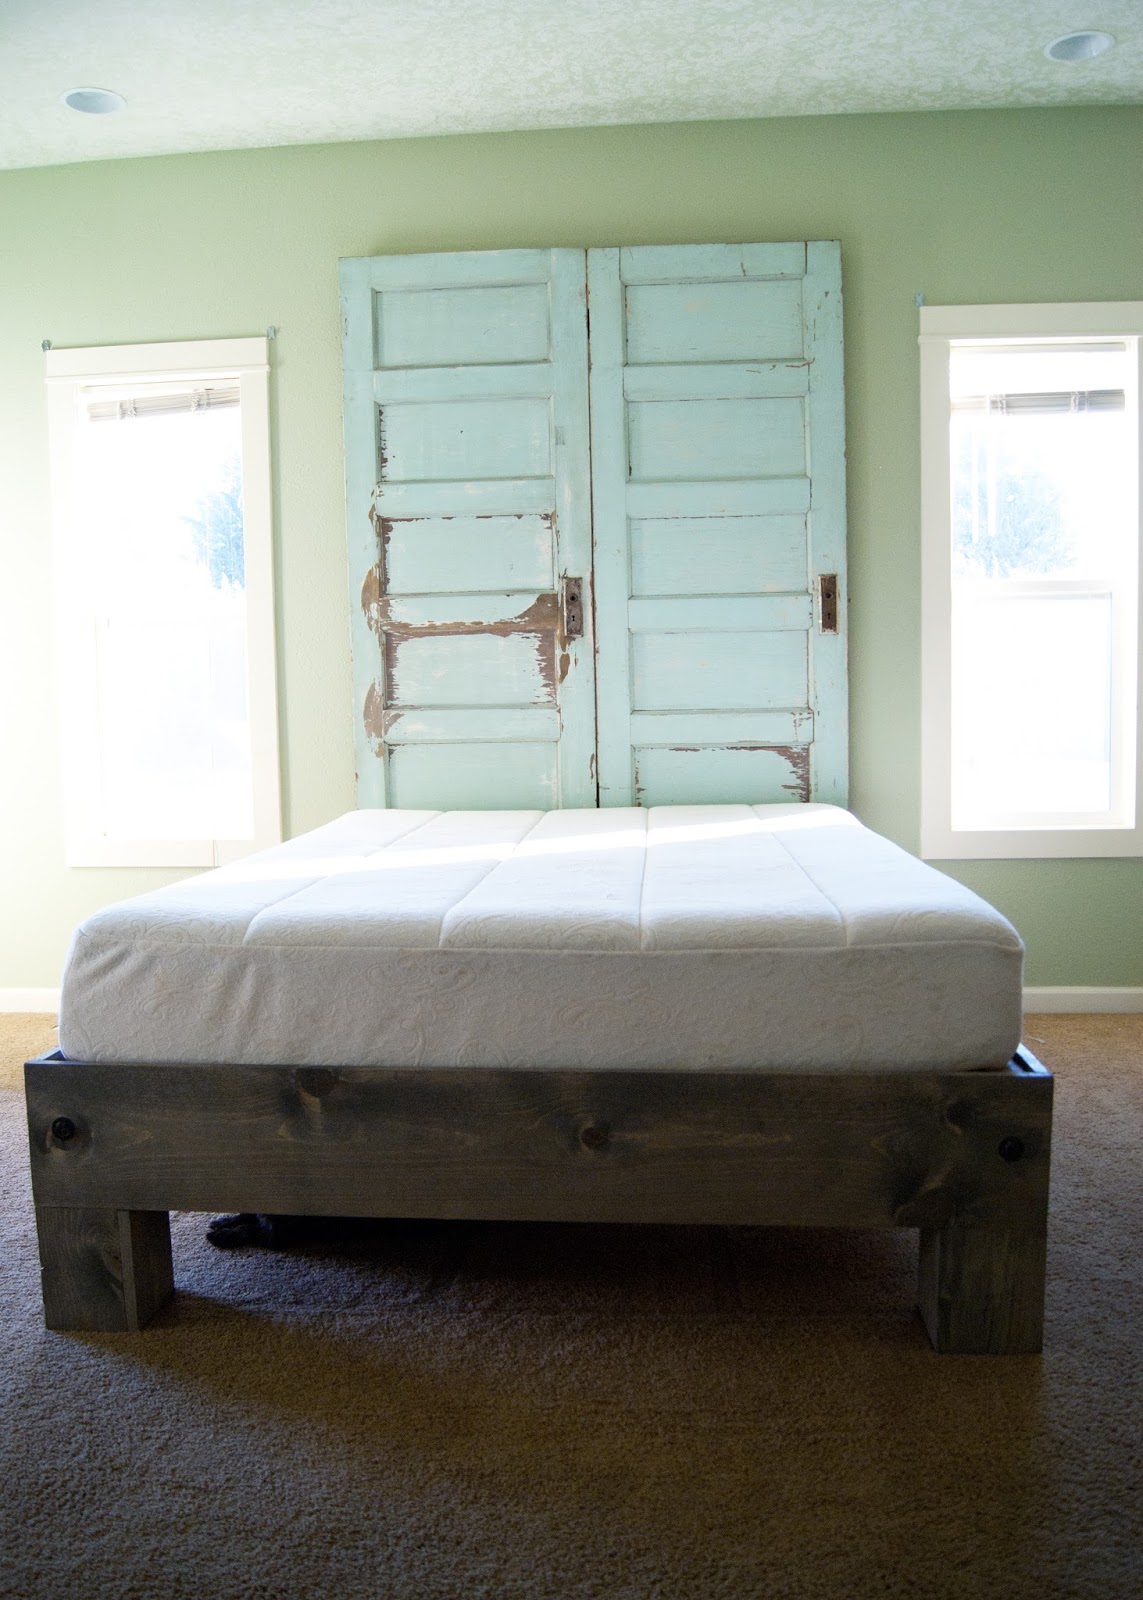
Now for some oh-so-pretty pictures of the bed...
ooooooo....
ahhhhhhh......
yeah, pretty much my favorite thing in our house!
Now time to finish up the rest of the room!
If you have any questions on this build, feel free to ask.
(I'll even get the man to answer them!)


No comments :
Post a Comment