This is the final post before the big fireplace reveal, I promise!!
If you are just joining us in this makeover series here are the links to what we have done so far:
When we left off last week I had just finished tiling the fireplace hearth and surround. It was looking a little janky to say the least.
No fear tho!
What appears to be a wonky tile job had more to do with a less than square fireplace box (which we DIDN'T build, btw) and could easily be hidden with trim pieces.Oh, yeah, I grouted it all late one night so no pictures. We did go with bright white non-sanded grout to help hide any tiling mistakes, because lets be honest, there were a few.
The original trim plan called for a 1 x 4 on the front, but after we realized we were short tile, we made it wider, cutting a 1 x 6 down to the width we needed to cover the imperfections. We also added a tiny trim piece up under the front edge of the mantel to clean up that tile line too.
Then I taped everything off and gave it all a couple coats of primer. Including the oak trim around the hearth tile.
After is was primed, I did several coats of white semigloss paint. I am a big fan of tackling as much painting as I can at one time so I was working my way back and forth between the kitchen touch ups and the fireplace. (why get out the paint more than once!?)
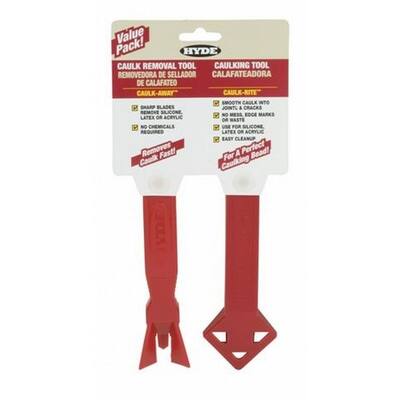
The final step was removing the tape so I could do all the caulking. I love this part since it cleans up all my mistakes!! Also, if you are caulking anything, get this tool.
Seriously. #gamechanger
Well, that's it for today! Final reveal will be here this week.


No comments :
Post a Comment