I have been making you hold out for more fireplace updates haven't I! Sorry about that!
If you are just joining us in this makeover series here are the links to what we have done so far:
Here's what the fireplace look when we left off...
Next step, tile!
This beautiful tile actually....
My husband picked it up at a yard sale last summer for, get ready for this...
$10 !!
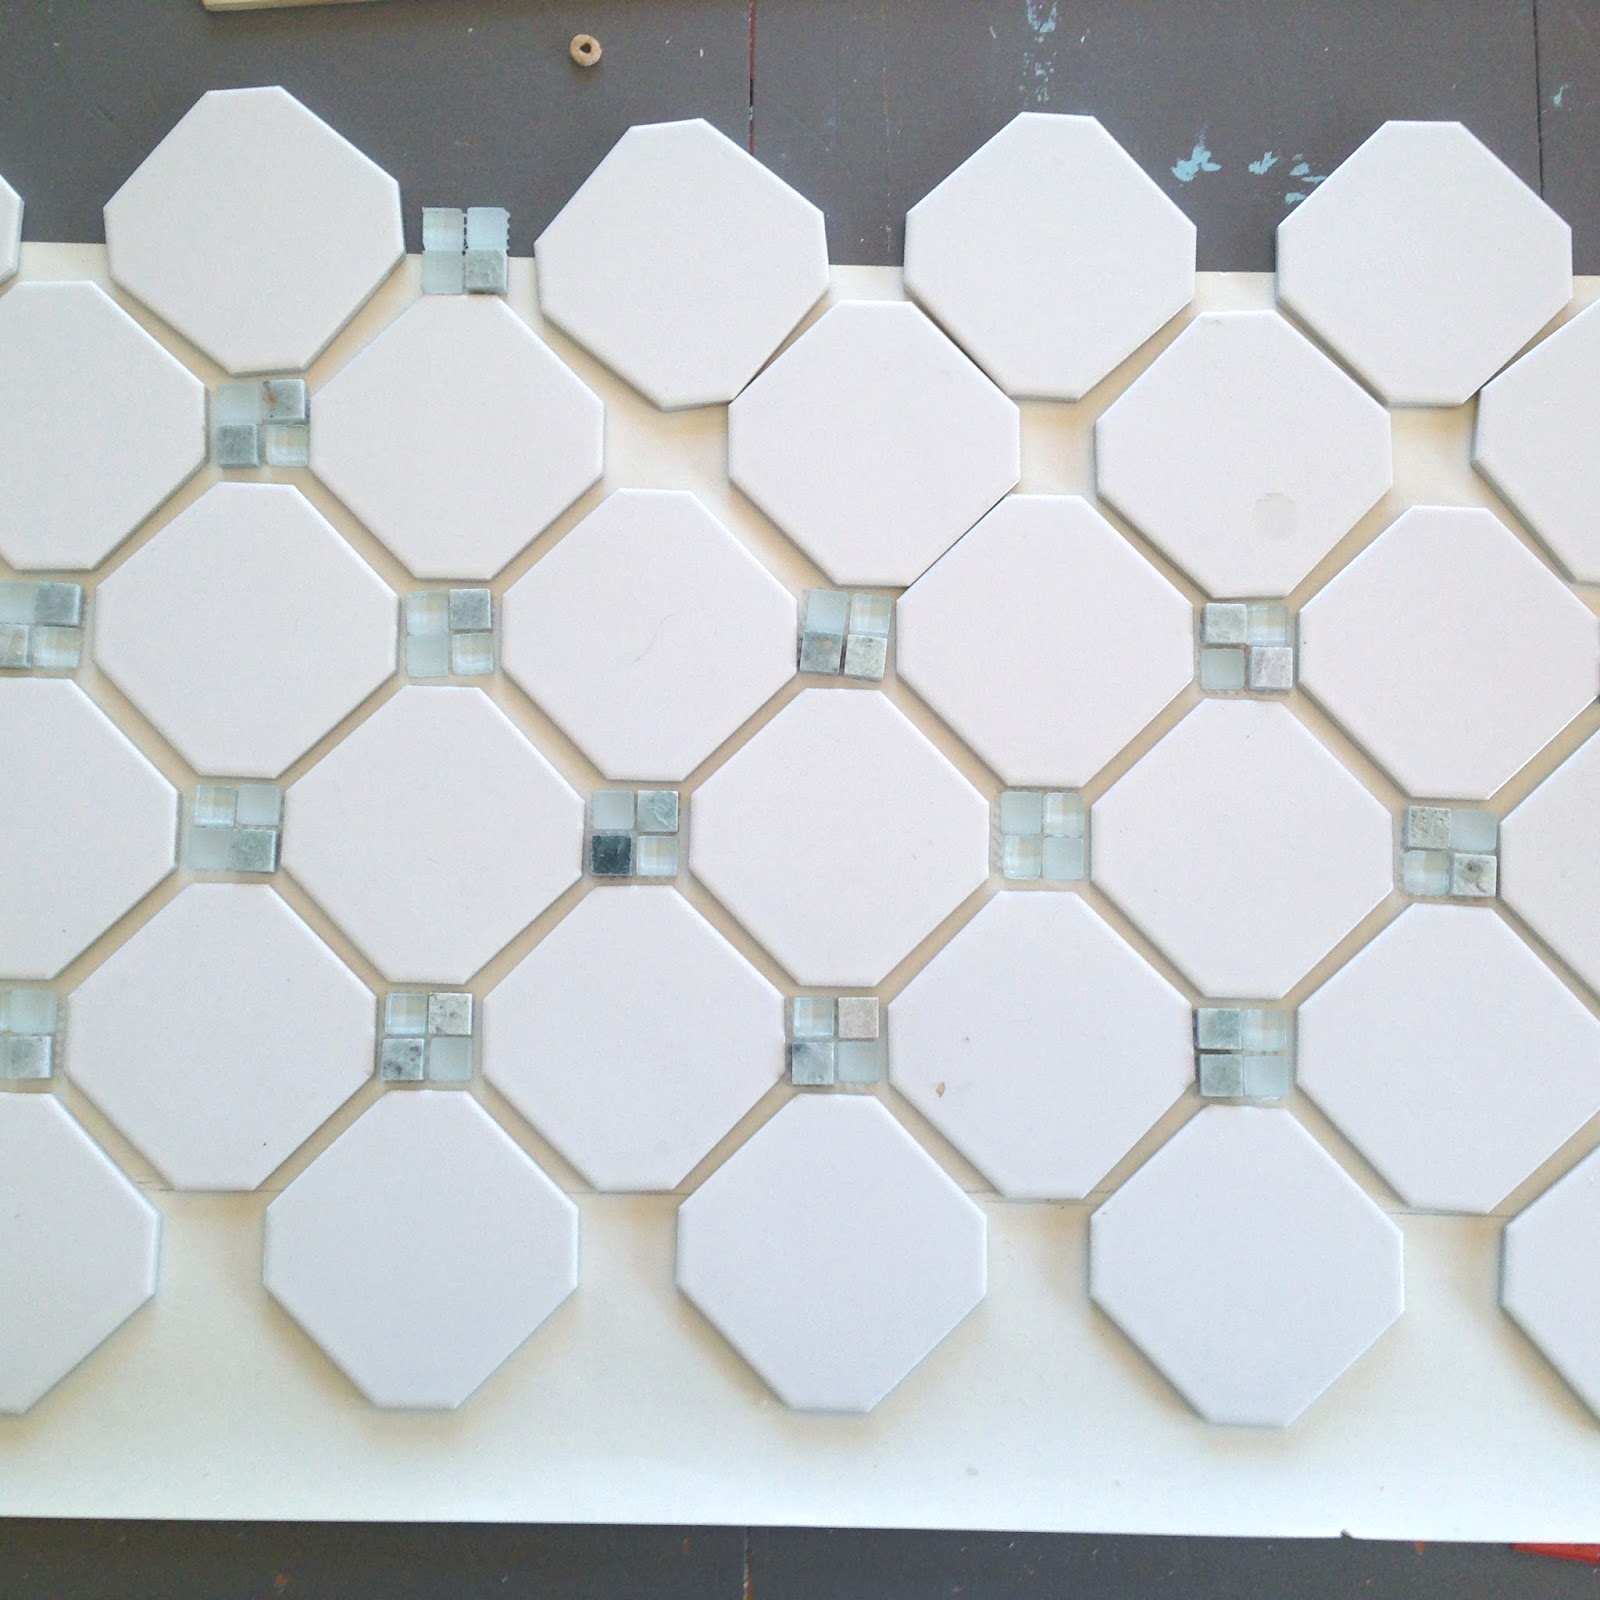
He bought one box of octagon tile (40ish square feet) and ONE sheet of green natural stone & glass mosaic.
One sheet, that's it. 81 sets of 4.
So, first step was figuring out a pattern.
I cut a template out of a roll of craft paper and laid out my design. I settled on the classic octagon and dot pattern.
I could tell right away the pattern was going to be tricky since my "dots" were larger than intended for the octagon cutouts. I knew would have to eye ball a lot of the spacing when I started laying the tile.
When I was confident I could handle it, I started laying the hearth tile. I would spread the thin set and set the tile while my husband was making all the cuts as needed. It went relatively quickly until I started having to work my way up the wall. Deciding where to start so everything would line up took major brain power and lots and lots and LOTS of patience.
I did my best to use spacers, but often they would just fall out. Let's just say some choice words might have been used. There are probably some clever tricks professional tilers would have used, but since I'm no professional, I just kept plugging along.
(graveyard of tile spacers...)
When I was about 2/3 of the way done with the face of the fireplace my husband had the novel idea to COUNT how many green tiles we still needed to complete the design.
Guess what?
I was FOUR sets of four SHORT!
Well, (insert naughty words here ____!!!)
Luckily, we figured out we could steal some tile from one side to use on the other. You can kind of see below that on the left side the tile has sets of four running against the trim board and the other side just has two. We already knew we would be hiding the edge of the tile with trim pieces, so we just decided to make them wider than intended.
Ignore my clearly lopsided looking tile job on the right... it will be getting covered up. Thank goodness!
Final results will be on the blog next week!!!


No comments :
Post a Comment