We made more progress on the fireplace over the weekend!
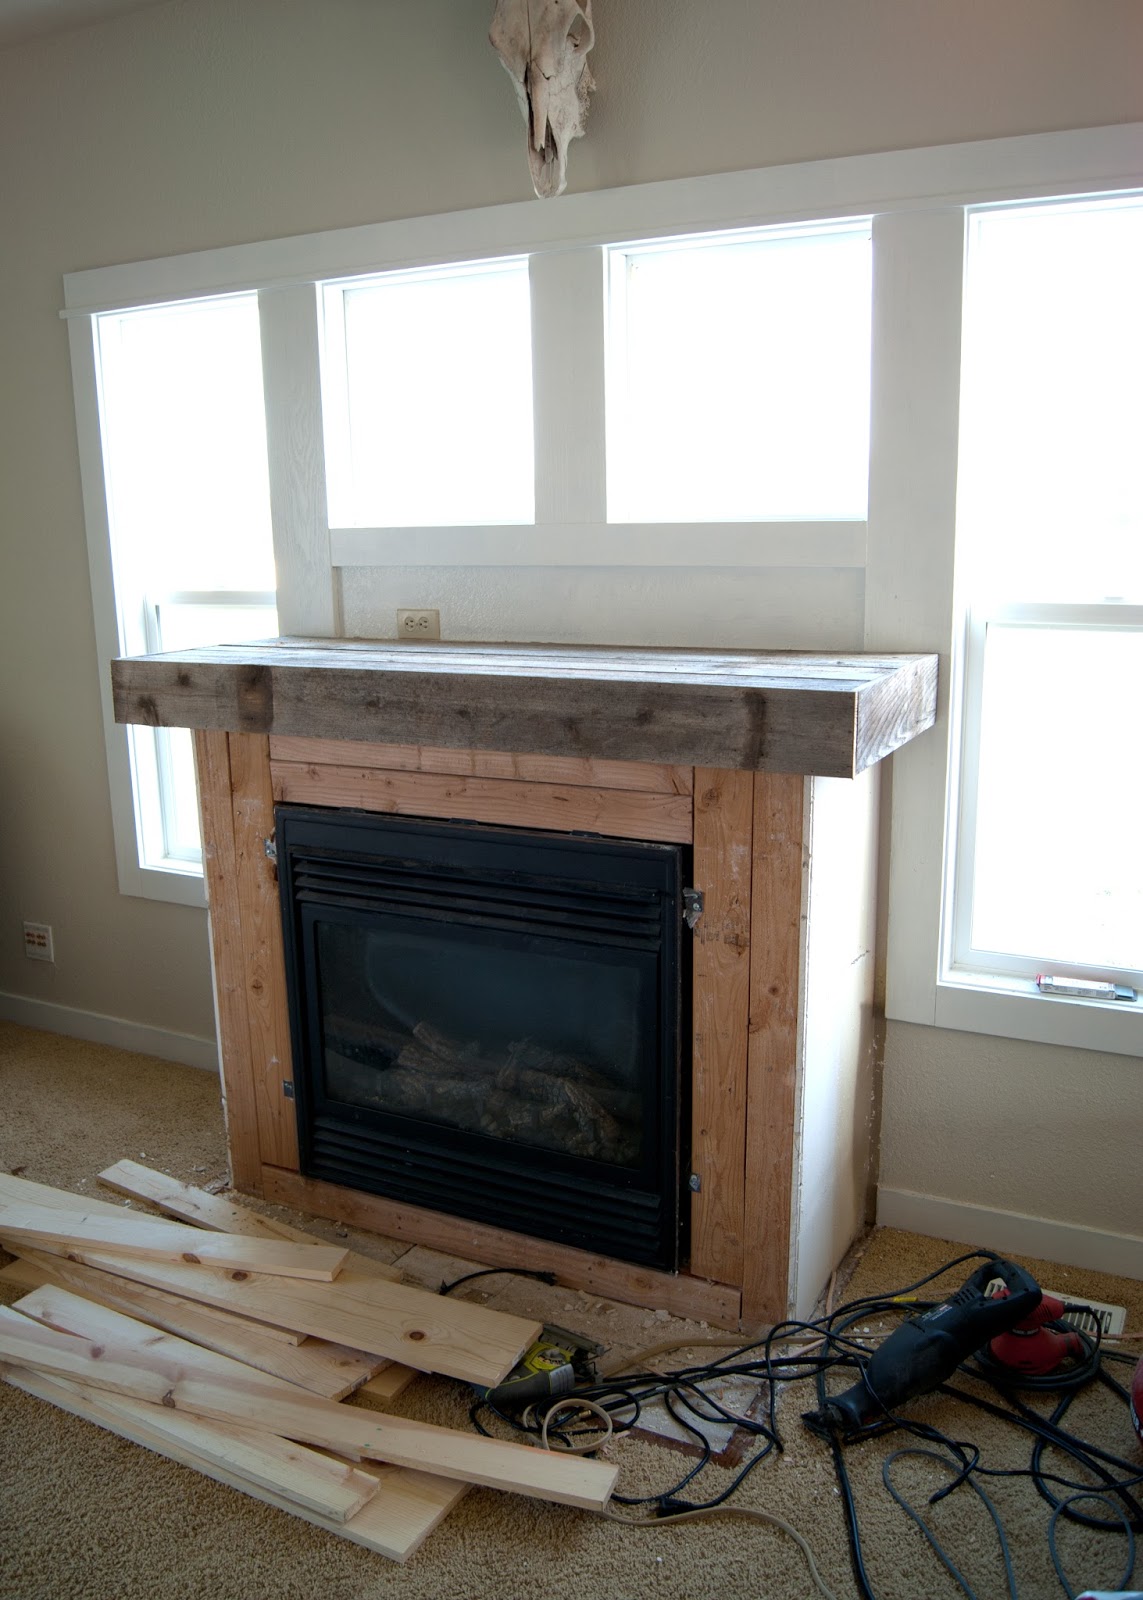
Last week I showed you how we built our reclaimed wood mantel. Thanks for chiming in on the to corbel or not to corbel debate! It was very helpful! I'll hold off on telling you what I decided, tho!
So here's were we left off...
During the initial demo, all the trim came off the sides and we needed a solution for fixing it. Justin really didn't like the original (you can see it HERE - seventh picture down..) so putting it back wasn't an option. Somewhere along the line the idea of planking came up, so we raided our scrap 1 by material to see if we could come up with a plan.
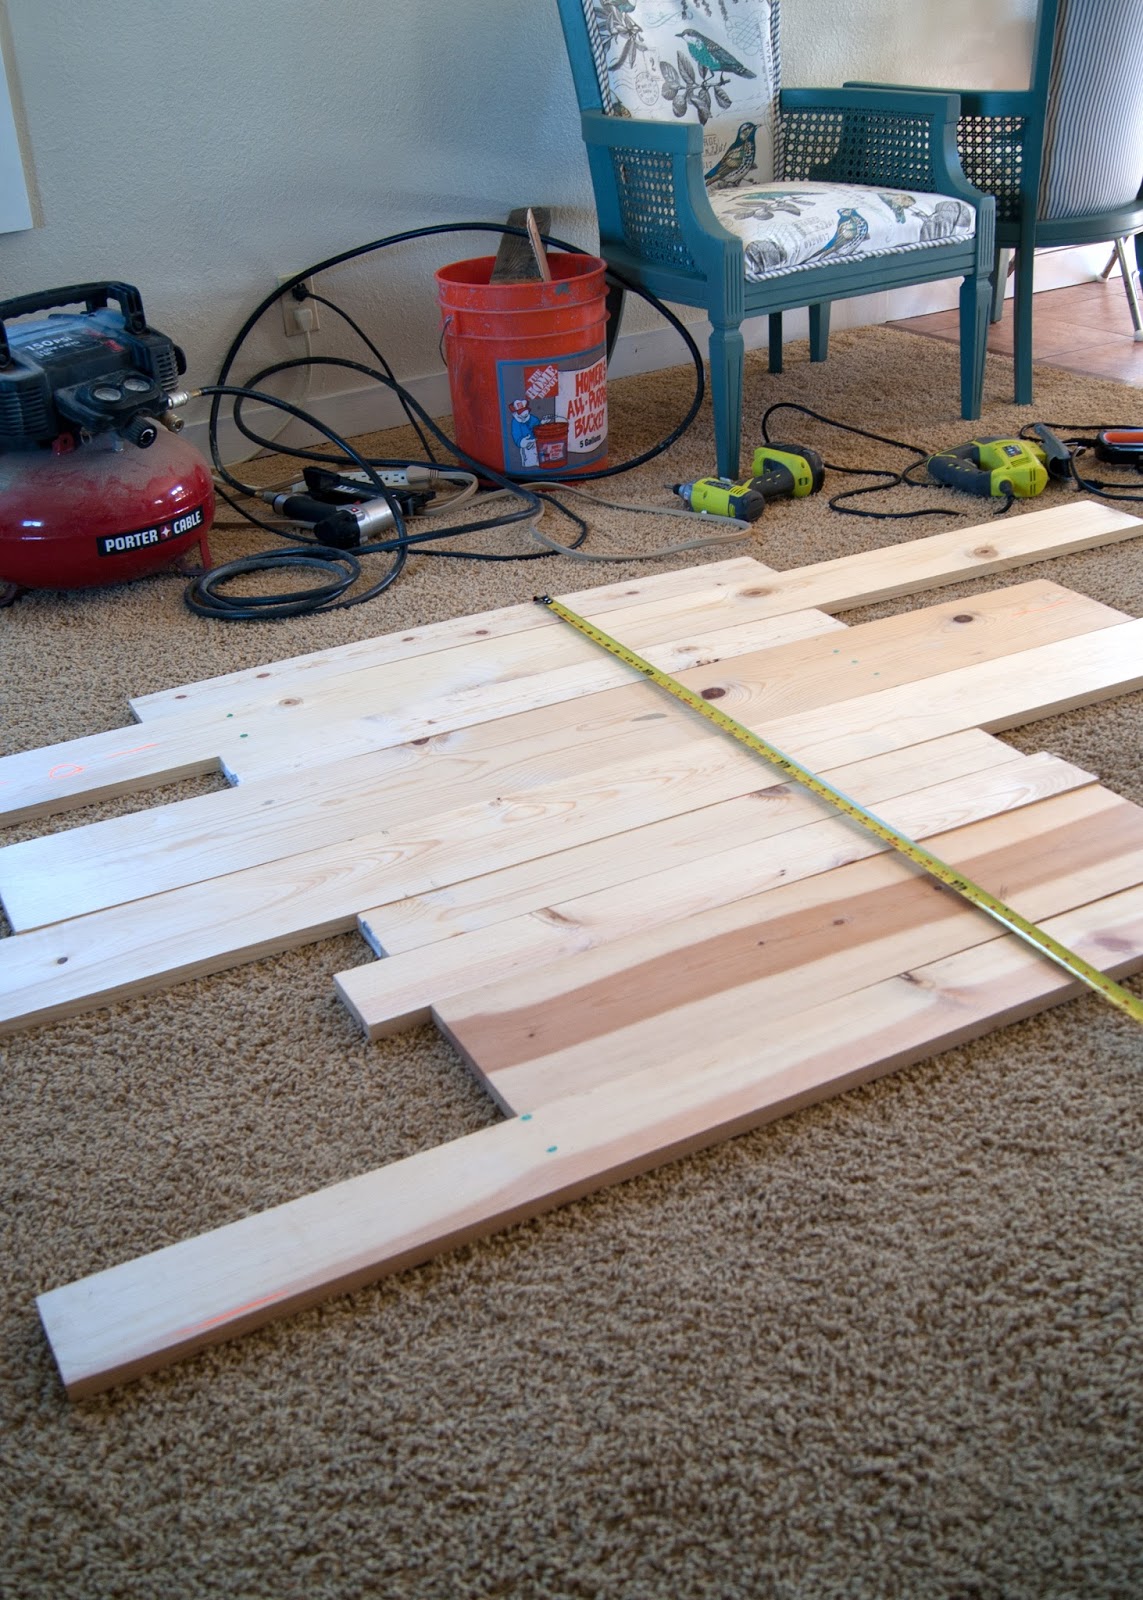
Since we had different widths of wood, we decided a "random, but not random, so both sides match" pattern would make the most use of the materials we had. We laid the wood out and messed around with it until we came up with something we liked. We did end up having to buy extra wood so we could replicate the pattern on both sides.
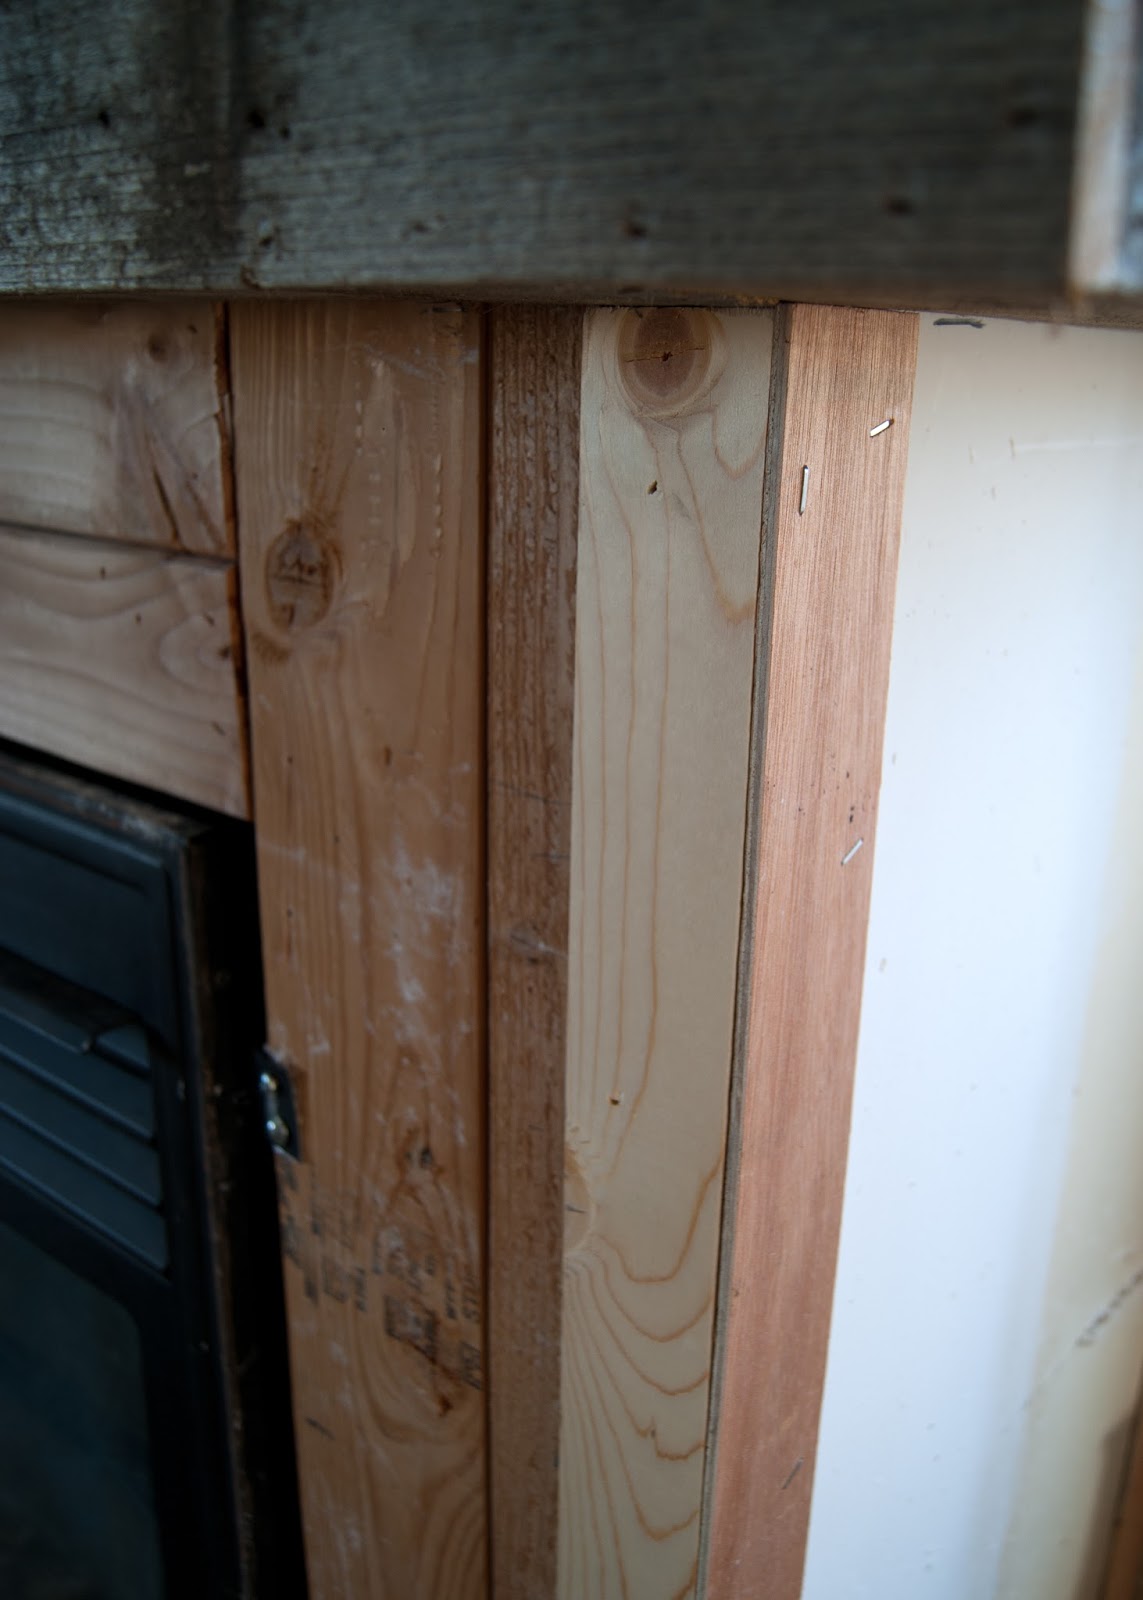
Once we worked out a final plan, Justin got to work. He started by adding back a few cut pieces of the oak plywood to the sides. You can see below that there was a gap between where the old trim and the window trim met. It also gave him a little more support to nail up the planks.
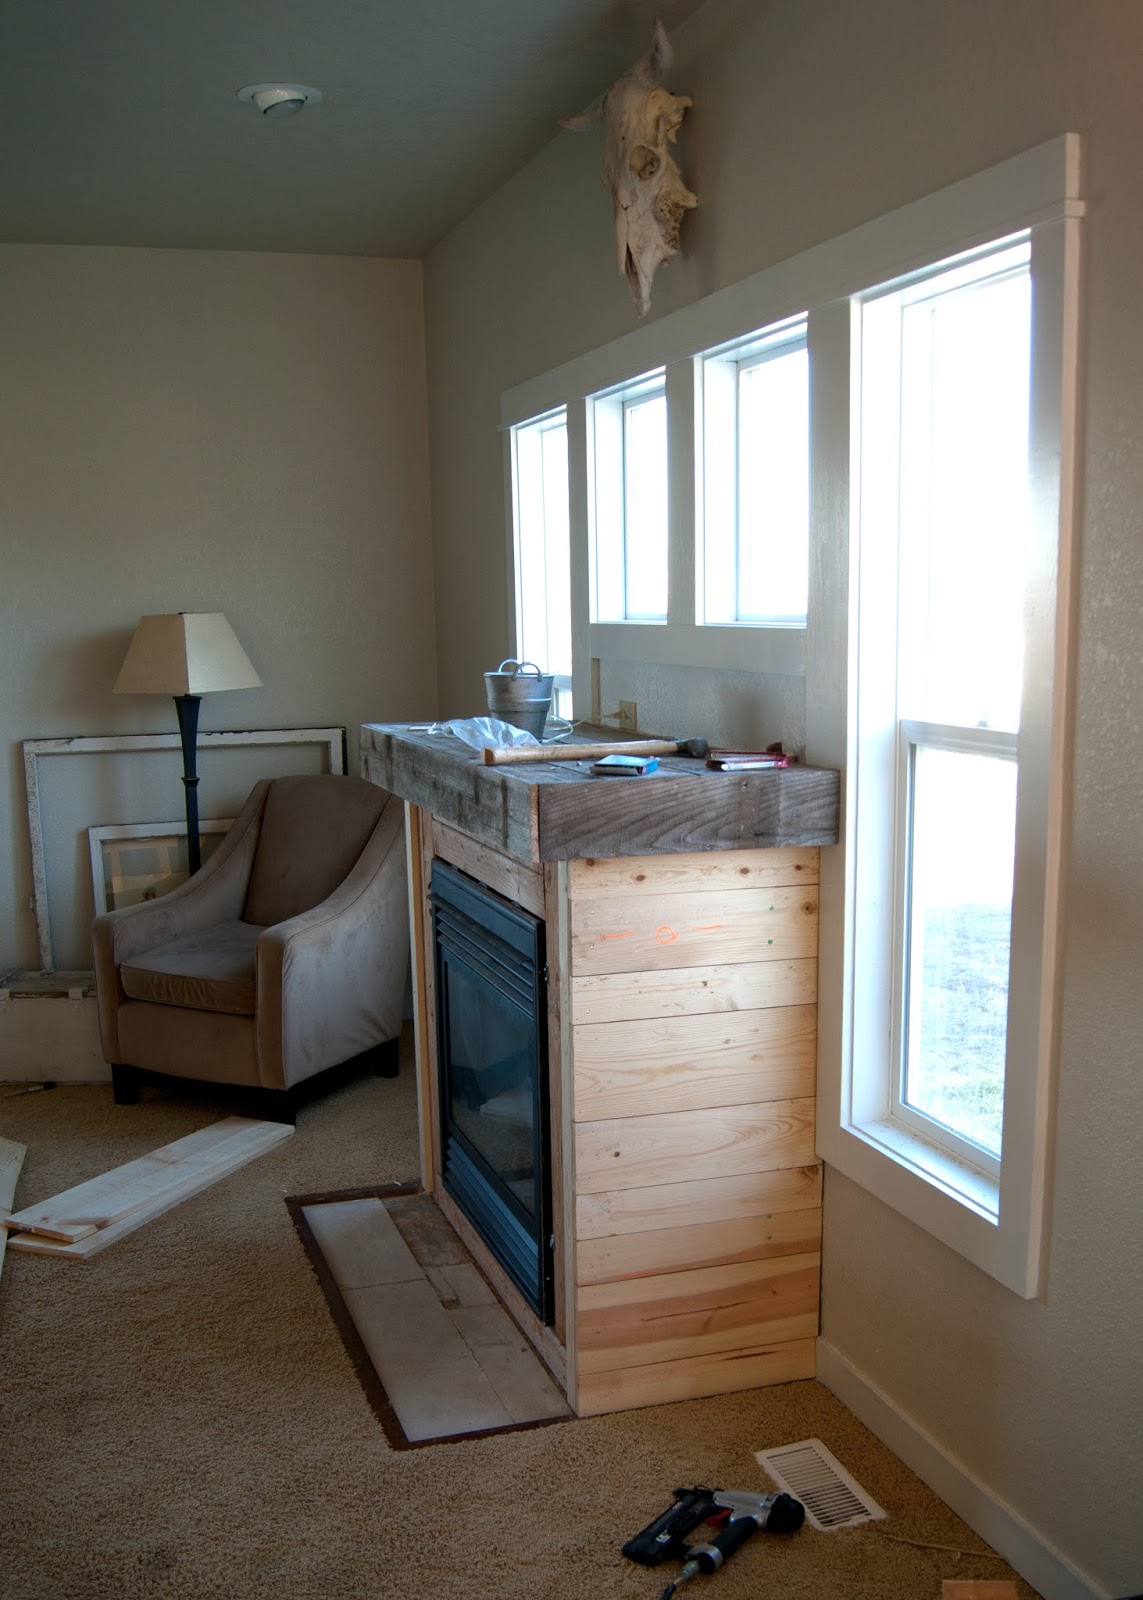
He then cut the planks to size (he made sure to number them so they went up in the planned order on each side.) He ended up using toothpicks to keep the spacing consistent. #clever
Perfect fit! I will hide any remaining gaps along the wall edge with caulking.


No comments :
Post a Comment