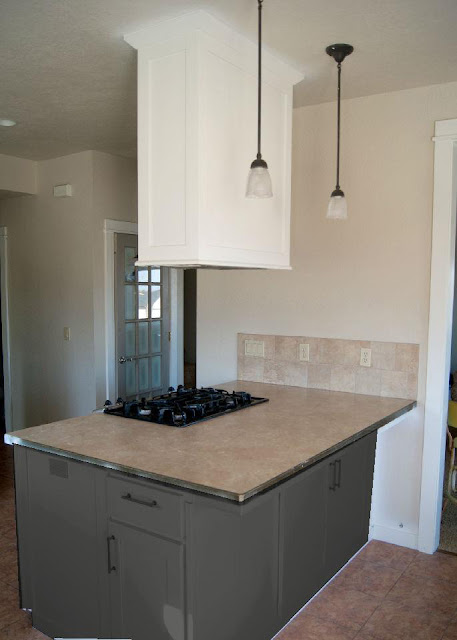
Finally its counter time!!
Considering that we anguished over this dang island for months and months, the actual counter top took hardly any time to complete (except the clear coating process, but more on that later).
After we finished the concrete counters, we were not looking forward to doing the same thing on the island, it was time consuming and messy and I was really wanting to bring some wood tones back into the kitchen. The only problem was I didn't want to buy new wood and reclaimed wood can cost a pretty penny. So basically our counters have looked like crap for the last few months.
Suuuuper classy....
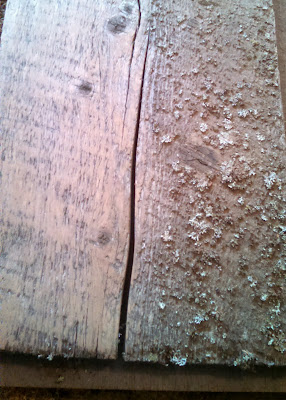
I was starting to think we would never get new counters, when a trip to see family in N. Idaho yielded us a ton of old wood. It was all just laying in the woods at my mother-in-laws house. I showed it my husband and before I knew it we were hauling it home with us!
Yay for FREE wood, moss and all!
Once we had our wood it was time to get to work!
Step 1:
We removed the old counter...(since I'm married to super hunky strong man, ours just lifted right off)....buh bye laminate!!
Step 2:
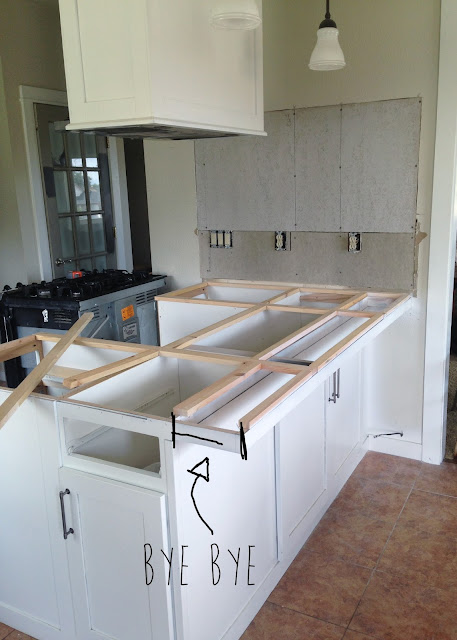
The old counter had a framed out section that extended out to make a bar. For our plan we needed to eliminate it. Justin used a saws-all to cut it off flush with the cabinet base.
We opted to leave all the other counter framing in place (all those 1x2s) since they were already level. There were a few boards that came loose when he lifted off the laminate, so he glued and stapled them back on as well.
Step 3: Next we added a layer of MDF, extending the bar side a couple extra inches to create as big of countertop as we could fit in the space. Our countertop surface area was too big to accommodate just one sheet of MDF, so each section was glued and secured with the nail gun,
We made sure to leave enough room for the reclaimed wood that would be coming next.
Step 4:
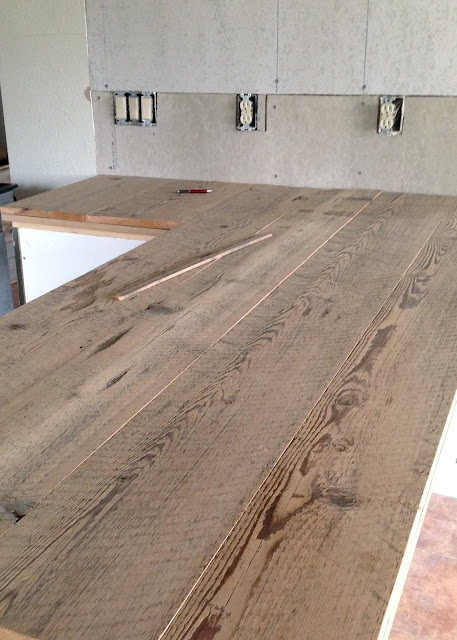
We sanded, cut and began installing the reclaimed wood. If we owned a planer, this would've been perfect time to use it, but sadly we do not. Instead, Justin sanded each board and then using a metal straight edge and a circular saw, cut each side so it would sit tight against the board next to it. I wish I had photos of this, but it was one of the more intense parts of the counter top install. Lets just say, he wasn't able to get a straight edge until we bought the biggest, baddest metal level I've ever seen! My tip - make sure your straight edge can't flex from side to side. There are several straight edges out there that will extend and those will not work if your boards are really long.
Once the boards were prepped, we glued and nailed each one into place.
When all the boards were installed, we sanded until everything was smooth and level.
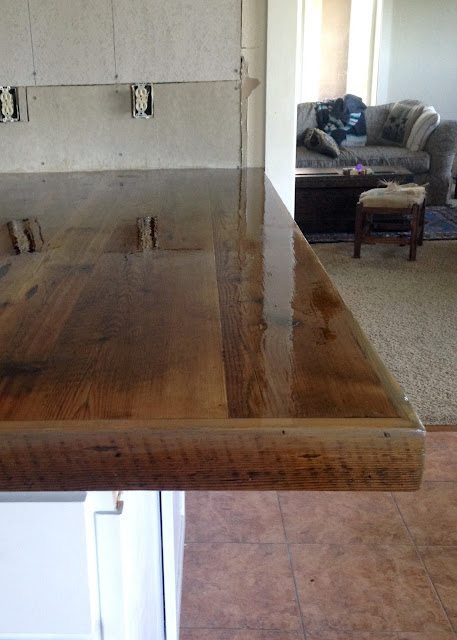
After the top boards were installed, Justin cut boards for the edges. We decided a mitered edge would look the most professional. He also added a board to the underside of the counter so that it would look finished from underneath too! Again everything was sanded so it was smooth when you run your hand over the joints.
By the time it was all said and done we had nice thick looking counters!
We needed to fill the knot holes & gaps between the boards. This is a case of do what I say, not as I do! We tried several methods to fill the imperfections on the counters which led to fail after fail. So frustrating! Normally we would just do wood filler, sand, then stain the whole counter so everything matched. but in this case we didn't want to cover up all the cool imperfections or change the color of the wood. Even though I wasn't planning on staining, we still wanted the counters to be easy to wipe down. We tried filling the imperfections with the clear coat (way to runny ), then plain wood glue (hoping it would dry clear - it didn't dry at all). Finally I filled each and every crevice with wood filler, sanded it smooth and then went back in using a tiny paintbrush to stain just the wood filled areas. It was a pain in the tushy, but it did the job. We should've done this to start or bought a clear epoxy kit, but hey, live and learn right!!
Step 7:
The last thing we did was apply our sealer/ clear coat. For this step we chose to go with Minwax Spar Urethane in a gloss finish. We considered a lot of other options, including the highly touted Waterlox, but in the end we decided to go with the Spar because my husband had used it a lot when he used to work in a stain shop. Spar Urethane is often used on bar counters, so it should to stand up to a few kids and some novice home cooks! I should note that we do not plan on using our counters as a cutting surface.
When the first swipe of clear coat went on I about fainted - it was SOOOOOO pretty! There is a slight amber tint to it which brought out all of the beautiful warm wood tones in the boards. I had seriously considered going for a grayed wood look, but with our current floors and all the other grays happening in the kitchen the warm wood was perfect! (We even plan on updating our already made over fireplace to coordinate!)
Unfortunately, coat number two didn't go on quite as easy. I did a light sanding with 220 grit paper and then started to apply another coat. Part way into that coat, I started noticing tiny bits of dried clear coat were being left on the counter. Chunks of it! I was so mad!! Luckily another light sanding took most of it off and I bought a new brush to do what I hoped was the final coat. Due to the nature of old wood, it ended up not being the last coat the counter needed. I again cleaned my brush really well and when I went to do my final coat it started leaving crap on the counter AGAIN!! Can you imagine how I felt! GAH!!!!
So that's where we are at on our counters. I have since done another light sanding, but I haven't been motivated to do the FINAL final coat. I did a little research and came across some tips on applying spar urethane with a rag, so might give it ago next round!
Despite all the mishaps with the clear coat, there has been one good thing to come from all this extra sanding...
... I've decided I'm a huge fan of the matte looking counter over the glossier counter!! So whenever I do the final (praying its the final) coat I will use a matte finish instead!
So,...here we are today...a mostly done counter that I love the heck of! Even though it is not technically finished, it is working quite nice for our family. It wipes up super easy with my normal kitchen cleaner. Not to mention, its just so pretty to look at!
Oh, I forgot to mention, before we started this project we measured our stove to make sure it would still fit with the added thickness of the new wood. It did, but just barely...so if you decide to tackle something like this, MEASURE!!!!
We still have a ways to go in the kitchen, tile for the walls, floating shelves on the island side, repairing the island, adding counter supports and finalizing the paint color of the island. I talked about the options for it in this post: Picking and Island Color
Want a quick look at a before and after of the island?
Before...
...after paint...
...with new counters!
Wish me luck, I plan to start tiling this weekend!
UPDATE: The tiling is done! Check it out HERE


