BIG things happened over the long weekend, so while I work on getting a post put together, I'm going to change direction a bit and talk about something different today.
We are talking chairs.
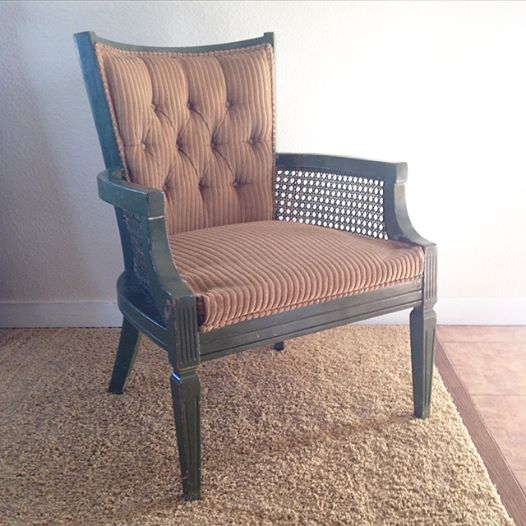
If you follow me on Instagram (which you totally should...) then you have been watching me make over a set of these...
Isn't she lovely. Well, ok, not so much.
These chairs have been hanging around a couple decades now. First, my mom picked them up at a yard sale. She painted them white, but left the gold fabric. Then, when she moved, my little sister adopted them, giving them a coat of green paint, but again leaving the fabric. They recently made their way to our house and I used them for our extra seating at Christmas dinner. Instead of sending them back out to the garage, I decided it was high time they received a proper makeover - fabric and everything.
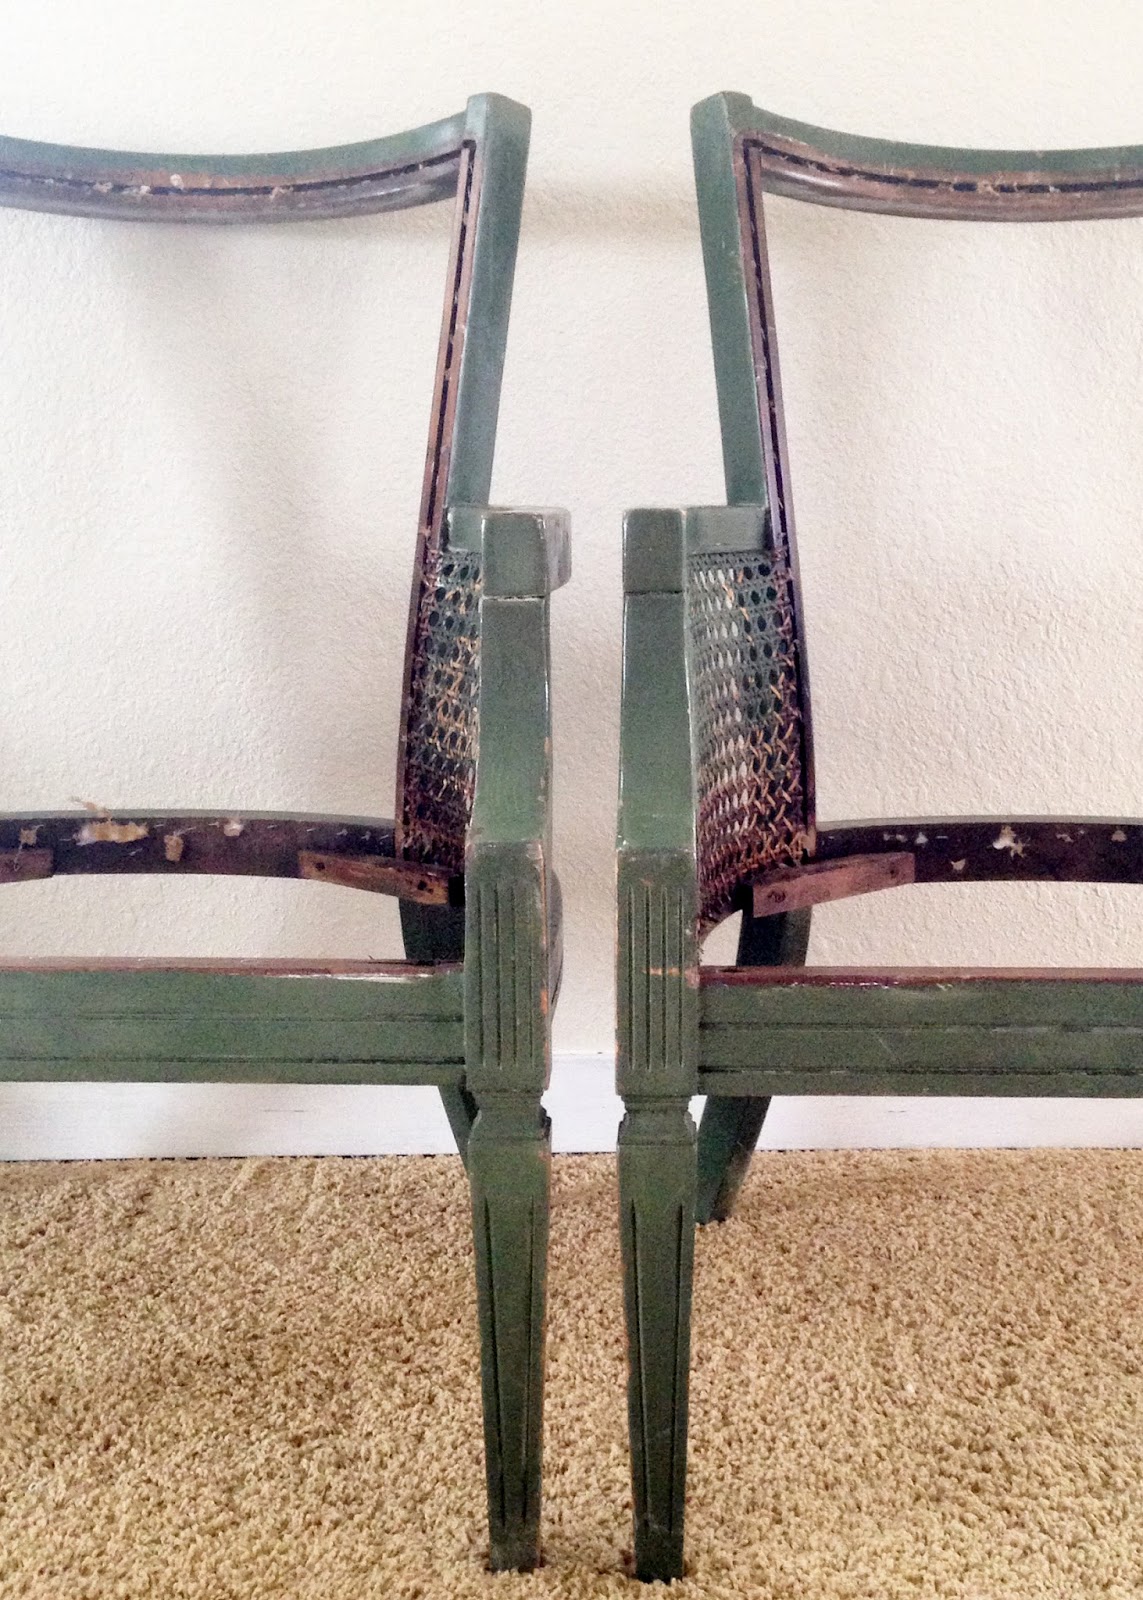
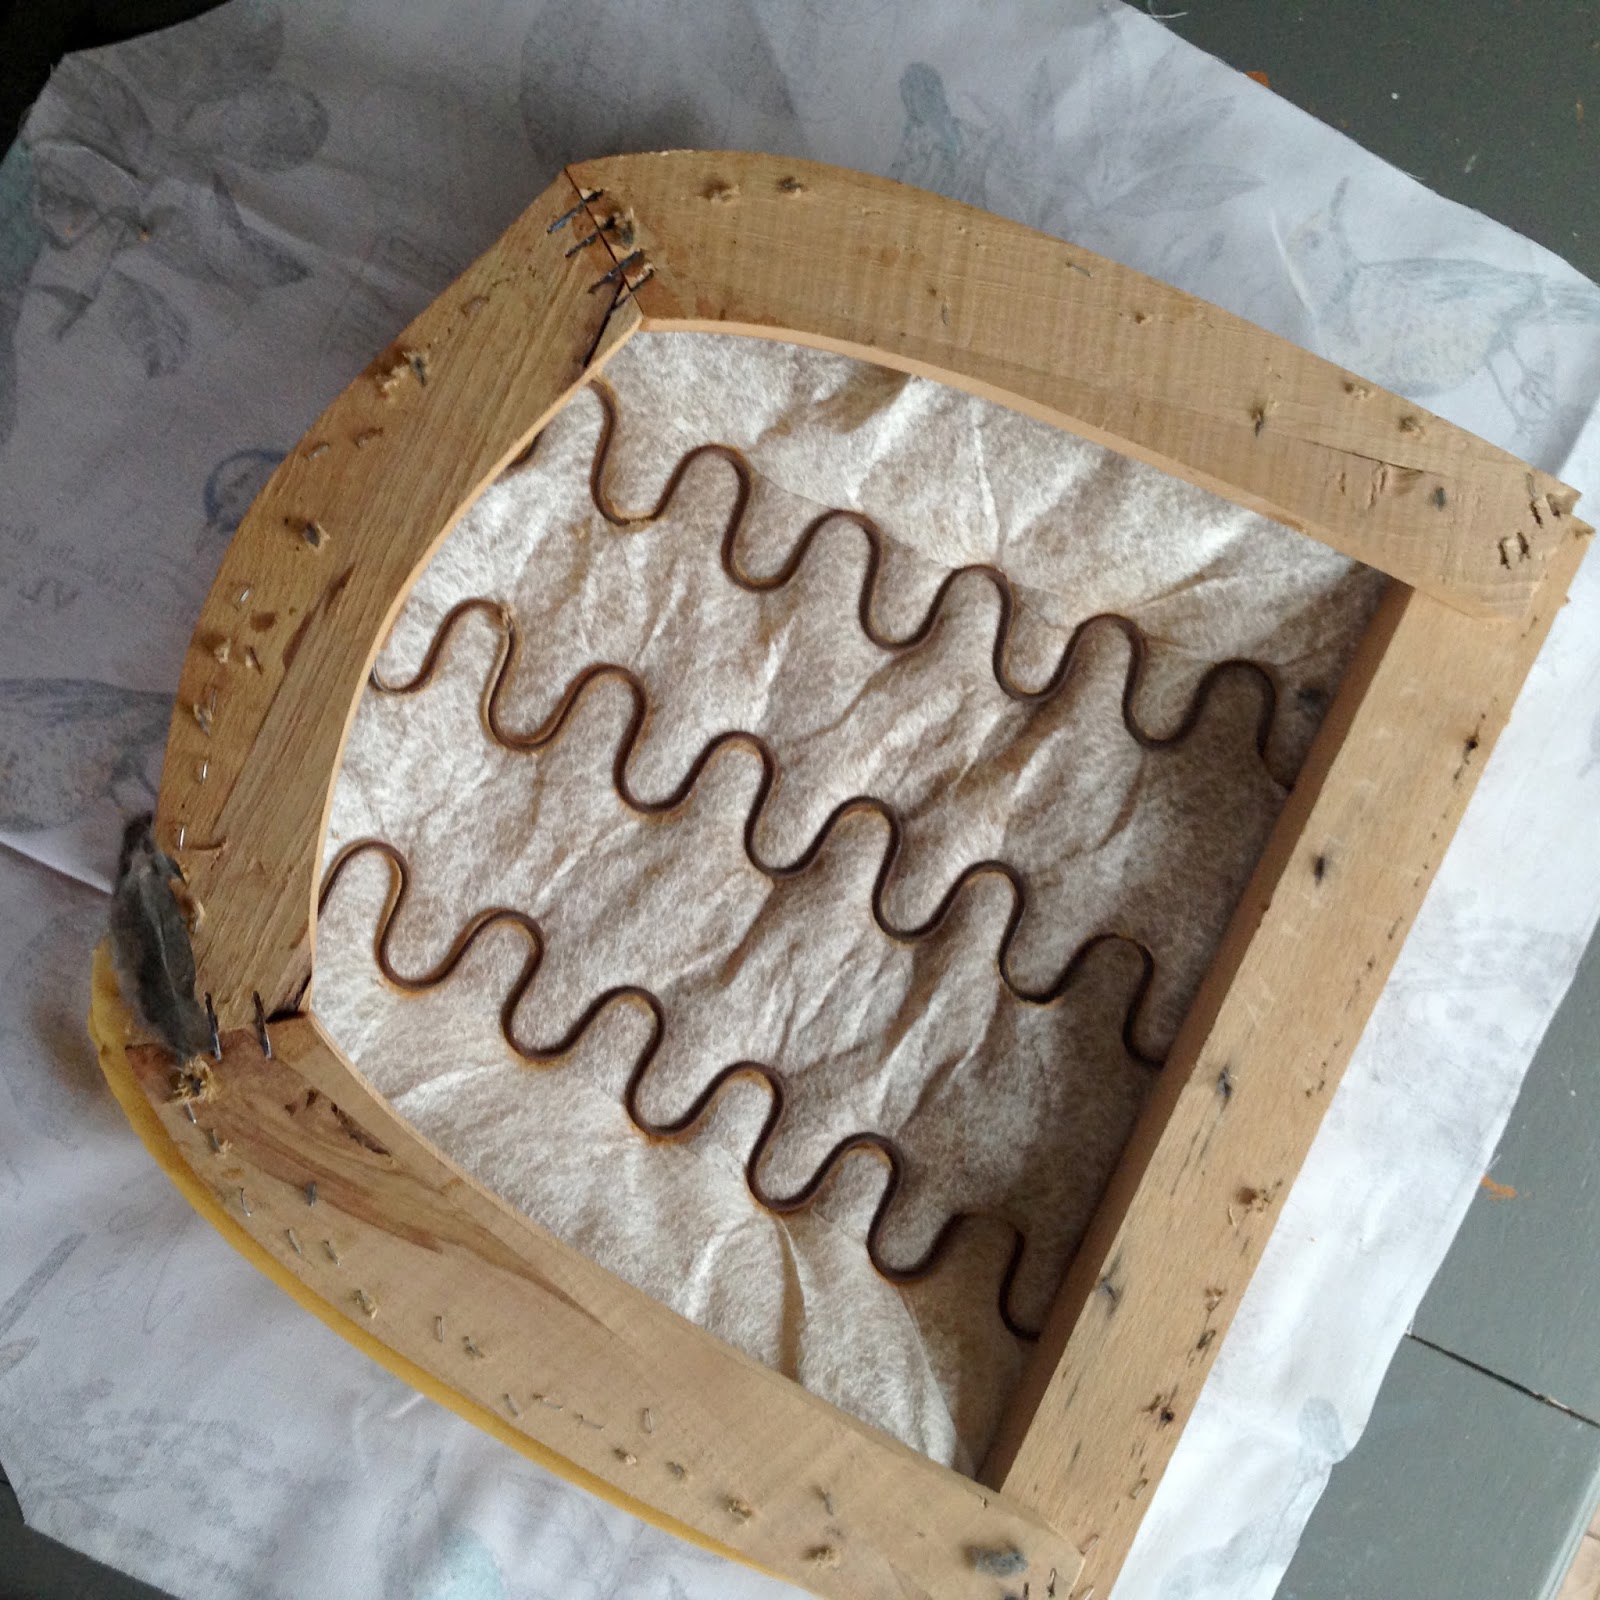
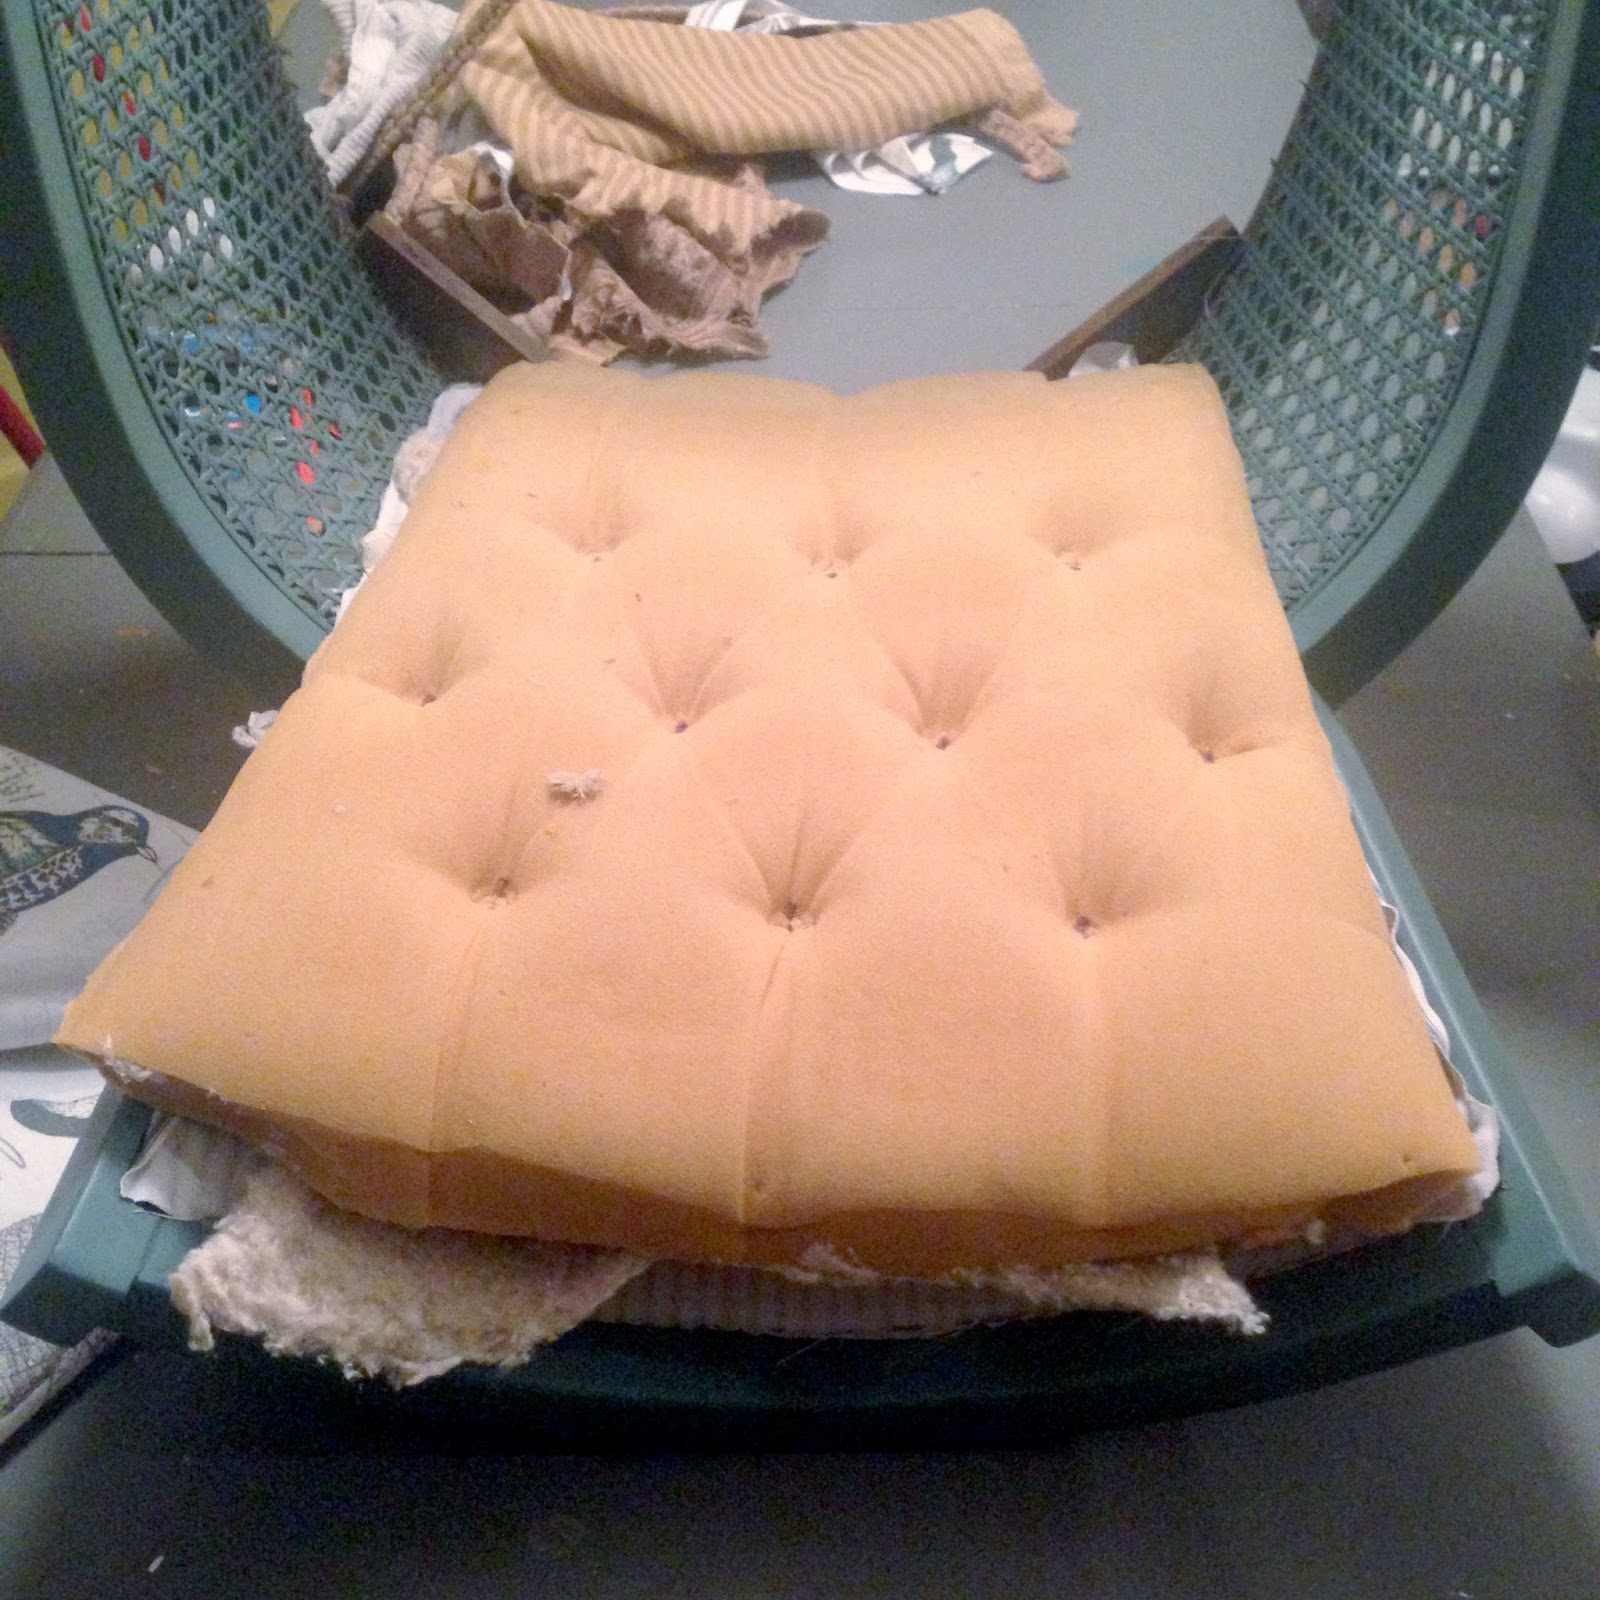
So I stripped them down to their bones - making sure to keep the fabric to use later on. Pay close attention to how it comes off, because you will be putting everything back on the same way.
Before getting to the fabric, I gave them a coat of paint...
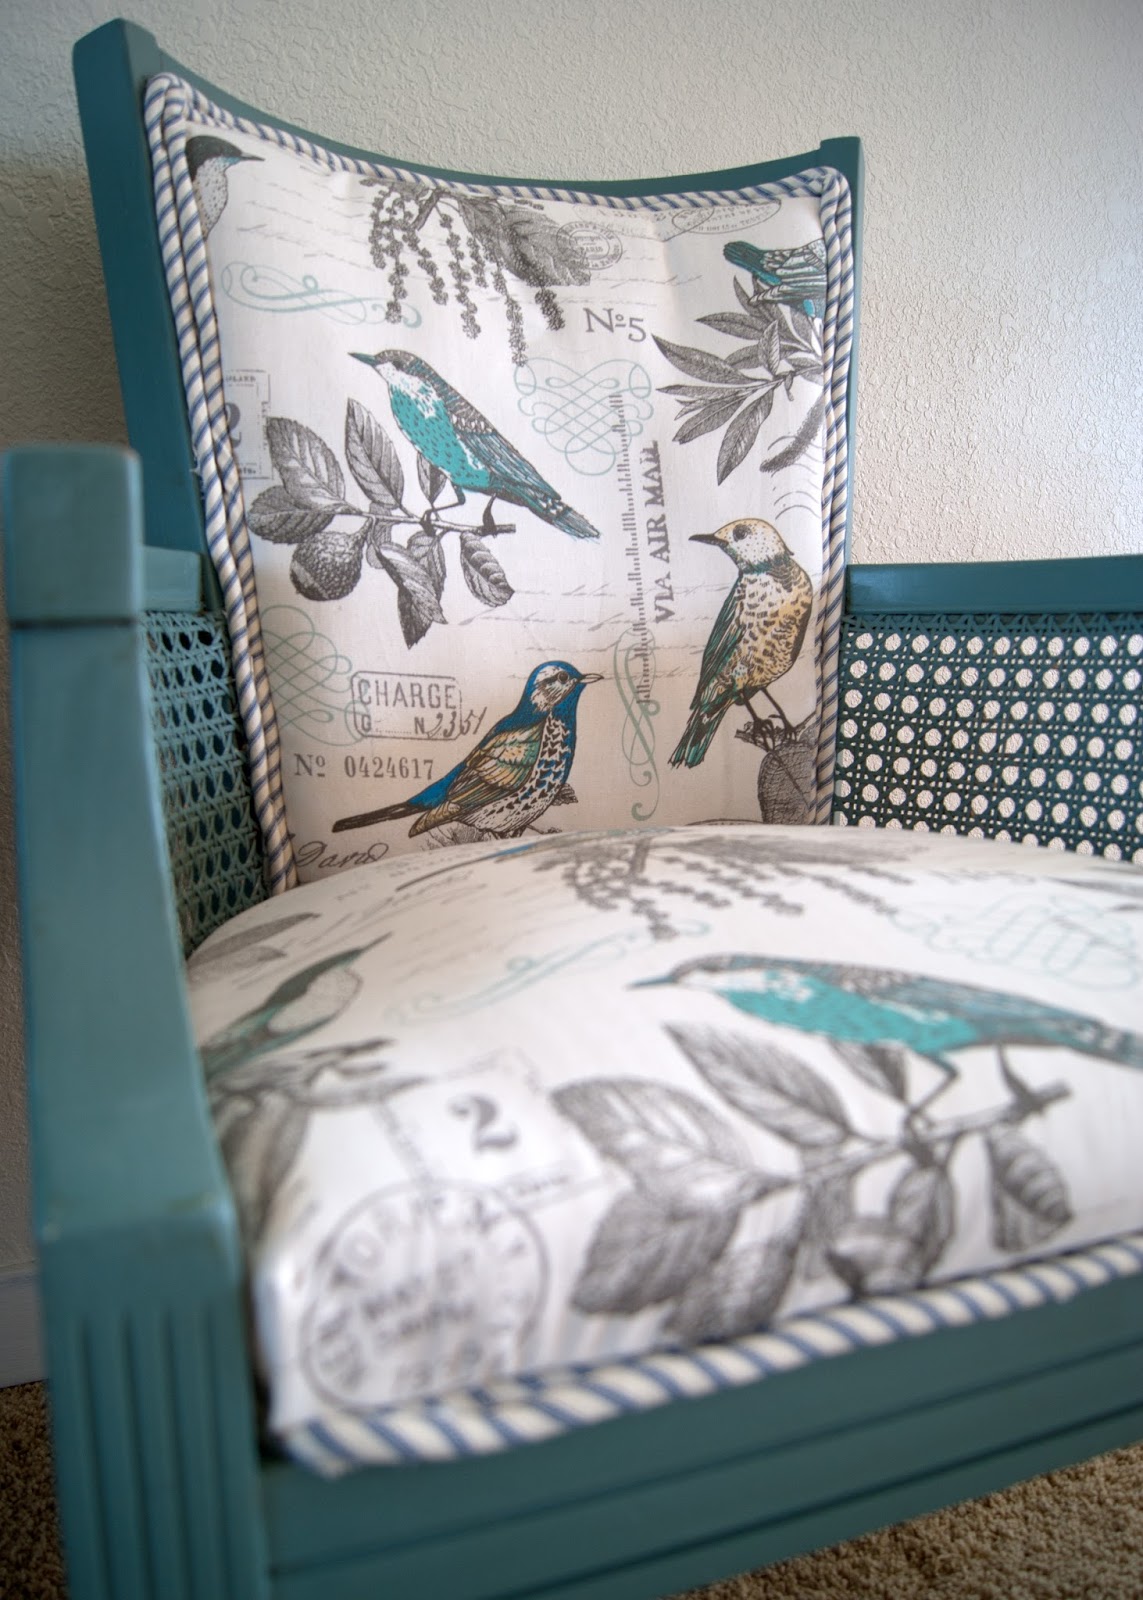
Bird Fabric is Hobby Lobby (I will have you know, my husband picked the birds and no matter how I hard I tried I couldn't find anything I liked better. So you can thank him for how cute these chairs turned out *wink*)
and Mattress Ticking is Walmart
Then to the fun part.
Upholstery 101:
Step 1: The Seat
I started with the seat. Using the seat as a guide and the old fabric for reference, I cute out the new fabric. I made sure that I placed my seat on it and checked that the pattern was running the correct direction. Cut the fabric at least 2 inches bigger than the old fabric so you have plenty of room to pull it tight around the seat.
Using a staple gun (I prefer an electric one.) staple the fabric on. I work center front, then center back and then out to each side working my way around the corners.
Once the seat is done set aside.
Step 2: The Chair Back
In the case of these chairs, I had a fabric panel on the back and then a tufted cushion on the front.
I knew right away I would be nixing the tufts. Partly because of the fabric and mostly because I didn't want to deal with it. If you want a basic tufting tutorial you can reference our DIY Ottoman Tutorial.
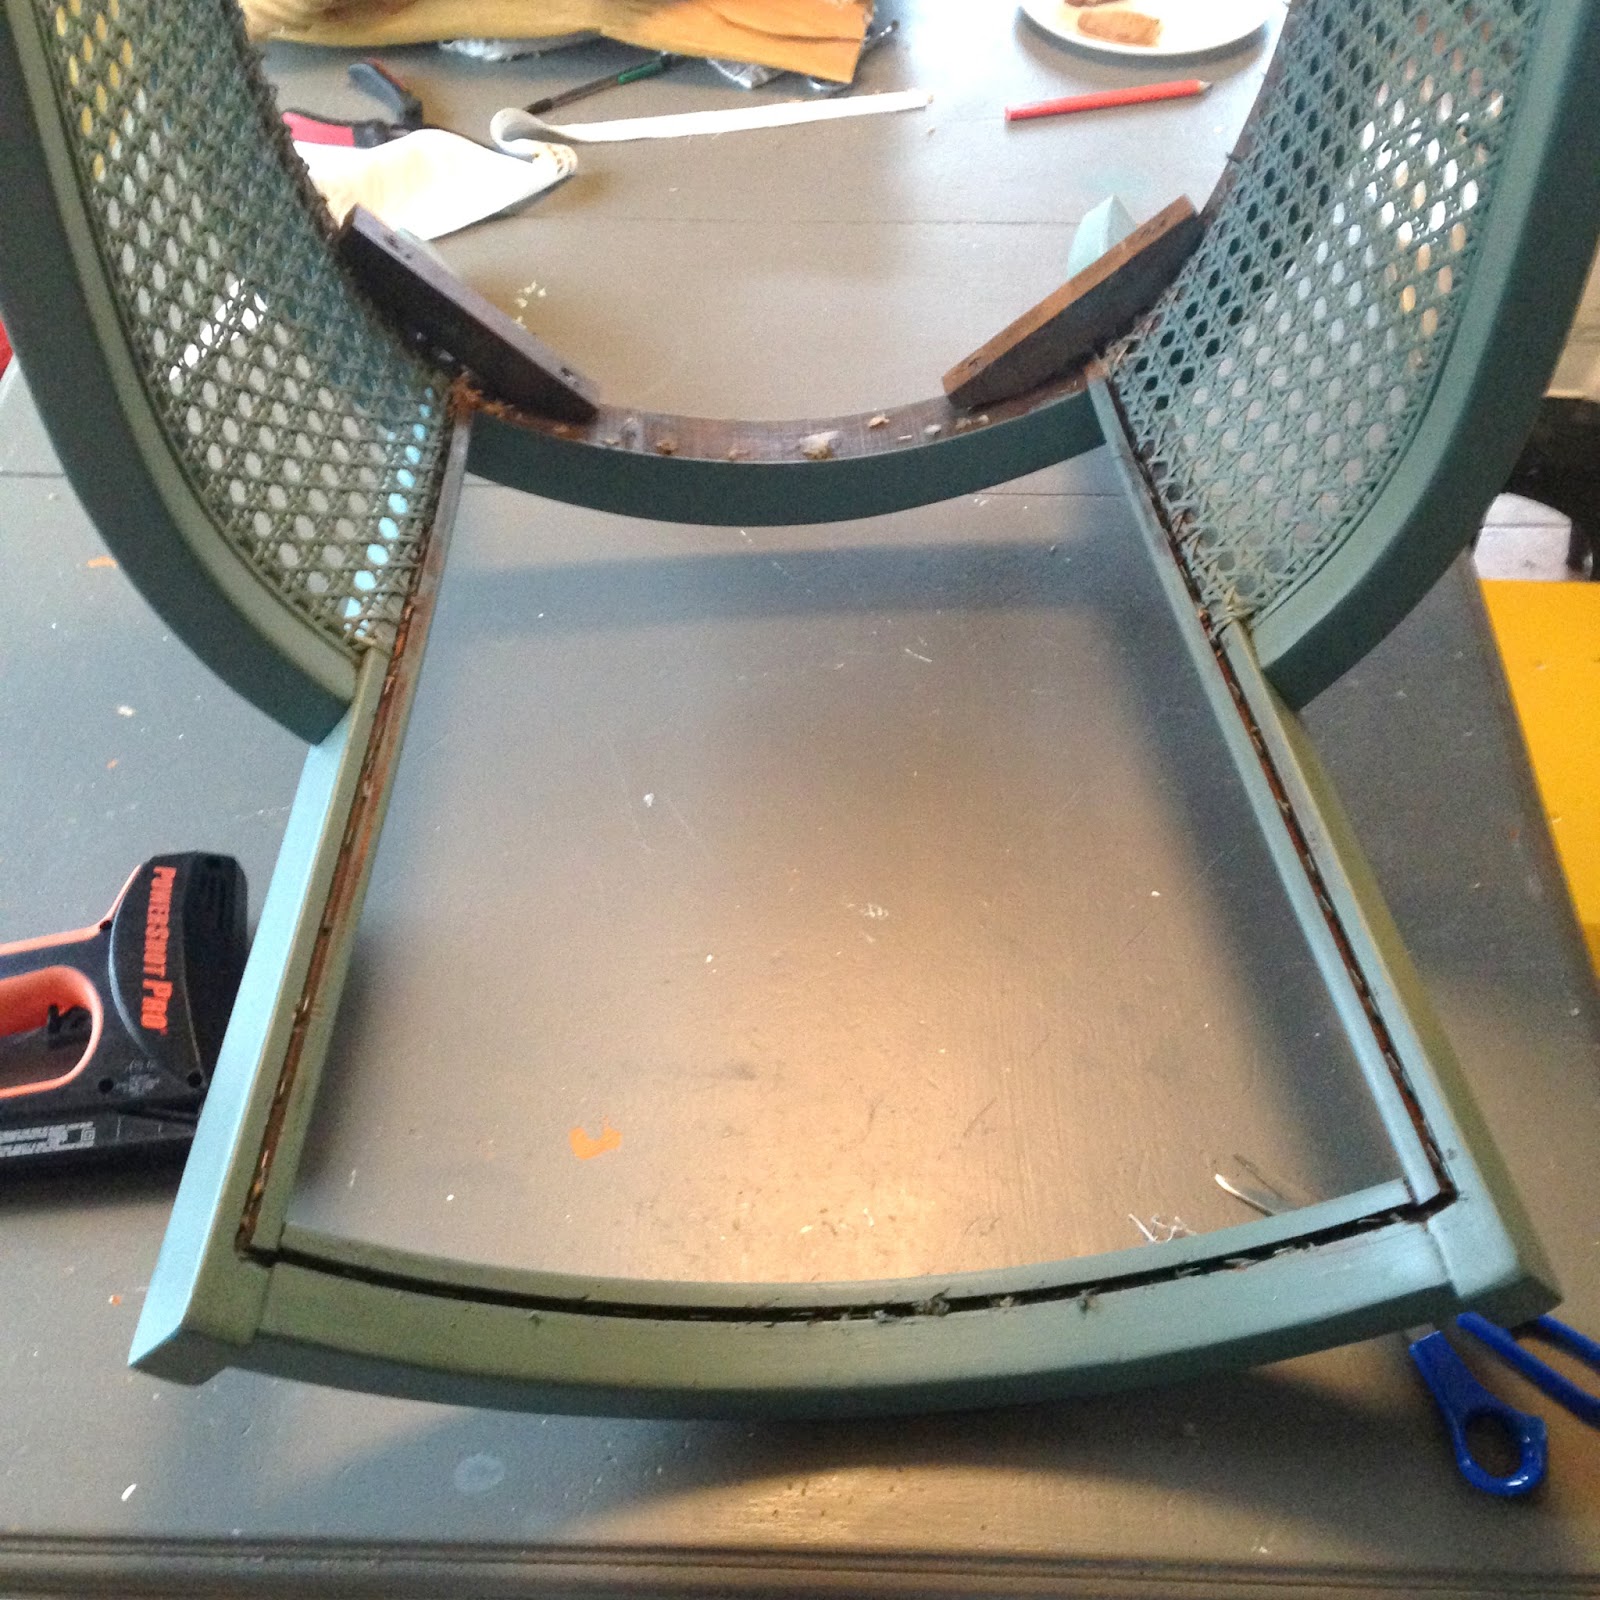
This chair had a channel running around the inside of the chair back.
Cut your fabric to fit over the opening, leaving extra length for pulling it tight. I chose the mattress ticking for the back.
Position your fabric right side down and hold your staple gun so it will shoot into the channel. It will seem like its not going to do any good, but the fabric will get pulled down into the channel. I started in the center top and worked my way out to the sides. Then I began stapling down each side. I pulled each side tight and alternated between the right and left side. As I worked it became VERY taunt.
Trim you fabric as close to the channel as you can.
Next, lay your cushion over the back of the chair. I am reusing the same cushion with the tufting. I actually flipped it over so the tufts were facing down.
Cover your padding with the new fabric.
Repeat the same process of stapling into the channel as before. Be sure to pull the bottom of the fabric down towards the seat, you don't want to staple through the first layer of back fabric. I didn't do this on the first chair and could see staples on the back of the chair! Ack! Again trim off extra fabric. (sorry, no pictures since I did it at night and they didn't turn out.)
Step 3: The Double Welt Trim
FOLLOW THIS TUTORIAL TO MAKE YOUR OWN : Simple Sew : Double Welt Cord
Tip: use the old welting to determine how much you need to make!
I did mine in the same mattress ticking that I used on the back for contrast and a little fun.
The I stapled on the welt using the center of the welt as my guide and again aiming for the channel on the chairs. You could also HOT GLUE it on. I should have done that before stapling, but totally forgot I wanted to. It looks good, but I need to go back through and add a few more staples. Anywhere your staples are exposed you can hammer them in to help them go fully into the channel.
You will also attach the welt cord to the front edge of the chair, before reattaching the seat cushion.
Reattach your seats!
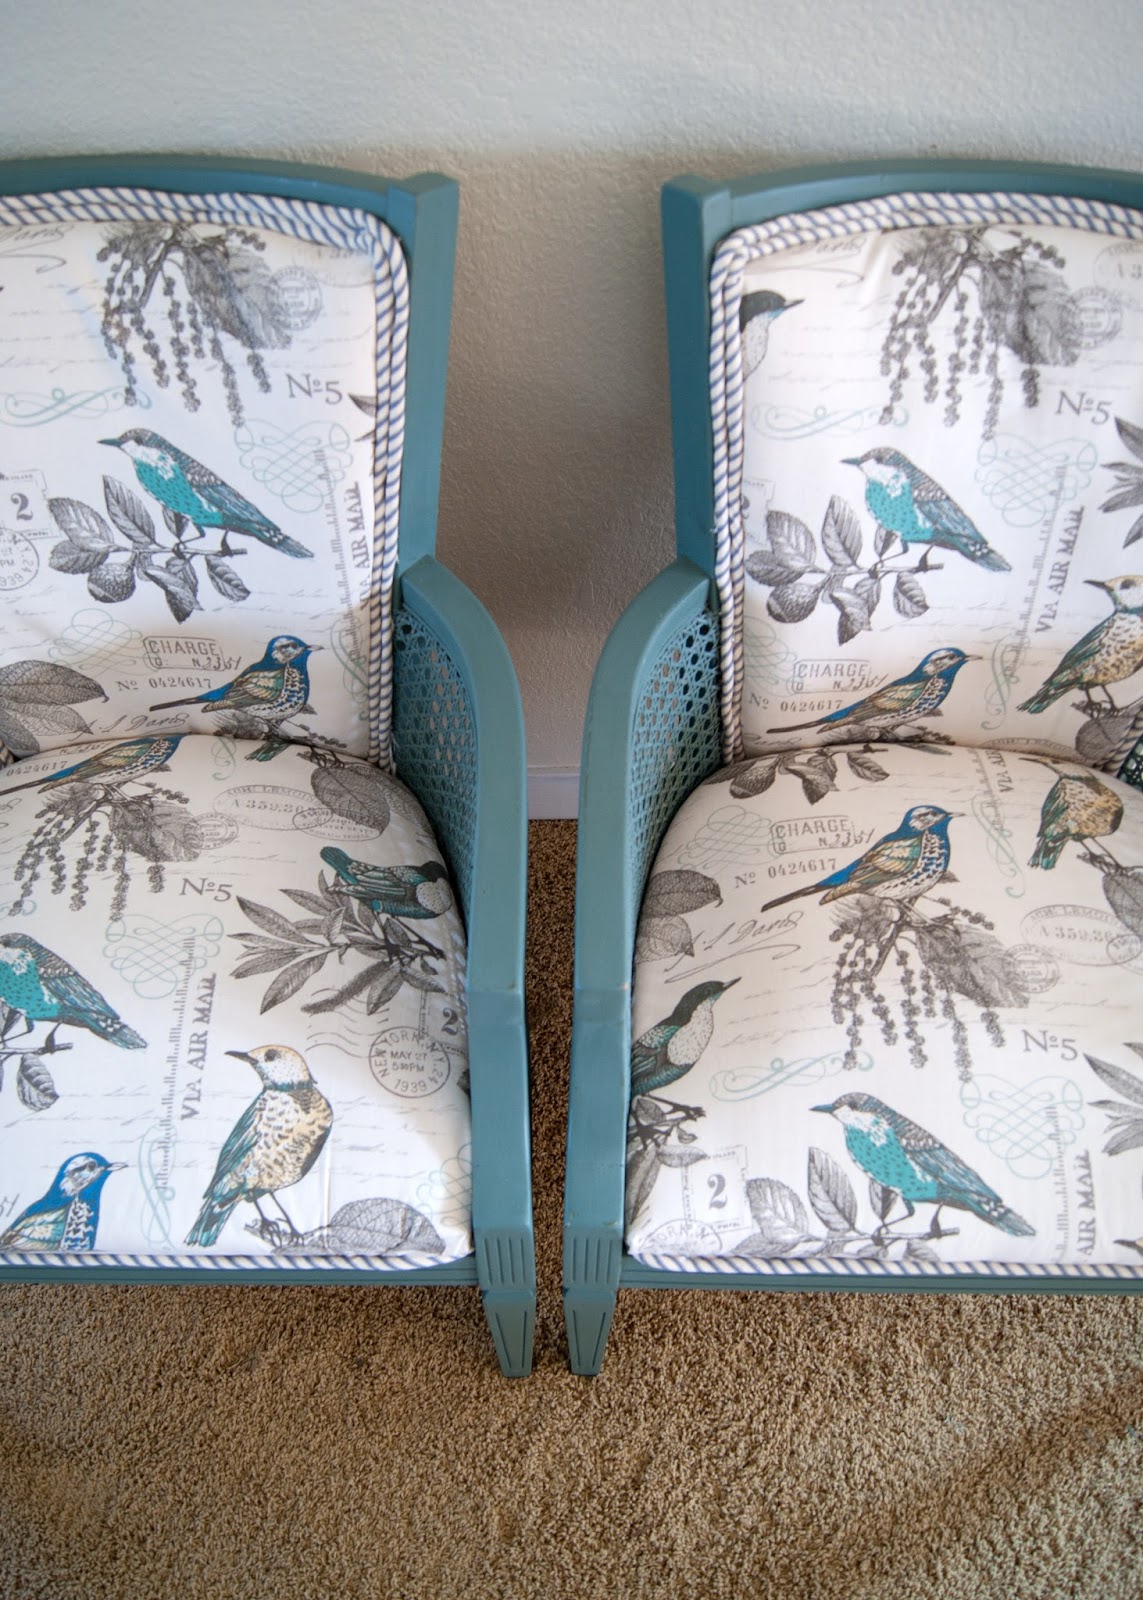
I need to mess around with the welt cord a little more...you can see its not on quite perfect.
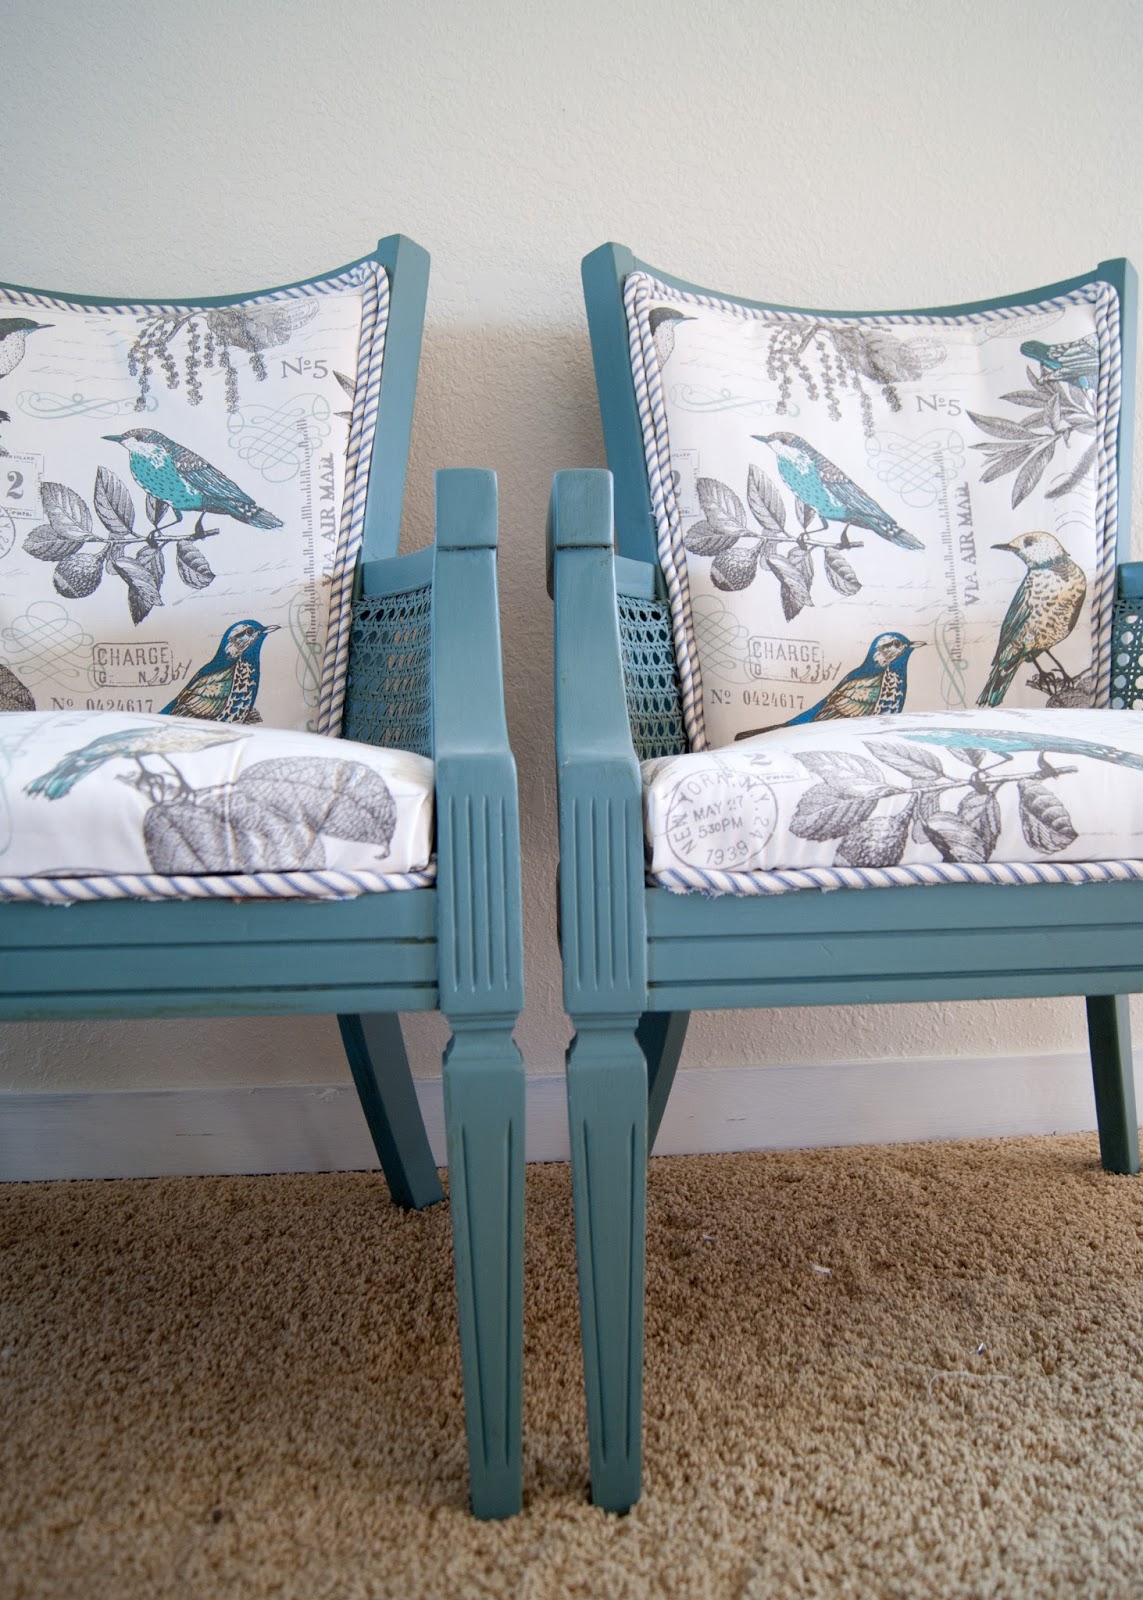
But, considering this is the first time I've attempted this type of chairs, I think they turned out really good!!
What do you think?
Would you believe I went through all this work and I don't even plan on keeping them! Haha! I really wanted the practice and to hone my upholstery skills, but they don't really mesh with our decor.
Fingers crossed these chairs will be available at the Vintques show in Caldwell, Idaho in May!









No comments :
Post a Comment