Image Map

Schoolhouse Light for the Dining Room


Hey Everyone!

I hope you all had a very Merry Christmas!

While many of my blogging buddies are busy counting down their Top 10 projects of 2014, I'm over here trying to eek out a few more before we ring in the New Year. 

I'm famous for procrastinating. 

Actually, some of these last minute projects were solely due to the fact I was hosting Christmas Dinner for my whole family (30 + people!) and I didn't want them looking at all the un-done-ness around the house.

So, when Build.com  reached out to me and offered me an item from their website, I jumped on it! I have browsed their website before when I've been hunting for different items that I couldn't find in town and knew I would find what I needed for upcoming DIYs

On my list of things we needed was a dining room/kitchen light.

Our old one was perfectly okay, but didn't really match the direction we were taking the other lighting in the house (its been happily re-homed to my grandma's!)


I knew I wanted a large Schoolhouse light to fit with the other lighting changes we've made in the house...like in the Entry and Upstairs Hallway. A milk glass shade was a must, because although I LOVE the look of an Edison bulb, they barely light a space. The white shade allows me to use an LED instead.  With a shade width of 15 inches, classic vintage charm and the super affordable price of $170 I decided on this one:


I love that it was shipped right to my house (yay for not having to try and make important decisions at a store with 3 littles in tow!) 

The day that our first company was set to arrive we managed to get it installed.

We took down the old light...
(oh, yeah,...sneaky sneak peek of the new wall and trim color!)

taking down old light fixture

Decided how low to have it hang...we could seriously hang this thing from 20ft ceilings!

Schoolhouse light pieces

We actually hung it higher than a standard chandelier would go. (standard would be around 36 inches from top of table, we went almost 44) We chose to have it higher because we tend to move our table around and we wanted to be able to walk under the light if need be. Also, I think the style of the light lends itself well to this type of installation.

installing the shade

installing the shade

I love these shots, because you can really see how large the shade is - my husband has LARGE hands and they look small next to the shade!

large schoolhouse light with oil bronze finish and milk glass shade

Tah dah!
I luuuuuuurve it!!

Oil Bronze light with schoolhouse shade

It has just the right amount of pizazz, but doesn't fight for attention.

Schoolhouse light - vintage inspired light

I also love the detail of metal piece where it attaches to the shade.

Vintage inspired schoolhouse light in the dining room

The scale of the light in the room is perfect. I know it's the thing to have big grandiose statement fixtures, and this is, only more subtle...haha! 

I'll leave you in suspense of seeing the light in its full glory until next week when I do my House Goal list for 2015!

Also, I am super happy so far working with Build.com, I didn't have any problems with my order. Everything shipped in a timely fashion and in one piece! Since the light was so affordable, I was able to purchase a second item with my remaining budget. 

I'll give you a hint... it has to do with my actual kitchen cabinets and rhymes with "shamard-ware".... coming soon!!
haha!!

This post is a review of Build.com
I was provided with items from their website and asked to do a review of their website/product. 
As always, my opinions are 100% my own and are no way influenced by my sponsors.
Image Map

PICU Gift Drive Logo - from sketch to final design!


I've been talking non stop about our gift drive going on a month now... (we still need donations!!)

Even though its a little fundraiser in the grand scheme of things, I still want to give it a professional look. I have tried several styles as the years have progressed (HERE, HERE), but this year, an idea came to me that I just NEEDED to follow through on.

So, today I wanted to take you through my process on making a logo.

First, I sketched out these little guys. I wanted a slouchy little teddy bear to lean against the word PICU and it took a few tries to get it right. Elle, really liked the bottom right one, so I decided to go with it.


I then scanned this image into the computer and opened it up in PSE. 

I created a new layer over my image and used my Bamboo tablet/pen to trace over my sketch with the different paint pen options.

Here was my first try...
To say the least, it didn't quite live up to the vision in my head. My bear was OK, but not as clean as I wanted it. It felt rushed and choppy. So I gave it another go.

My second attempt (plus some patience...) yielded this... 


It so much better don't you think!

Here's what he looks likes placed in the final logo - with the addition of a Santa hat!
Do you think he is as cute as I think he is? 


I'm still on a learning curve using my tablet, but this little project has lit the fire under me and I'm starting to think it might be time I move forward on some dreams that have been brewing for YEARS! 


Image Map

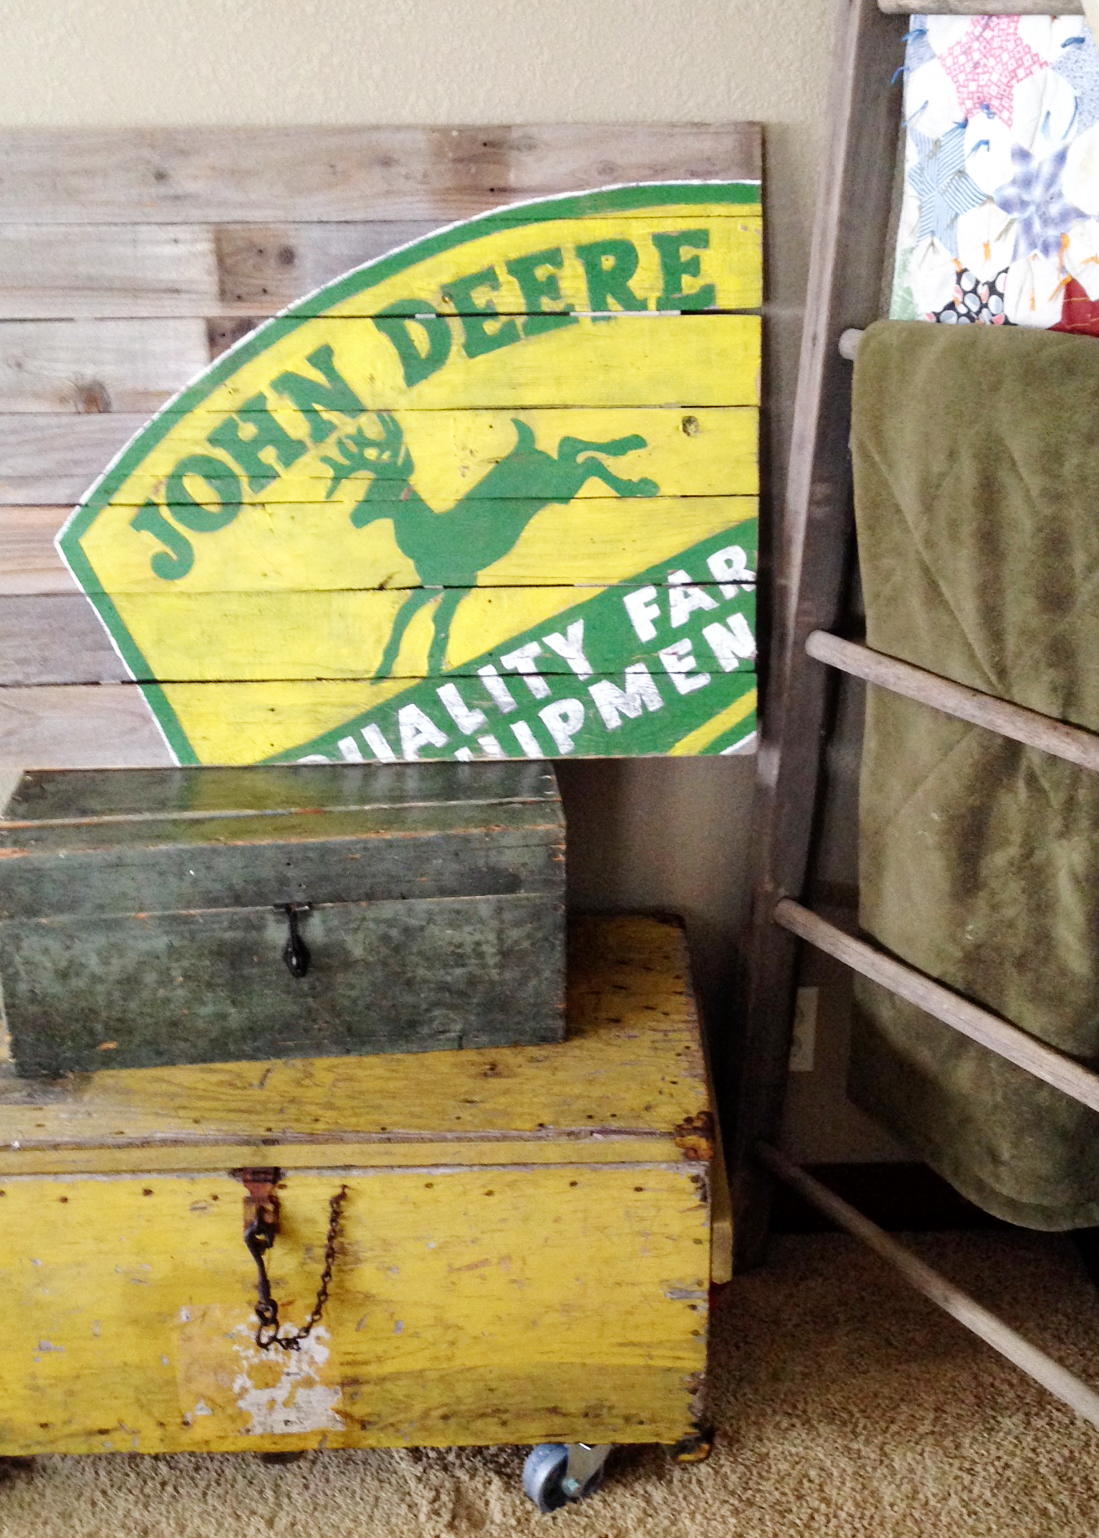
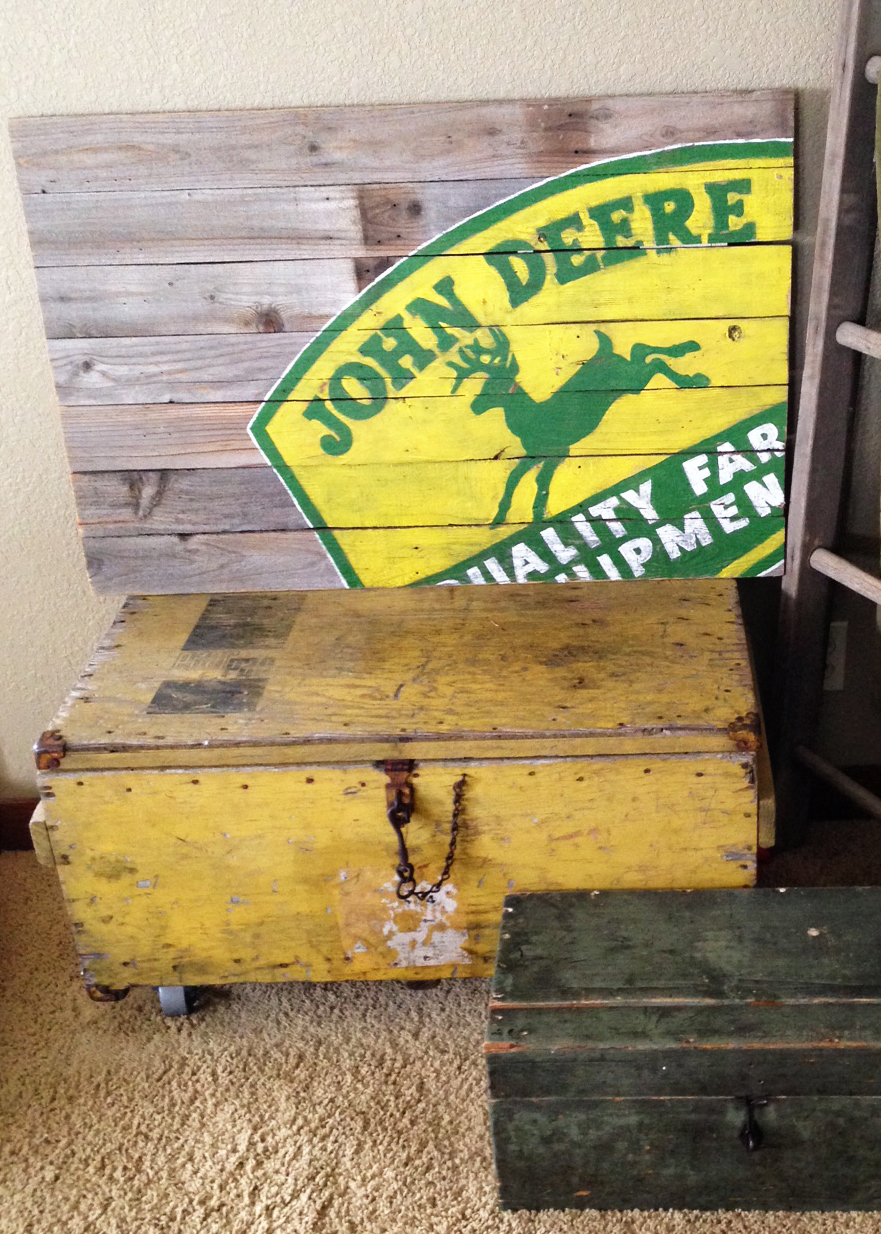
John Deere Sign on Reclaimed Wood

Hiya!

Please see yesterday's post if you haven't already!

Moving on to today...or as many people in the social media world refer to it - #tbt
I'm throwing it back to last month when I painted this AWESOME sign for my favorite youngest cousin (love you Greg!)...


John Deere Sign on Reclaimed Wood

He's been a John Deere fanatic since he was just a little thing. He could rattle off the names of about any tractor you showed him! It was hilarious! So, I was super excited when my aunt commissioned a sign for his birthday!

To make it, my husband built the pallet out of reclaimed cedar fencing and I printed off a large engineer print at Staples for a template.

Did you know you can get color ones now!? They are a bit more money, but the potential is endless! 

Here's a link... Staples Color Engineer prints! (this is not sponsored or an affiliate link, just spreading the news!)

LIFE. CHANGING!


My original design, included the extra wording, but it became pretty clear very quickly that I liked the sign best with just the vintage John Deere logo! 

My own little deer lover loved it too...


"DEER! DEER! DEER!" he says!

I lightly sanded and spray sealed the final sign. I love it so much!

John Deere Sign on Reclaimed Wood

So did the birthday boy! Yay!!!


If you are interested in a custom logo sign
 (or any sign for that matter!) 
please email me!
 
I'd love to work with you!
Image Map

4th Annual PICU Gift Drive - Update!

Did you think I left blog land? 

NOPE!

We just got back from a 2 week vacation to N. Idaho and Ohio and then pretty much jumped right into some house projects that needed completed before company comes for Christmas! 

oy vey!!
Those updates will be coming as soon as I get it photographed!

On to the important stuff now...


Check it out! 


oh, yes, that would be me...

updating you...

on the progress of our Gift Drive!

(in a video no less!)


Thanks so much everyone!! 

Image Map
Related Posts Plugin for WordPress, Blogger...