- Drill two pocket holes on each end of all the 1x3s.
- Also drill a set of pocket holes on 2 of the 22 1/2 in and 2 of the 28 in 1x3s (see image below - white squares indicate pocket hole locations). This will later be used to attach the plywood top.
- Starting with the 22 1/2 inch 1x3s attach one flush to the top of one 4x4 - slightly inset*.
- The second 22 1/2 inch 1x3 is attached 1-2 inches from the bottom of the same 4x4 (this can be adjusted depending on how tall of a lower shelf is wanted.
- Attach the other 4x4 to the other end of the 1x3
- Repeat this with the second set of 22 1/2 inch 1x3s - you will have now have two leg sections.
- Attach your 1x2 boards to the bottom 1x3 boards on the inside (approx 1 inch from the top or to the depth of your shelf material.)
- See Below
- Next take your 28 inch 1x3s and attache them at the same heights to connect your leg sections. (make sure your 1x3 with the extra pocket holes are all on the top facing inward.
- Your frame is complete, now is the time to paint or stain in your desired finish.
- To achieve the look we did:
- Paint the frame in a semi-gloss color of your choice
- Sand down the whole frame to remove some paint and expose the wood
- wipe on a stain (we used Weathered Gray) let it sit for a bit and then wipe excess off
- seal with a wax or spray varnish
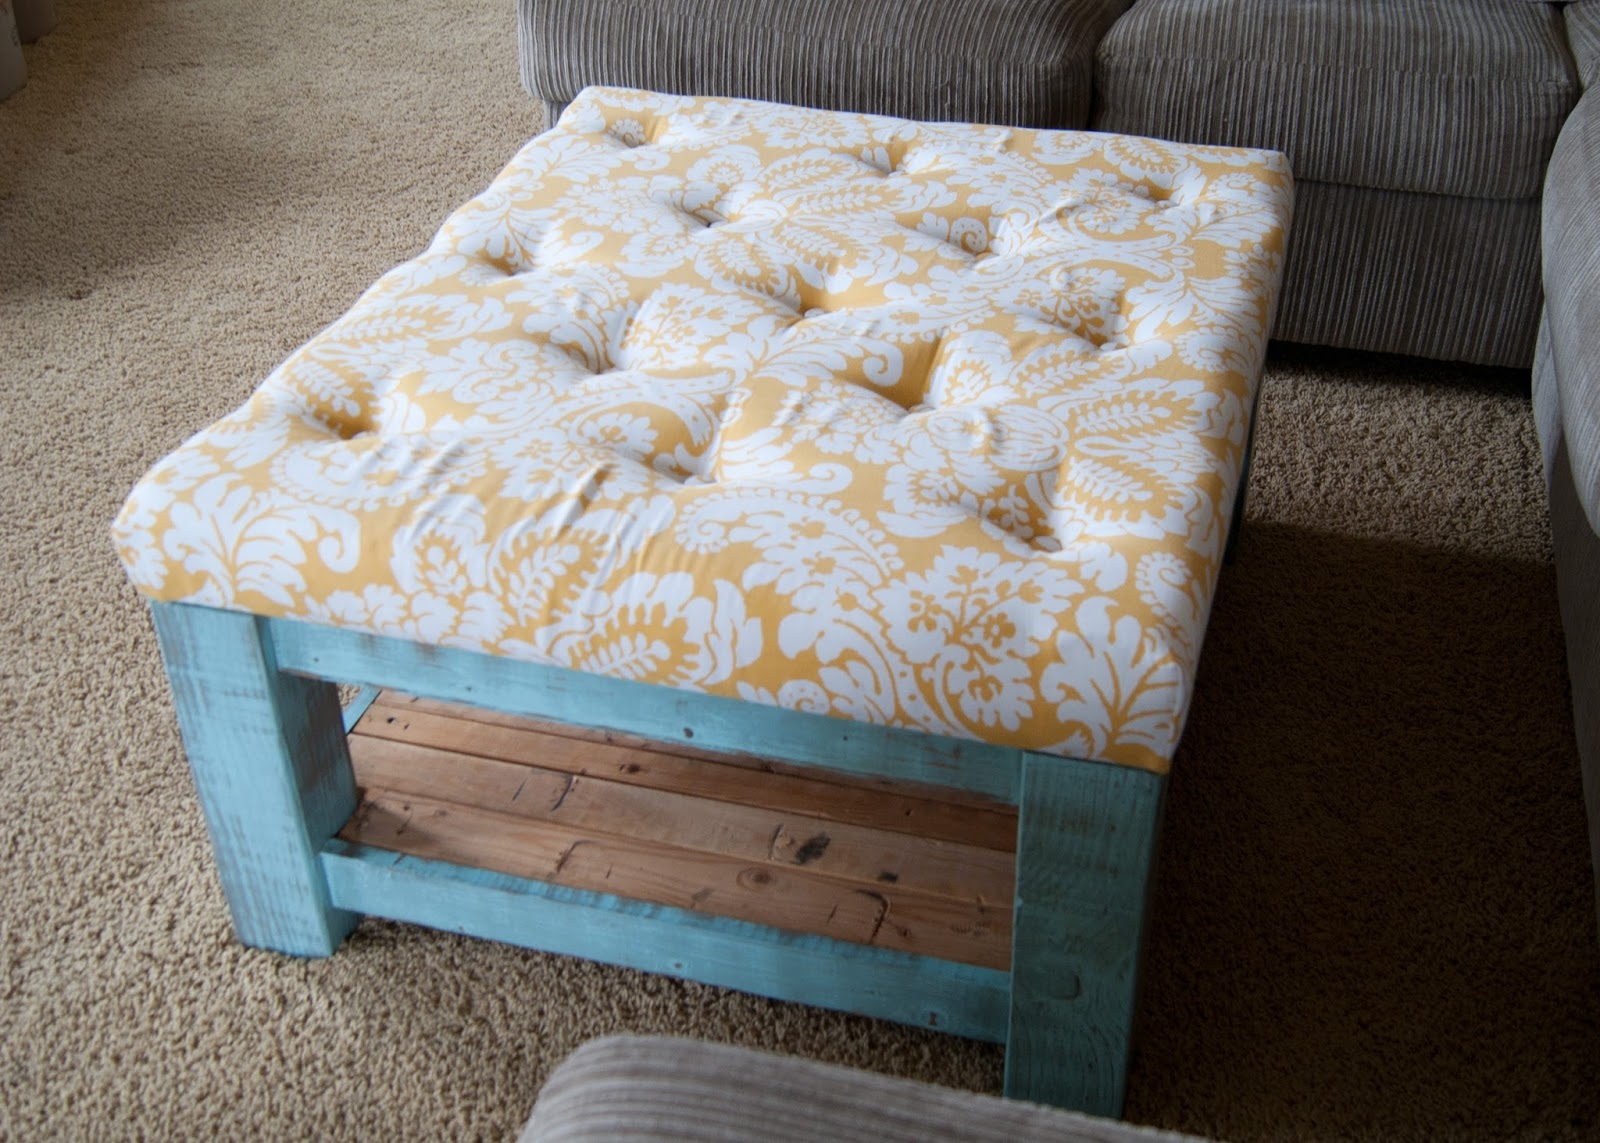
- Attach your cushion by laying your cushion face down and centering your frame on top if it.
- Use screws to attach the cushion via the pre-drilled pocket holes.
- The final step is to attach your bottom shelf material.
- Cut boards to sit on top of the shelf supports.
- Nail them in place with a finish nailer*
If you have ANY questions feel free to leave a comment. It will also help me know what is missing from my tutorial!
Good Luck!
Oh! If you use this tutorial as a guide, I'd love to see what you build! Send me pics or tag me on Instagram @averielaneblog !!
Oh! If you use this tutorial as a guide, I'd love to see what you build! Send me pics or tag me on Instagram @averielaneblog !!


No comments :
Post a Comment