Now, I realize that keeping this bed the original finish might not be for everyone. Some people wouldn't hesitate to paint it (which could be beautiful too!) or there is the option of stripping the bed of its finish and either leaving it raw or staining it a new color, but honestly, non of these options were something I wanted to tackle at the moment. All I really wanted was to clean up the bed and it get in Ellery's room as soon as possible.
So, I turned to an option that I heard about, but never tried myself.... Howard's Restor-A-Finish. (aff. link)
My friend Jess at Bright Green Door has used this product on a mid century dresser with fab results and it worked great on my mom's kitchen cabinets so I thought it was worth a go!
Here's what I used:
Yup, just 3 things!
Before doing anything, I dusted the bed and got rid of any obvious dirt and grime. A little diluted vinegar is perfect for this job.
I chose to start with the bed rails since they were in pretty bad shape and if the Restor-a-Finish couldn't help them, I knew there would be no help for the rest of the bed.
I poured a little of the Restor-A-Finish on a cotton rag and rubbed it into the wood.
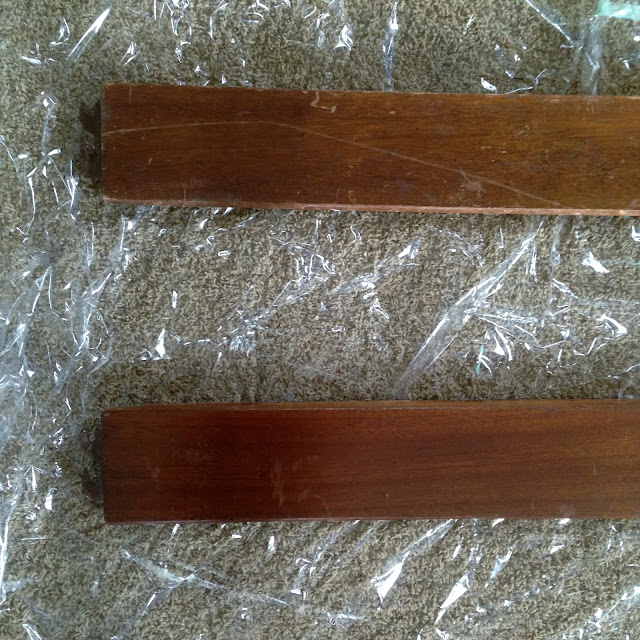
Rails before (sorry for the slightly blurry pic!):
Here's another angle of the bed rails before:
And after- again with the Restor-A-Finish only applied to the bottom rail:
After I got the whole bed done, I went back and applied the Feed-N-Wax as directed. I figured a little added protection is never a bad thing when you've got a house full of kids. Obviously, its not a miracle product and you can still see some dings and scratches, but it is a massive improvement over how the bed started out! I would definitely recommend this product if you are trying to save the finish on wood furniture.
Here's the bed set up in her room before we added makeshift bed slats. You can see there are a few blemishes still, but overall, it looks pretty good and will work perfect while the kids are little. Nothing can be to precious right now if you know what I mean!
I'm still playing around with how to set up her room, but here's a iPhone shot so you can see how it works with some of the other items in her space. I'll do a full bedroom tour later when I get some decent light! (not to mention... all three kids are sleeping in Elle's room while I finish up the boys space which basically means its a hot mess!)
What do you think?
Have you ever tried this product?
I plan to try it on the vintage dressers that will be going in the boys room in hopes that it will tone down their orangey color. I'll keep you posted on the results!


No comments :
Post a Comment