So the other day my husband dropped me of at work (I babysit at our gym a couple times a week) and then he took the kids and headed off to check out the local garage sales.
When he picked me back up he was so excited because he had found this...
A vintage 1970's dinette set for about $25.
Wanna know what my first thought was?
Oh crap.
Even though it looked super cool, I couldn't wrap my mind around what it would take to reupholster all the seat backs and cushions (hello, scary vinyl!). Normally I'm all about trying to preserve the integrity of vintage pieces, but this set was badly smoke stained and one cushion had a rip in it, clearly I would need to take the whole thing apart. Honestly it was too overwhelming for me to think about.
I mentioned to my husband that I wish I could figure out a way to just paint it, but he shot that idea down because he claimed it couldn't be done. Well, I like to prove I'm right and found a couple great tutorials on how to spray paint vinyl (this one was especially helpful!) Except there was one problem, I had still had that one rip to contend with. In my search for ideas I cam across THIS tutorial on how to use Mod Podge & fabric to recover vinyl. This could actually work, I thought!
The next step was to come up with a plan.
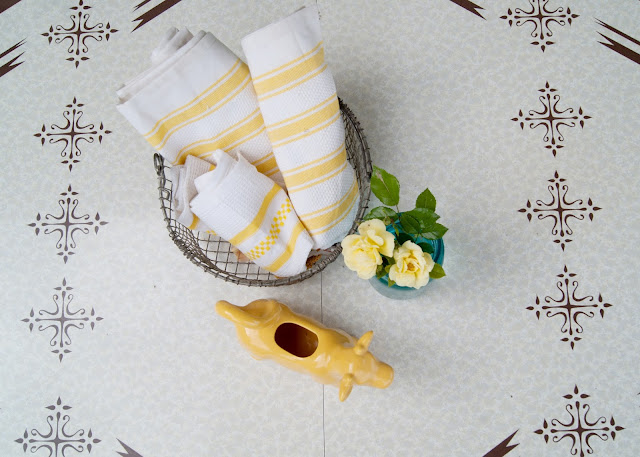
Since the table top itself was staying, I tried to find a vintage inspired fabric that I thought coordinated with it. Its hard to tell, but the table pattern is brown and so are the leaves in the fabric I picked. I then used my fabric to pick the colors for everything else. I picked Rust-Oleum Seaside* (*indicates affiliate links) for the cushions and Navajo White* for the chair frames and table legs - the off white color was a perfect match for the tabletop. I could've chosen about any colors I wanted, but the key is picking a paint that says it bonds to plastic.
Once all my supplies were gathered I go to work!
The first thing I did was take the seat cushions off of the chairs and then gave everything a really good cleaning with some dish soap and a scrub pad. You can see how discolored and nasty the seats were and I couldn't save the cardboard because it stunk so bad.
I let the seats dry out in the sun and then I gave them all a couple coats of spray paint. Oh, just so you know, I actually tested the spray paint technique on one of the chair backs to see if it would work (***spoiler alert, it did!***) before proceeding with this whole project, so I went into this part very confident!
I was so happy to see that ugly brown go bye-bye!
The vinyl stayed slightly tacky for a couple hours, but the longer it sat the softer it got. It feels just like vinyl now!
The next step was attaching the fabric. My plan was only to attach the fabric on the bottom edge of the cushion - that's where the rip was on one cushion.
I cut strips of fabric wide enough to cover the cushion and wrap underneath a bit.
On the first cushion, I just slid the fabric right up to the piping, but it was hard to hide where the edge of the fabric frayed, so on the rest of the cushions I rolled the edge of the fabric over so I would have a clean line against the piping. Just think of it as hemming, but with glue.
My strips weren't quite long enough to make it around the cushion - I should have bought more yardage (I only bought 1), but the nice thing about using the Mod Podge was I could create a back piece that was pretty seamless with the rest.
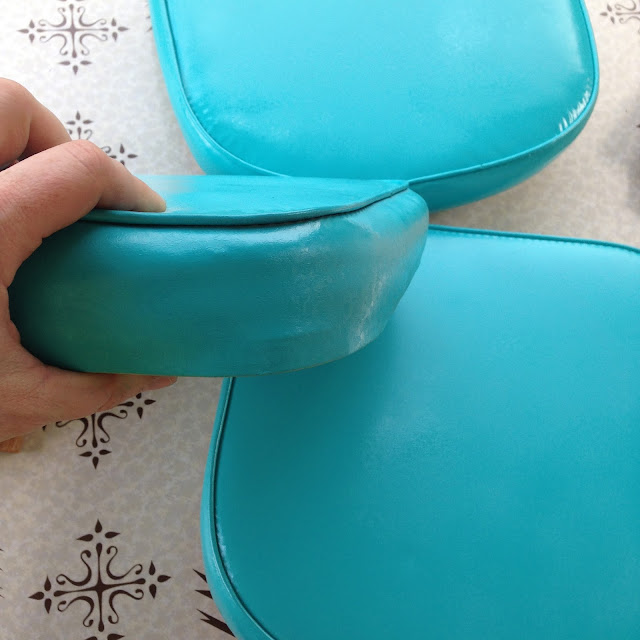
In the picture below you can see how much I left hanging below the cushion. I did this so I could wrap it under the cushion just like the vinyl was. I planned on stapling it on, but ended up just gluing it. It worked great! Another great tip is to keep some baby wipes nearby to wipe up any glue that gets on the seat cushion!
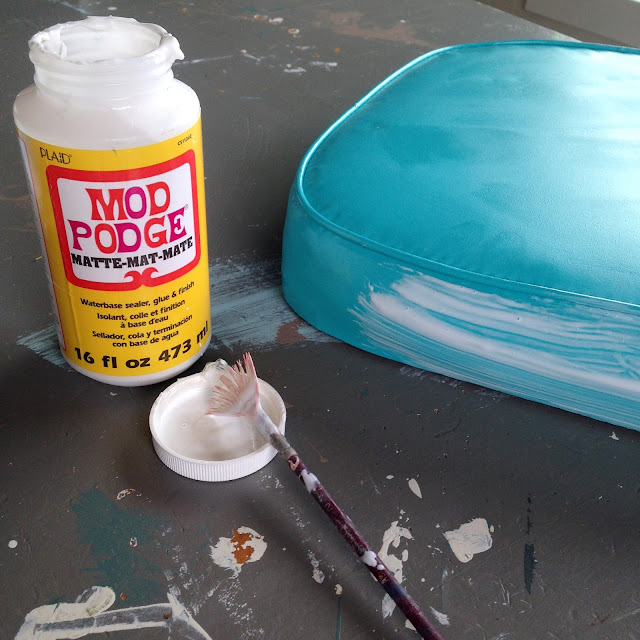
After I had the fabric on I went over it with another coat of Mod Podge. In the initial steps I used a matte finish, but once dried the texture was still pretty rough, so I did a second coat with a gloss (you could also use Mod Podge for Outdoors)
It turned out perfect and I can't even tell which cushion had the rip!! Yay!
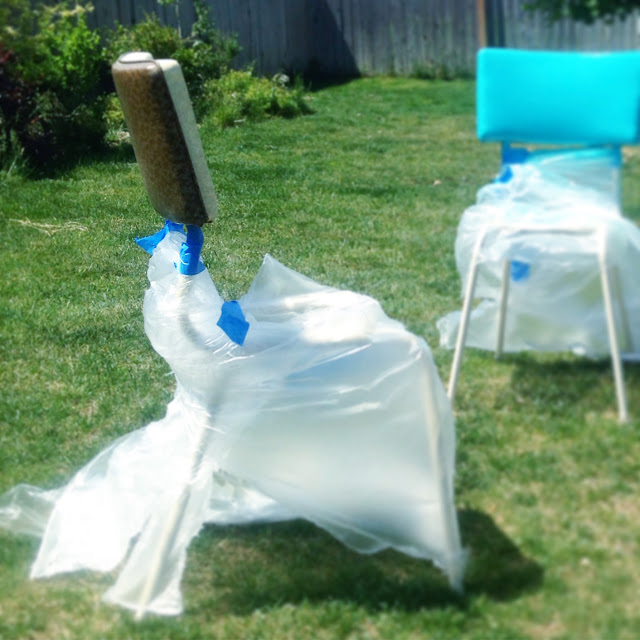
Finally I was ready to paint the rest of the table. First I taped off the table top and gave the table legs and the chair frames several coats of the Navajo White. I also recommend using a primer if your metal has any sorts of rust. After it was dry I taped off the frame so I could spray paint the back cushions. I thought about painting the backs white to save time, but it didn't look right, so I sucked it up and taped them off.
Finally I was able to put everything back together!!
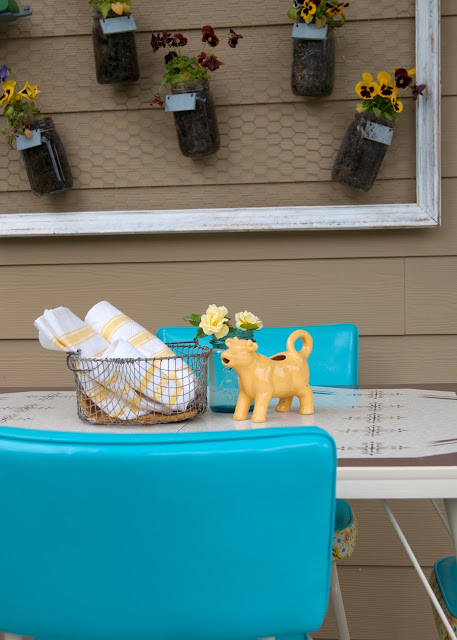
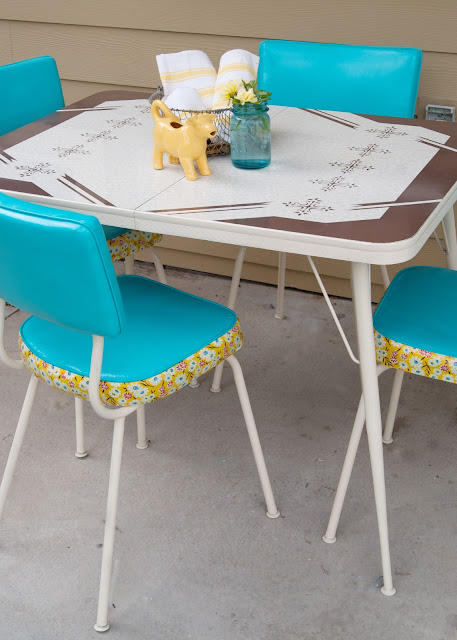
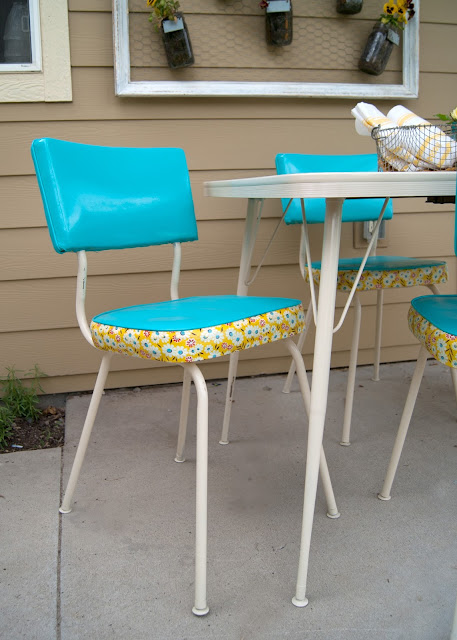
I set it up on our back porch to act as patio table for now.
Isn't it cute!
Its hard to believe its the same table!!
I really love how the table top stands out now too! That pattern is pretty awesome!
The fabric helps give it a little nod to the 70s and the blue helps make the whole table feel brighter and happier. The brown was so drab before!
What do you think?
Remember, here's where we started...
and now!
Seriously, so much better!!!!
I'm so happy I was able to save the dinette without reupholstering it!!!
As much as I love this makeover, we have no real room for it, so if you are in the Boise area and are interested in this table feel free to contact me!
Do you love this project? Don't forget to pin it in case you come across your own vintage table that needs a makeover!










No comments :
Post a Comment