Can I be honest with you all?
I don't make wreaths.
Wait, what? I can imagine you scrolling back up to the title to make sure you read it right....
Hear me out.
I have this old rope that has been hanging around and all I could think about was that it needed to be a wreath. I also thought this was an awesome original idea, but as it turns out many have thought of this before me. So, even though this isn't some amazing new idea, it was still such an easy project that I thought it would be the perfect thing to share here today. I mean, if I - the non wreath maker- can make this, I am SURE you can too!
Lets get started!
Supplies:
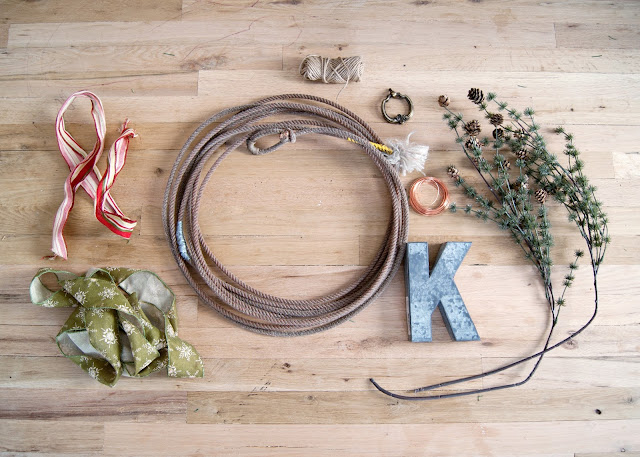
Rope/Lasso/Lariat style rope (mine was a vintage steer roping rope)
Greenery (real or faux)
Wire
Ribbon
Embellishments (I chose a metal letter )
Step 1:
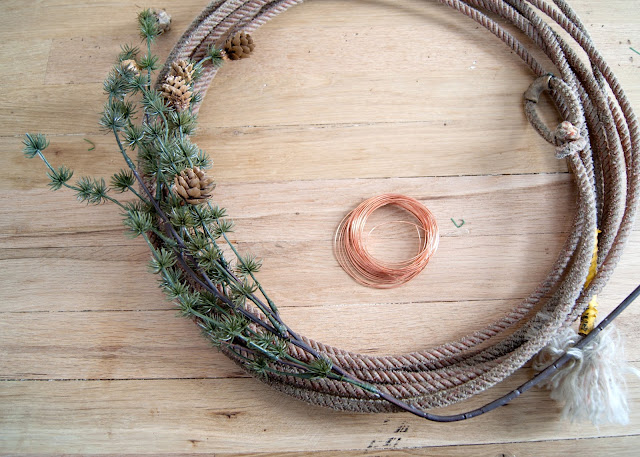
Fashion your rope into a circle. I recommend enough rope to create 6 or seven loops.
Step 2:
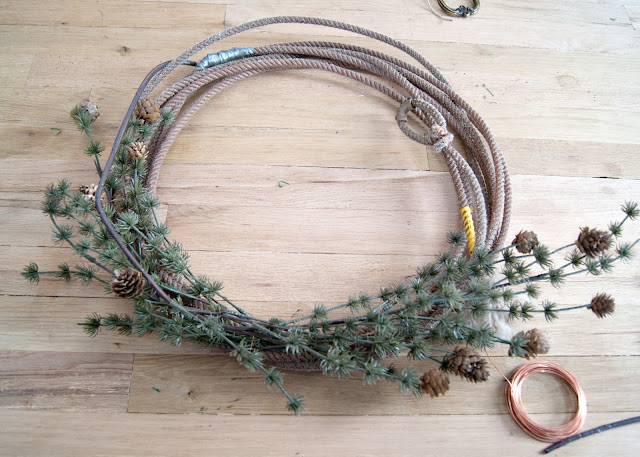
Wire a small bunch of greenery to the rope. You can bend the foliage to follow the shape of the rope. I used wire at certain points to maintain the shape I wanted. I only attached the wire to one or two of the rope loops to disguise the wire. Repeat this step until you have all your greenery in place.
Step 3:
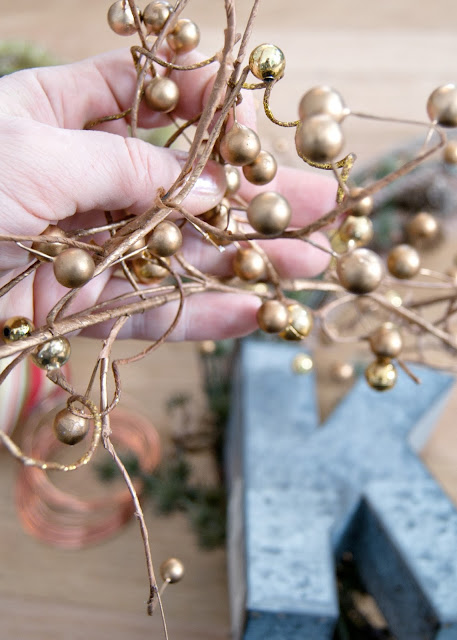
Wire on your embellishments. The metal letter had two spots that were meant to be used to hang it on the wall, but I used them to anchor my wire. Play around with the placement until you like the shape (... that's the best part about using wire!) After I attached the letter, I felt like there wasn't enough going on with the wreath, so I added some sprigs of faux gold berries. I tucked them in and wired them so they wouldn't come out.
Step 4:
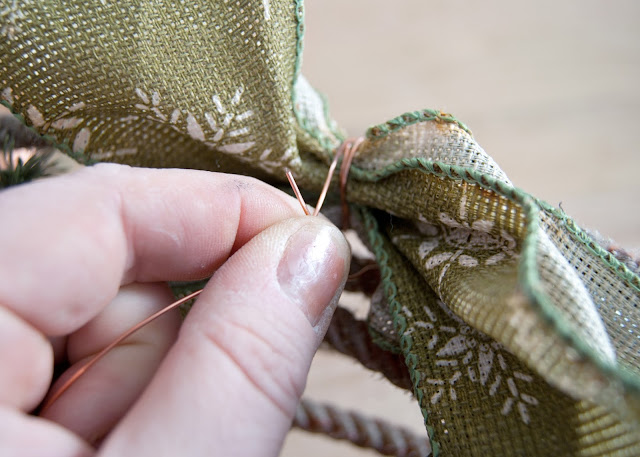
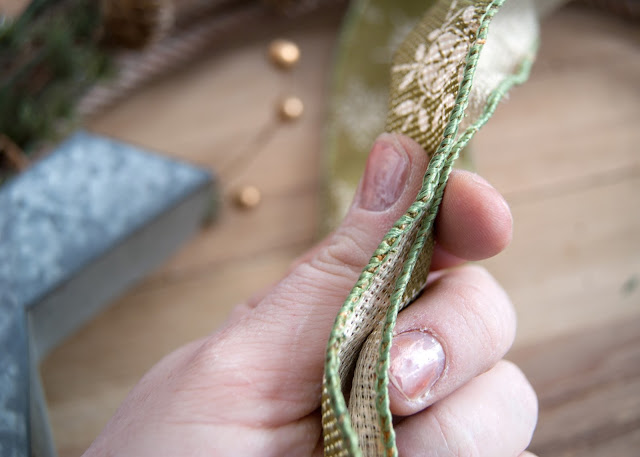
The last step is adding your ribbon. I wrap the ribbon around my hand as many times as I want loops on my bow. In this case I wanted a very simple bow, so I just made one loop. Second I took another length of ribbon and added it behind the loop leaving the ends long. Finally, I pinched the middle of the ribbon pieces down and wrapped it with wire to hold it in place.
Step 5:
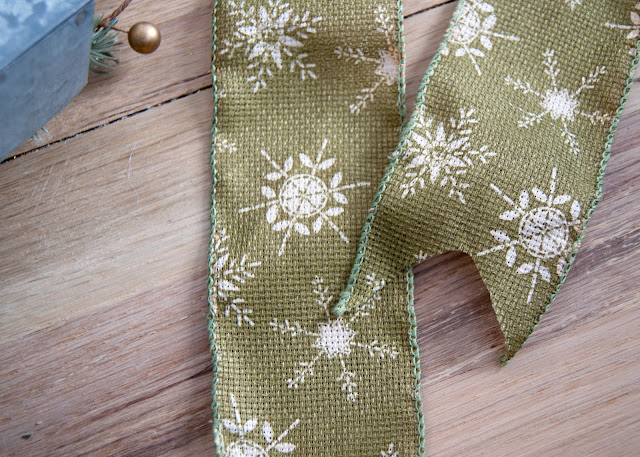
To add some detail on the bow tails, I folded the end like a hot dog and cut on a angle back up towards the middle. This creates nice pointy tips on the ribbon.
Step 6:
Using another length of ribbon cover the wire and tie a knot at the back of the rope. This ribbon can be used to hang your wreath as well.
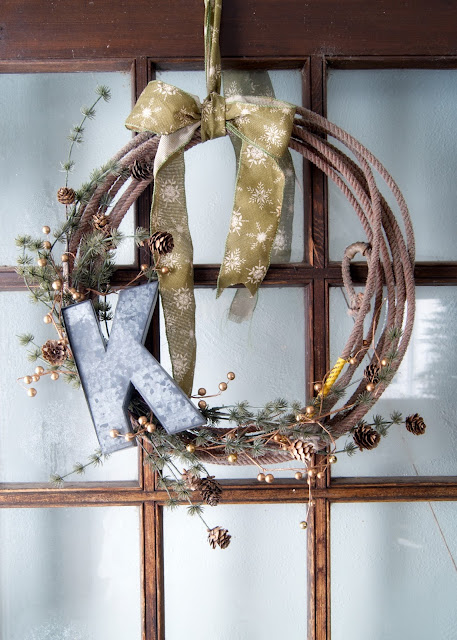
There you have it! A simple winter rope wreath!
It looks right at home on our farmhouse door. The best part? I can leave it up the rest of winter without it feeling too Christmasy! That's my kind of decor!
Be sure to PIN this so you don't forget!
You might also like these posts!








No comments :
Post a Comment