- Scrap Fabric ( red, white and blue )
- sewing machine
- thread (I used RED)
- burlap
- poly fill
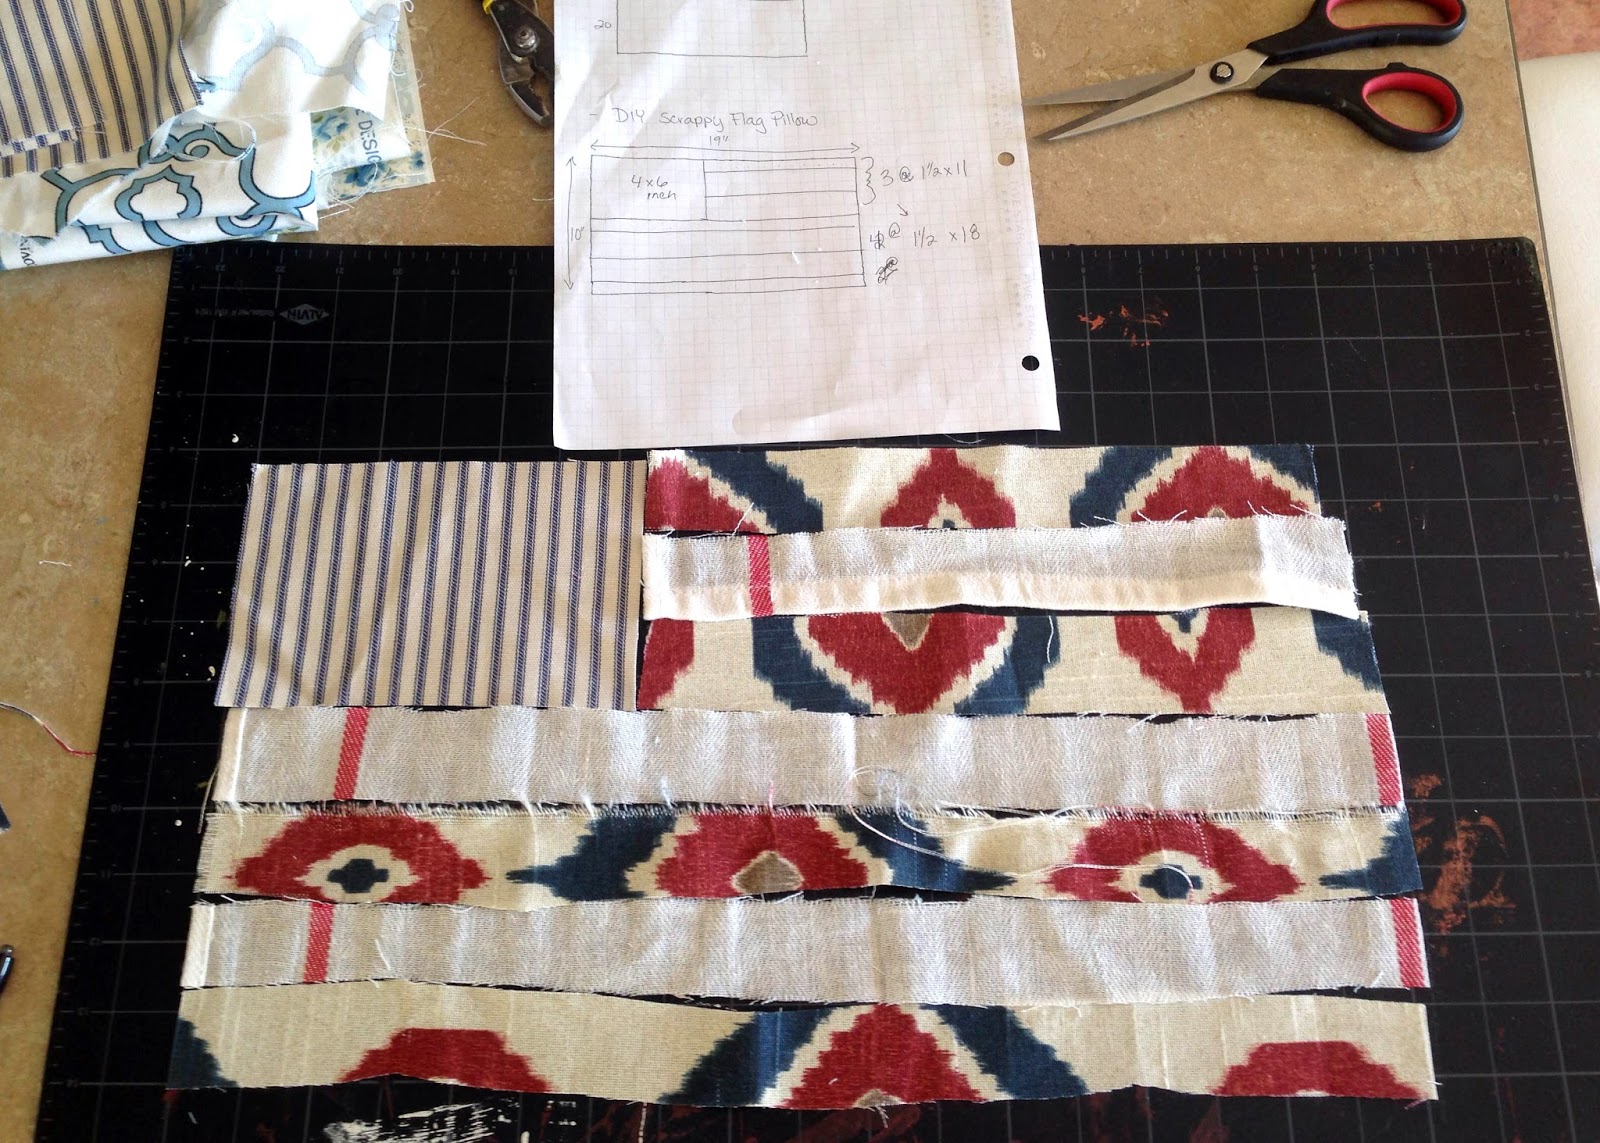
Cut your scraps to the following sizes
2 Red @ 1.5 in x 11 in
1 White @ 1.5 in x 11 in
2 Red @ 1.5 in x 18 in
2 White @ 1.5 in x 18 in
1 Blue @ 4 in x 7 in
( or 4 Blue to equal 4 in x 7 in - I had to do this to get my scraps to work right, but its not necessary)
2 Burlap (or other fabric ) 13 in x 20 inch
Starting with the 3 short strips, lay them out so they alternate red, white and red. Sew your strips WRONG SIDES together with the smallest seam allowance you can manage.
Repeat with 4 long strips.
*NOTE* When you sew your strips together they may no longer line up evenly with all the other pieces. Just trim everything after sewing so it fits together nicely. Remember - this is a scrappy pillow and isn't meant to be perfect!!
Step 4:
Sew the short side of your 3 Short strips to short side of your BLUE rectangle. (again wrong sides together)
Step 5:
Sew your 4 strips to your piece with the blue rectangle and the 3 short strips.
Step 6:
Iron the flag so all the seams are open - trim excess fabric so your stripes become more defined.
Step 7:
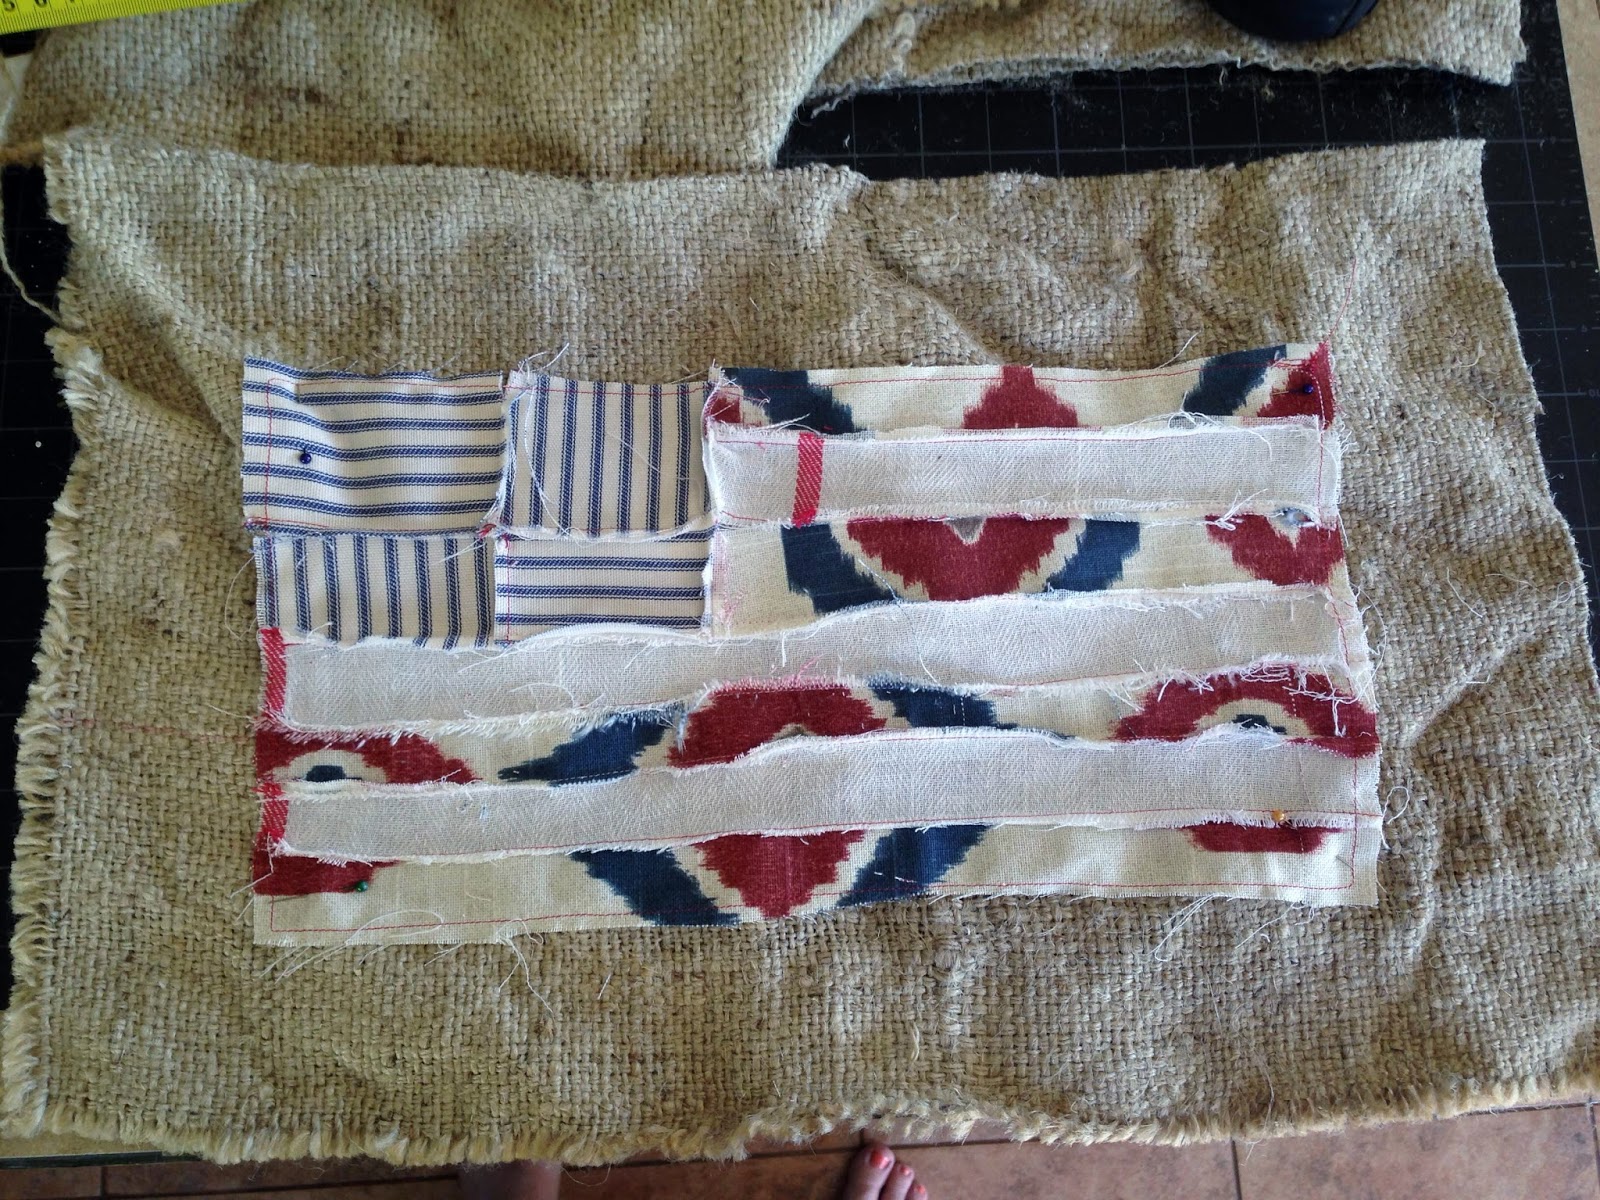
Center your scrappy flag on 1 of your 13" x 20" pieces of burlap. Pin in place.
Step 8:
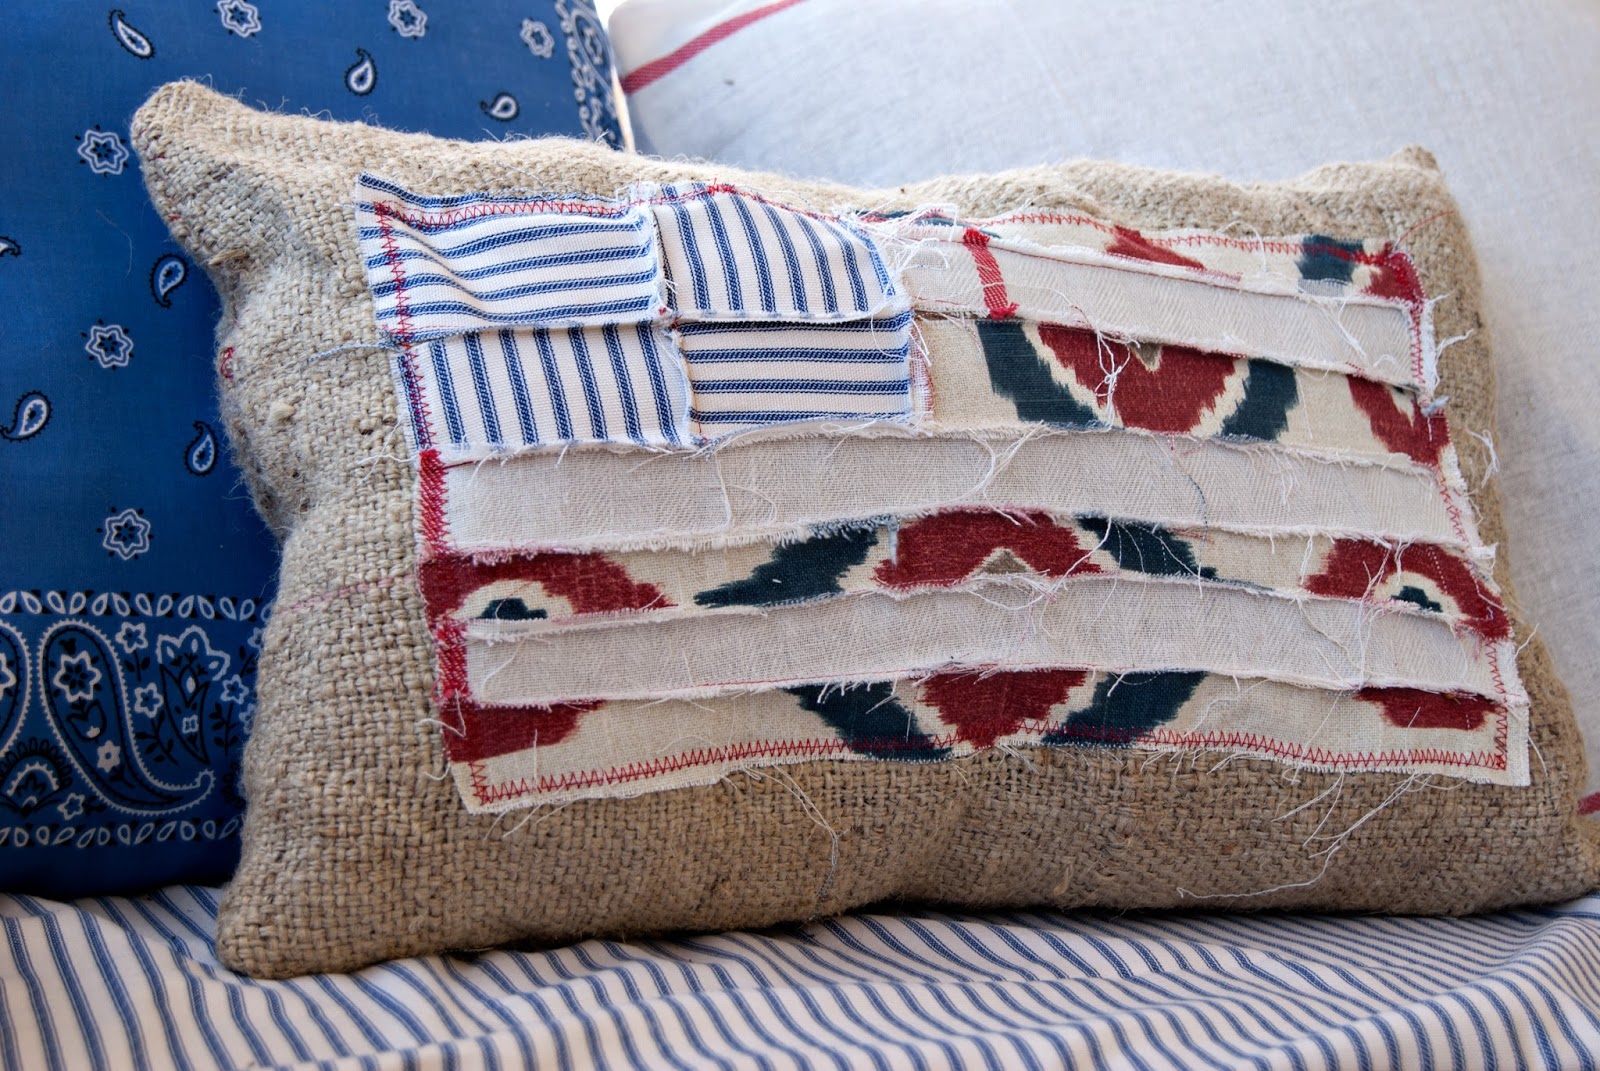
Using a zig zag or straight stitch sew around the edge of your flag to connect it to burlap.
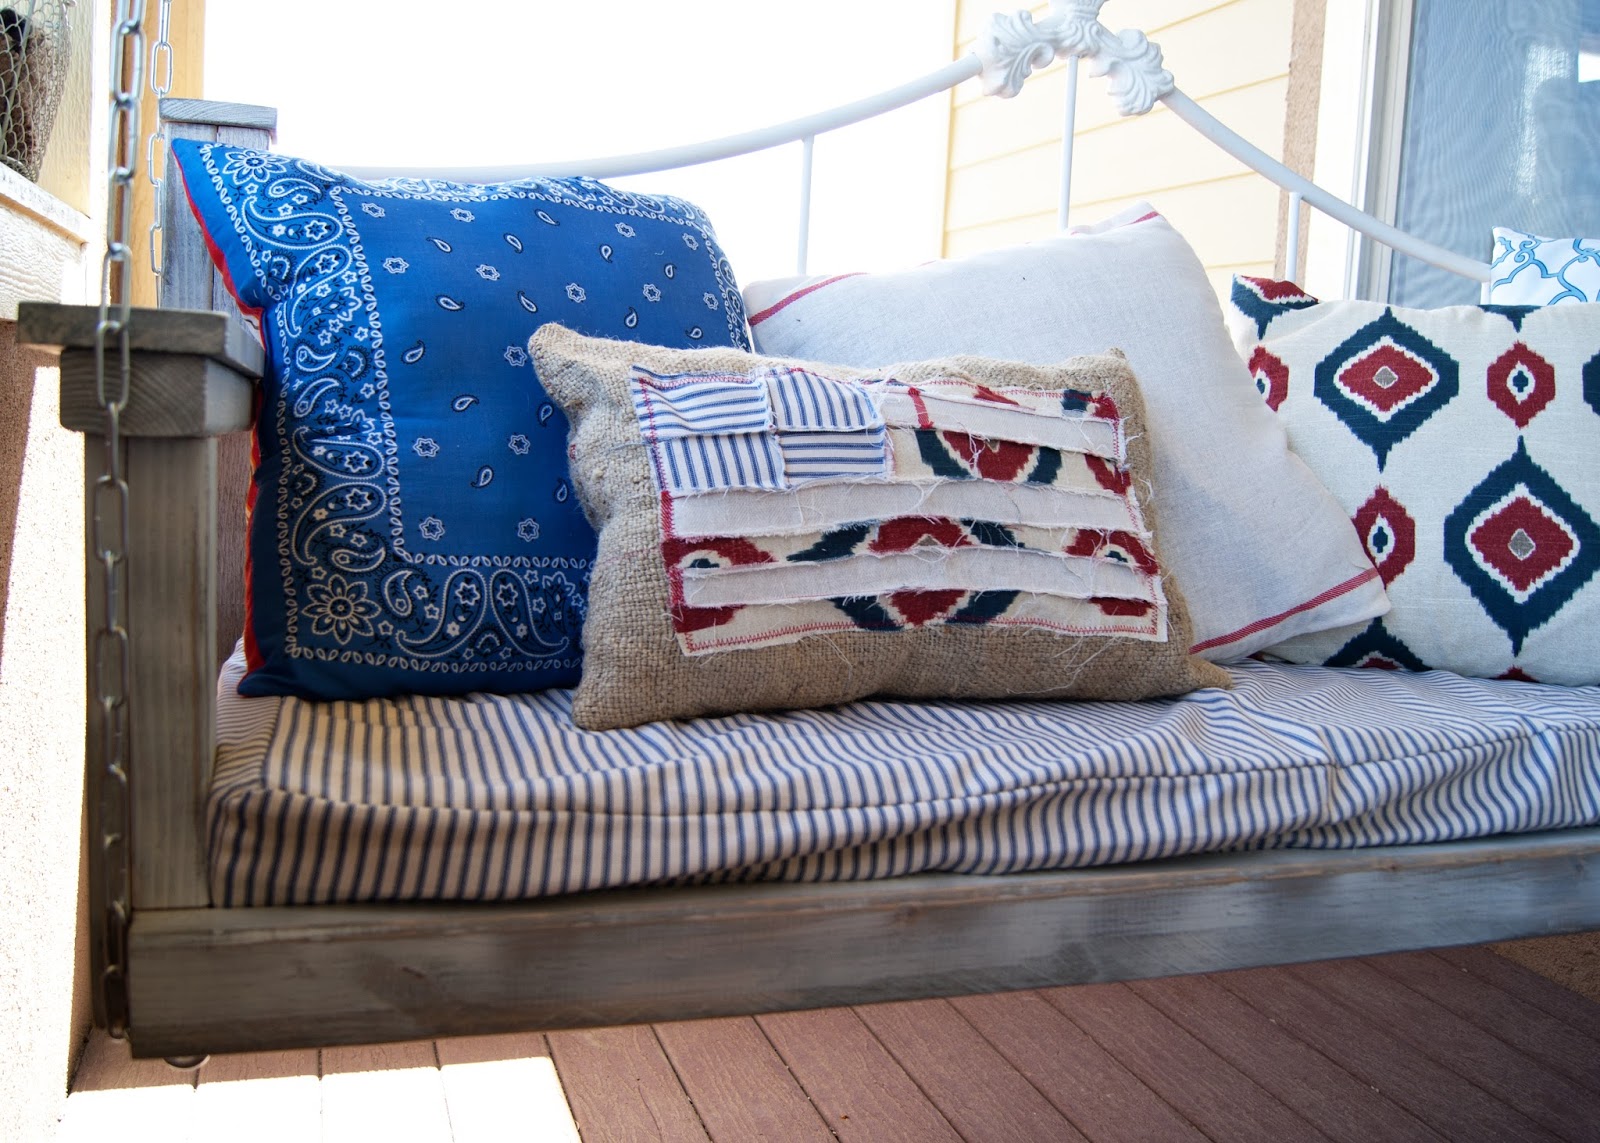
Mine is the perfect finishing touch to my Americana themed porch swing!


No comments :
Post a Comment